

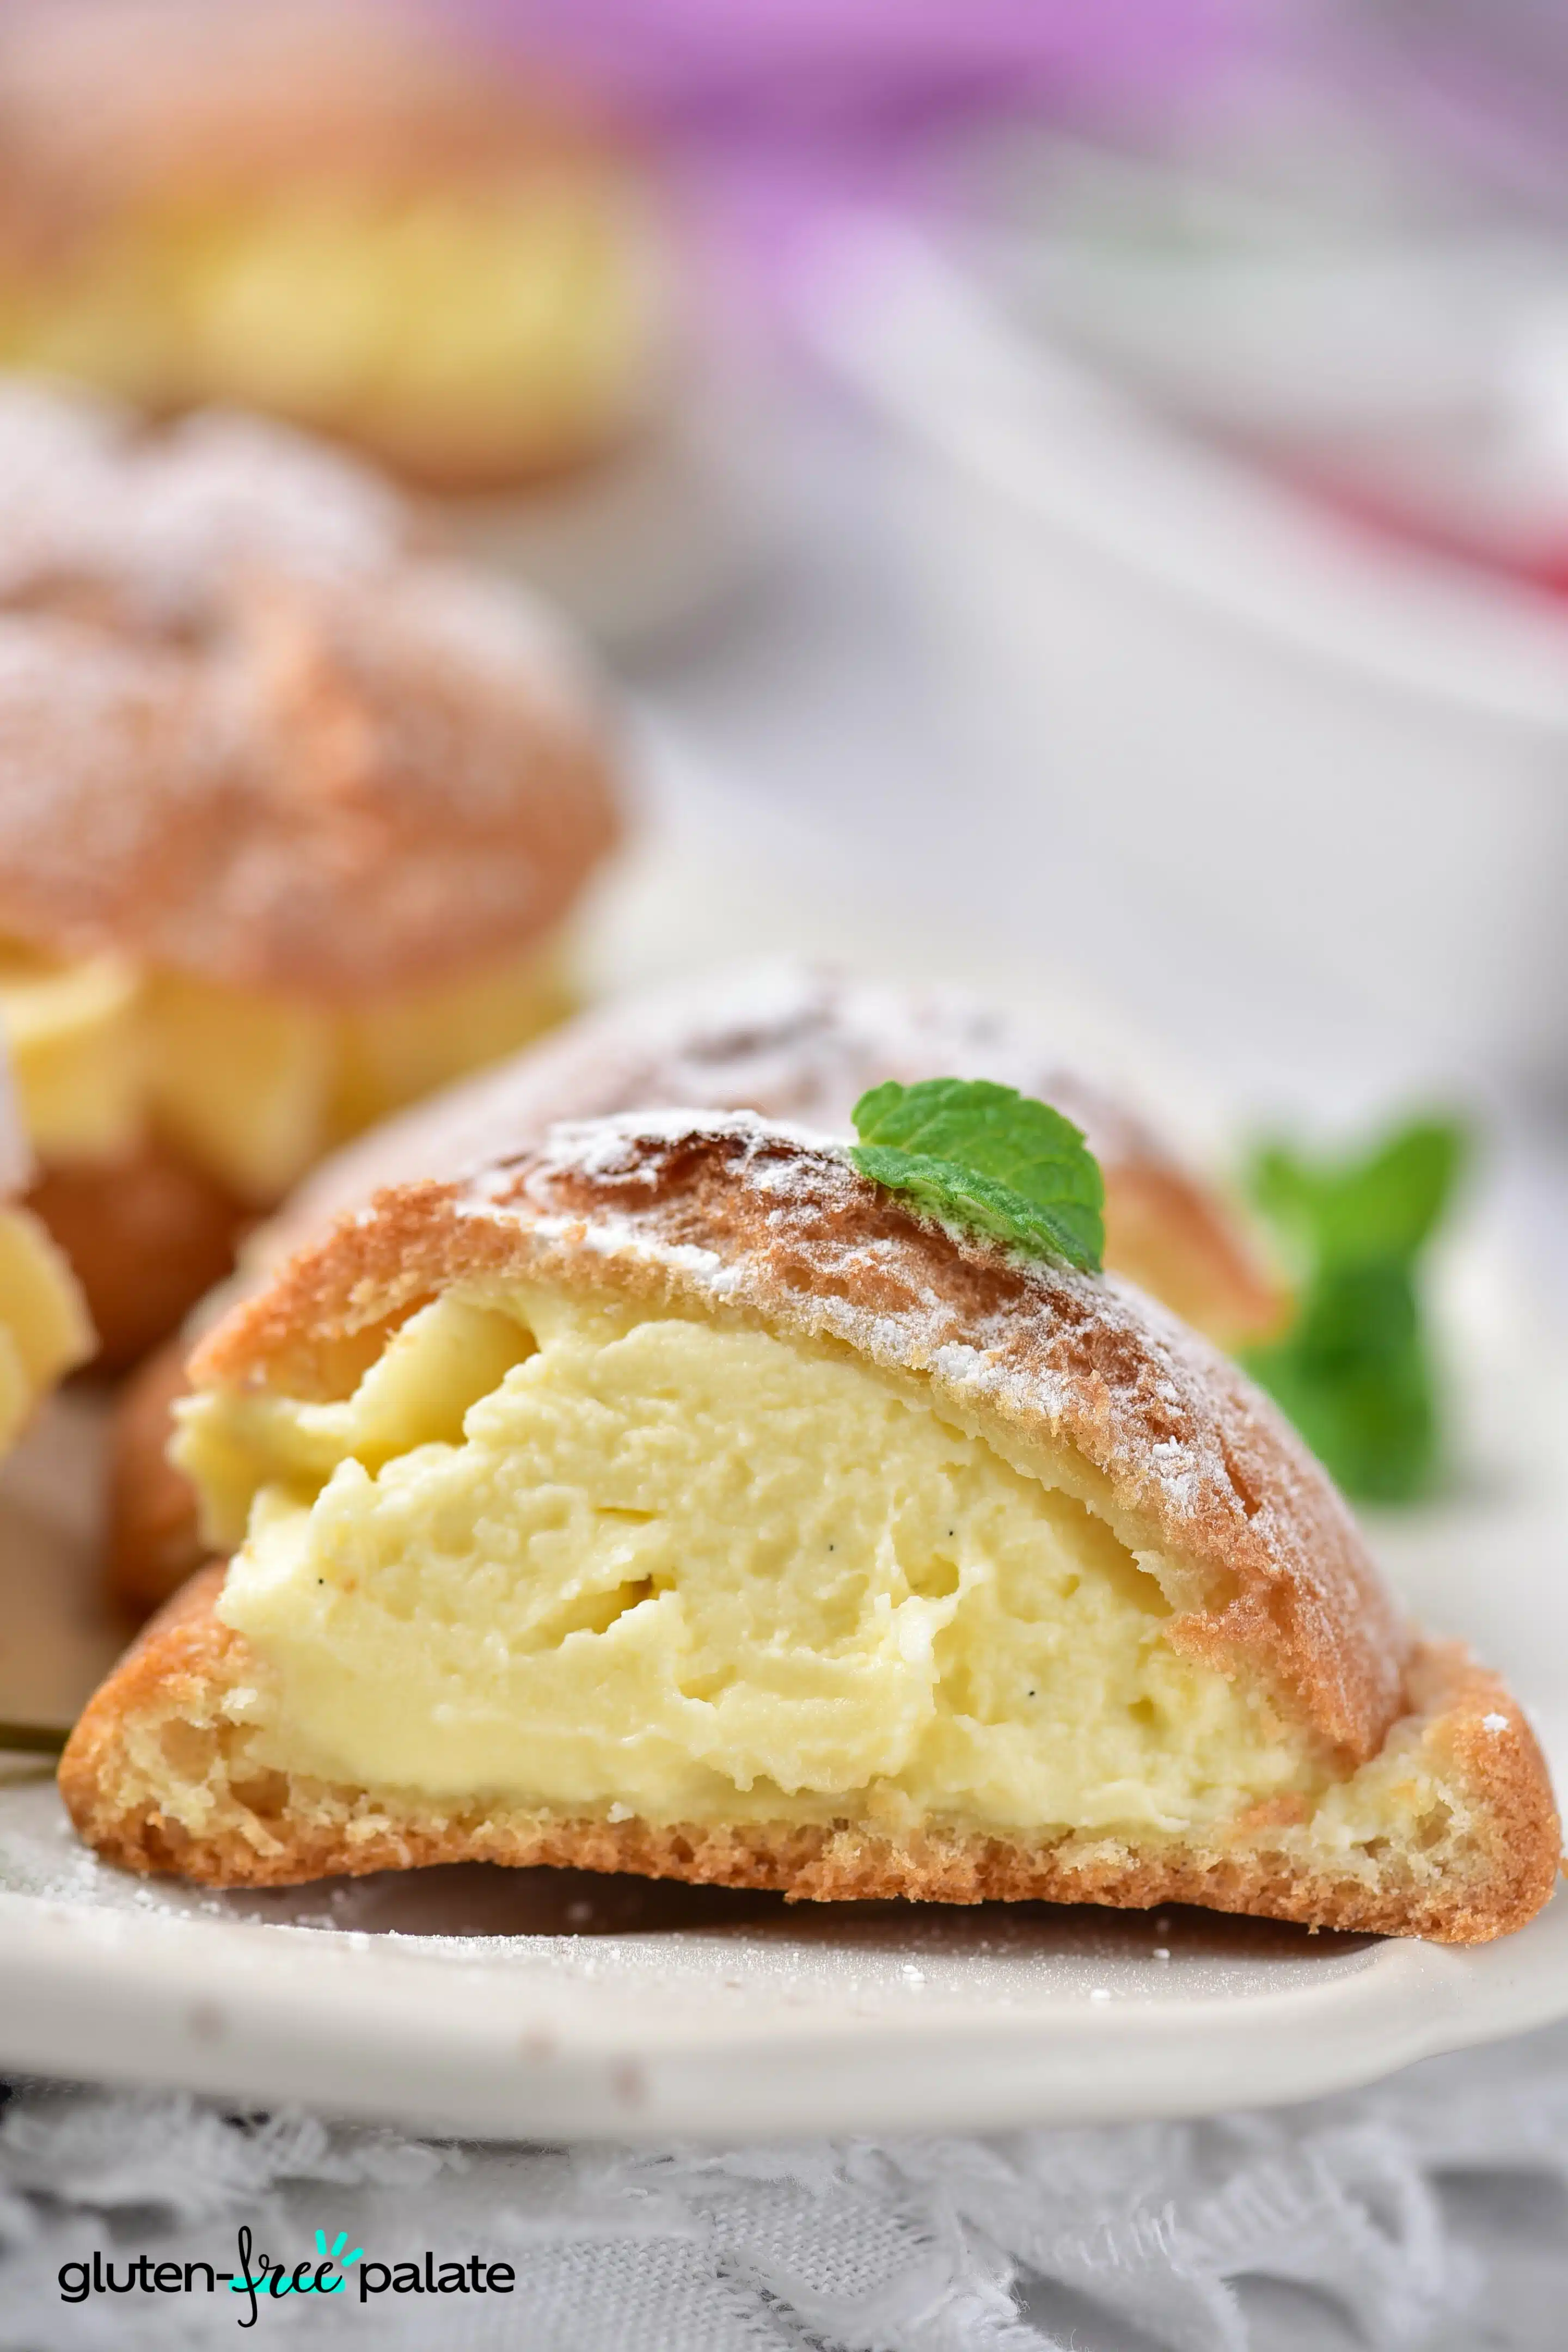
Indulge in these easy-to-make and certain-to-please scrumptious gluten-free cream puffs! These delightful treats feature a crispy, airy pastry shell filled with fluffy Chantilly cream, offering the perfect combination of sweetness and lightness. Treat your family and friends to an unforgettable dessert.
Looking for delicious and easy-to-make gluten-free pastry recipes? Try this gluten-free puff pastry or this gluten-free baked brie pastry recipe. They are both perfect for entertaining guests or as a special treat for yourself. And for those with a sweet tooth, this 10-minute gluten-free frosting recipe is a must-try. It's creamy and fluffy and can be customized to suit any occasion or flavor preference.
Udemy is offering a course on gluten-free sponge cake desserts that is perfect for anyone looking to improve their baking skills while accommodating a gluten-free lifestyle. The course is led by an expert pastry chef who will guide you through the process of making delicious sponge cakes and desserts that are completely gluten-free.
Gluten-Free Cream Puffs Recipe
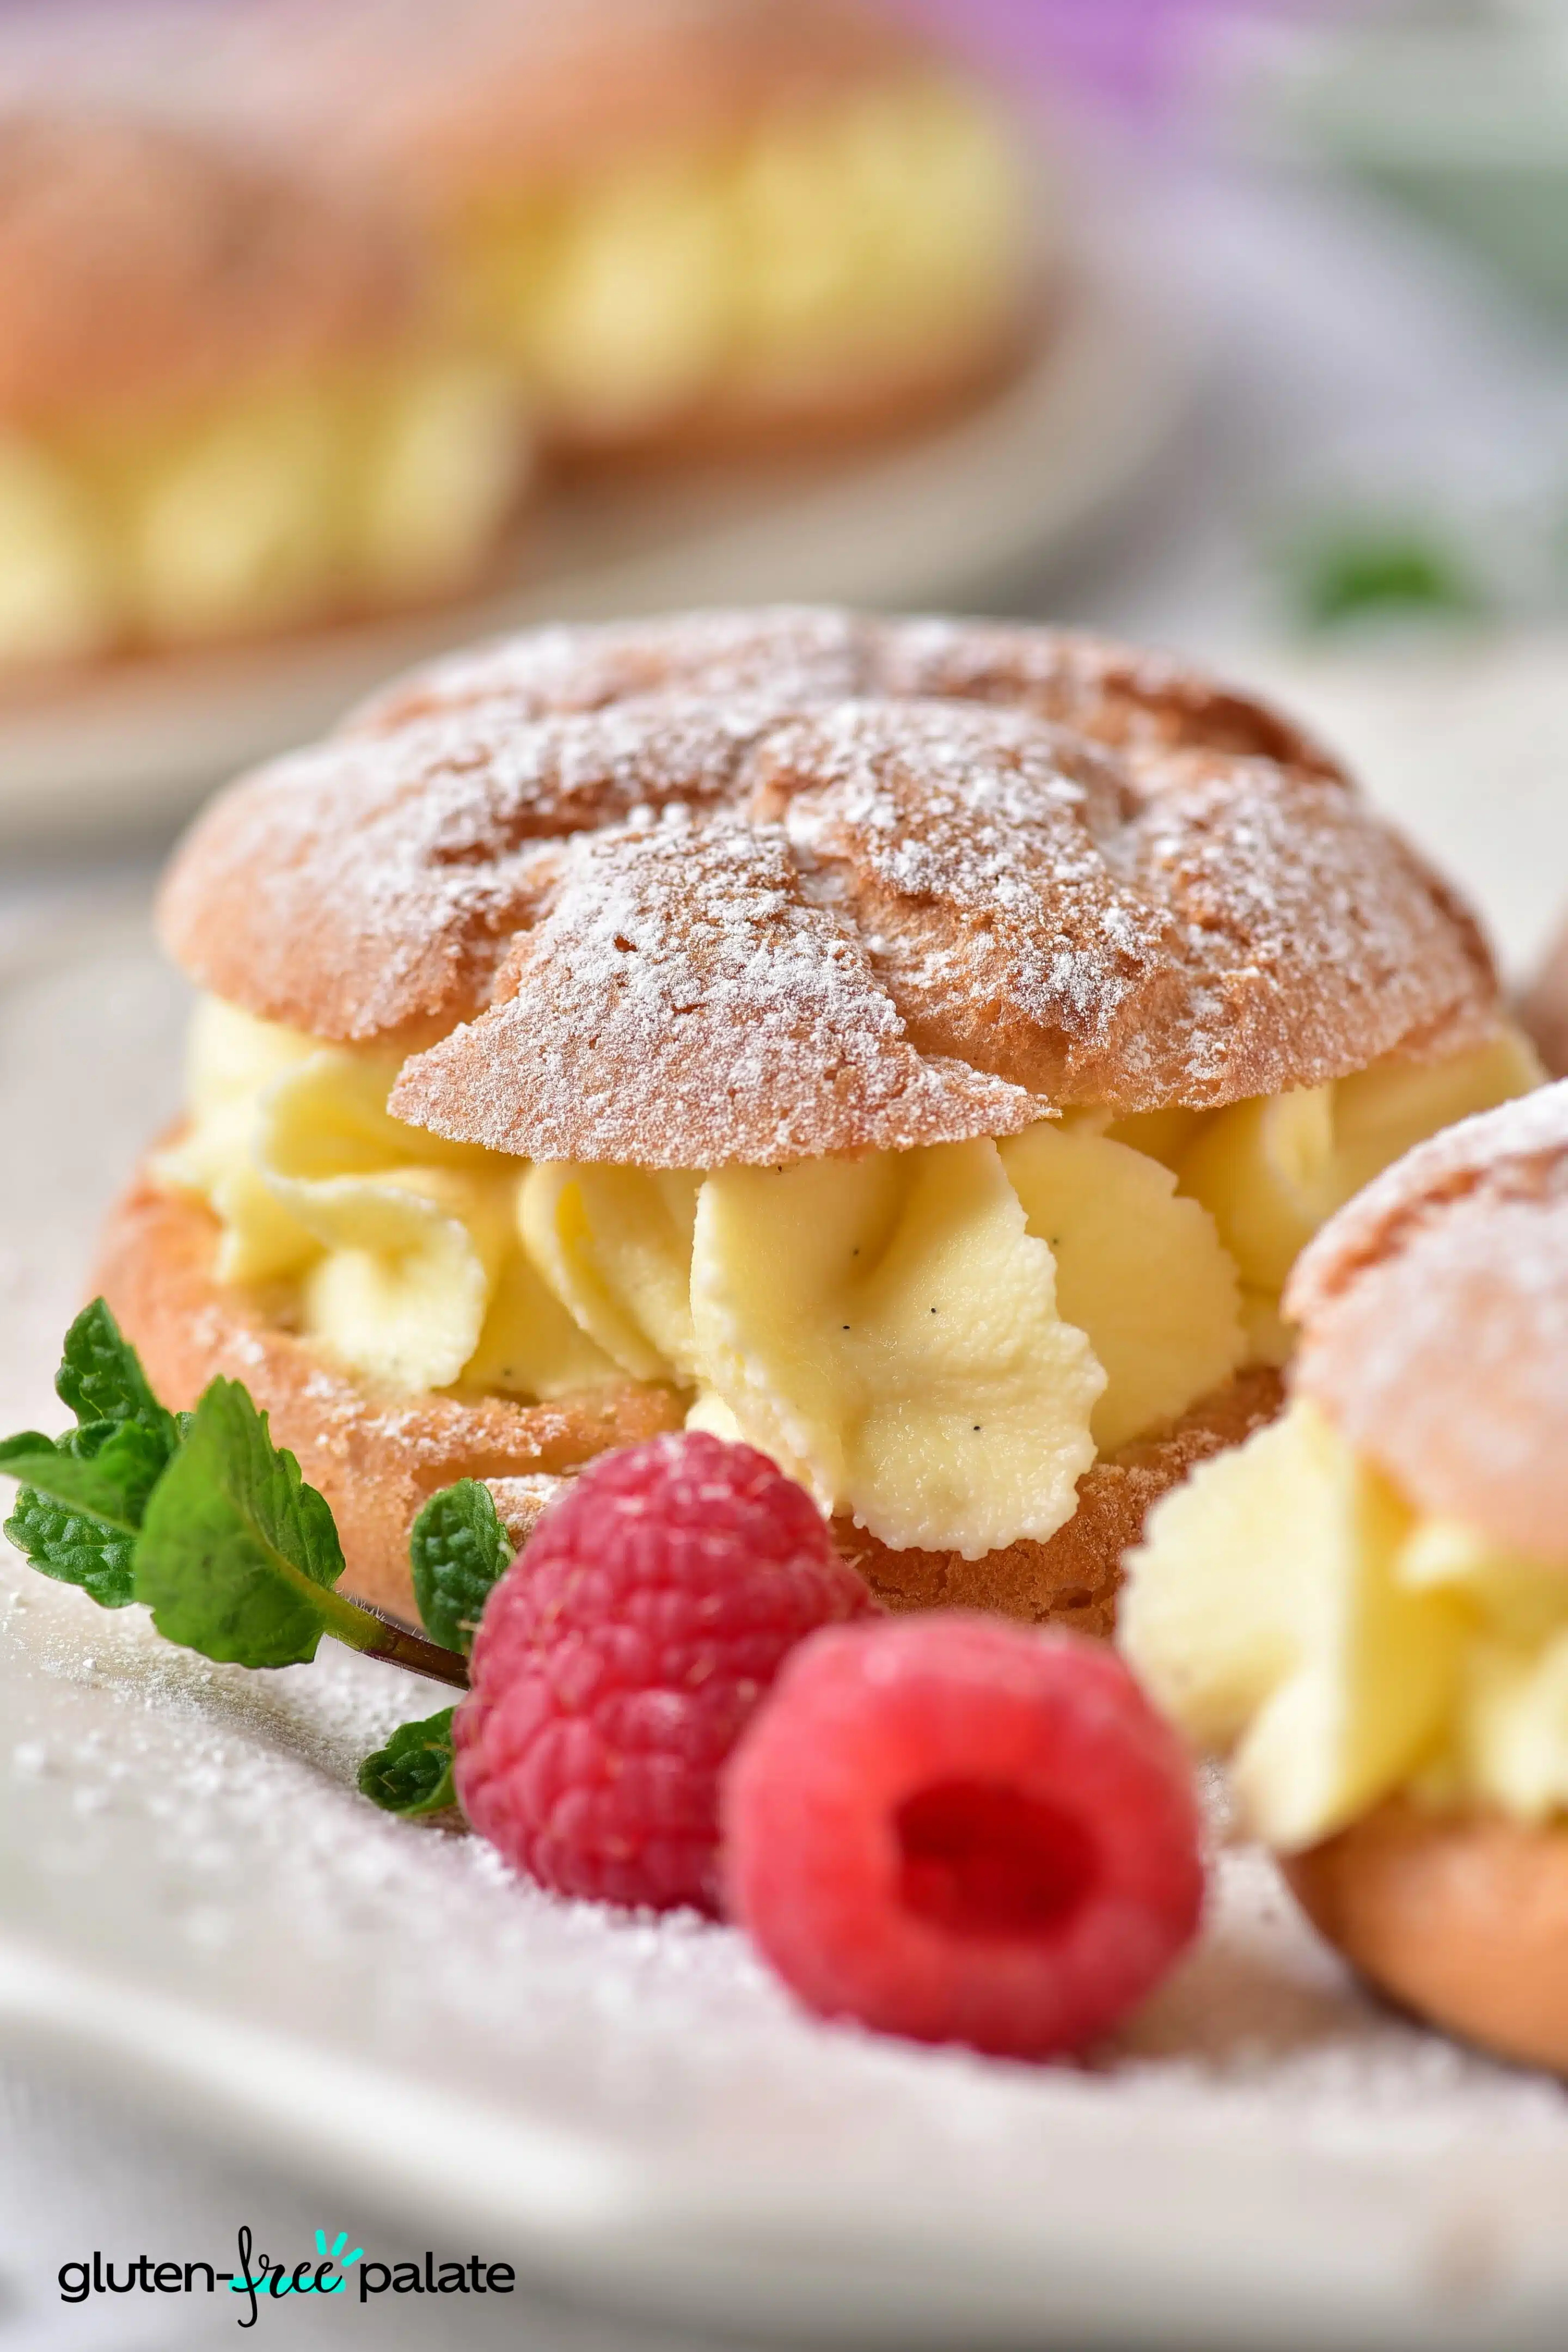
These gluten-free cream puffs are a heavenly dessert that you won't be able to get enough of. With a light crispy pastry that's filled with a fluffy Chantilly cream filling, each bite offers a perfect balance of sweetness and airiness.
The pastry dough is prepared with a combination of water, unsalted butter, salt, sugar, and gluten-free plain flour. The result is a perfectly baked pastry shell that is light and crispy on the outside and soft and fluffy on the inside.
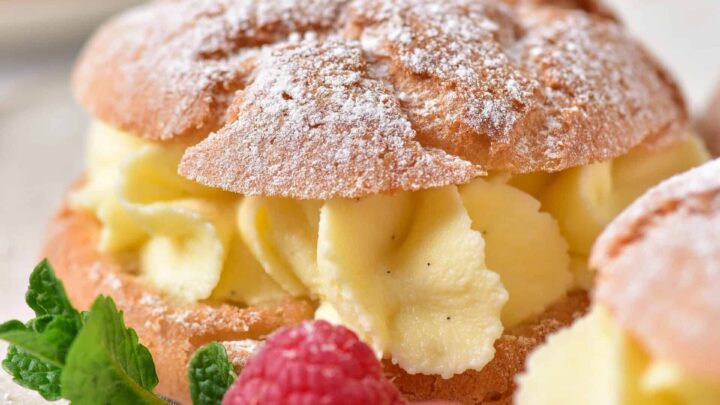
The finished puffs can then be dusted with powdered sugar and served with fresh berries, mint, or even drizzled with melted chocolate or a sweet topping of your choice. So why wait? Get ready to impress your friends and family with this delicious and easy-to-follow recipe.
Related: How to Make Gluten-Free Choux Pastry
Why You’re Going to Love These Gluten-Free Cream Puffs
Quick and easy to make - With a preparation time of just 5 minutes and a cooking time of 80 minutes, you can indulge in a delicious dessert without spending hours in the kitchen.
Perfect flavor combination - Combining the light and crispy pastry shell made with gluten-free flour and the fluffy Chantilly cream filling perfectly balances sweetness and airiness in each bite.
No special equipment - The recipe is easy to follow and requires no special equipment, so even if you're not an experienced baker, you can easily make these cream puffs and impress your friends and family.
Customizable dessert - These cream puffs are versatile desserts that you can customize to your liking by adding fresh berries, mint, or your favorite toppings, such as melted chocolate or a sweet glaze.
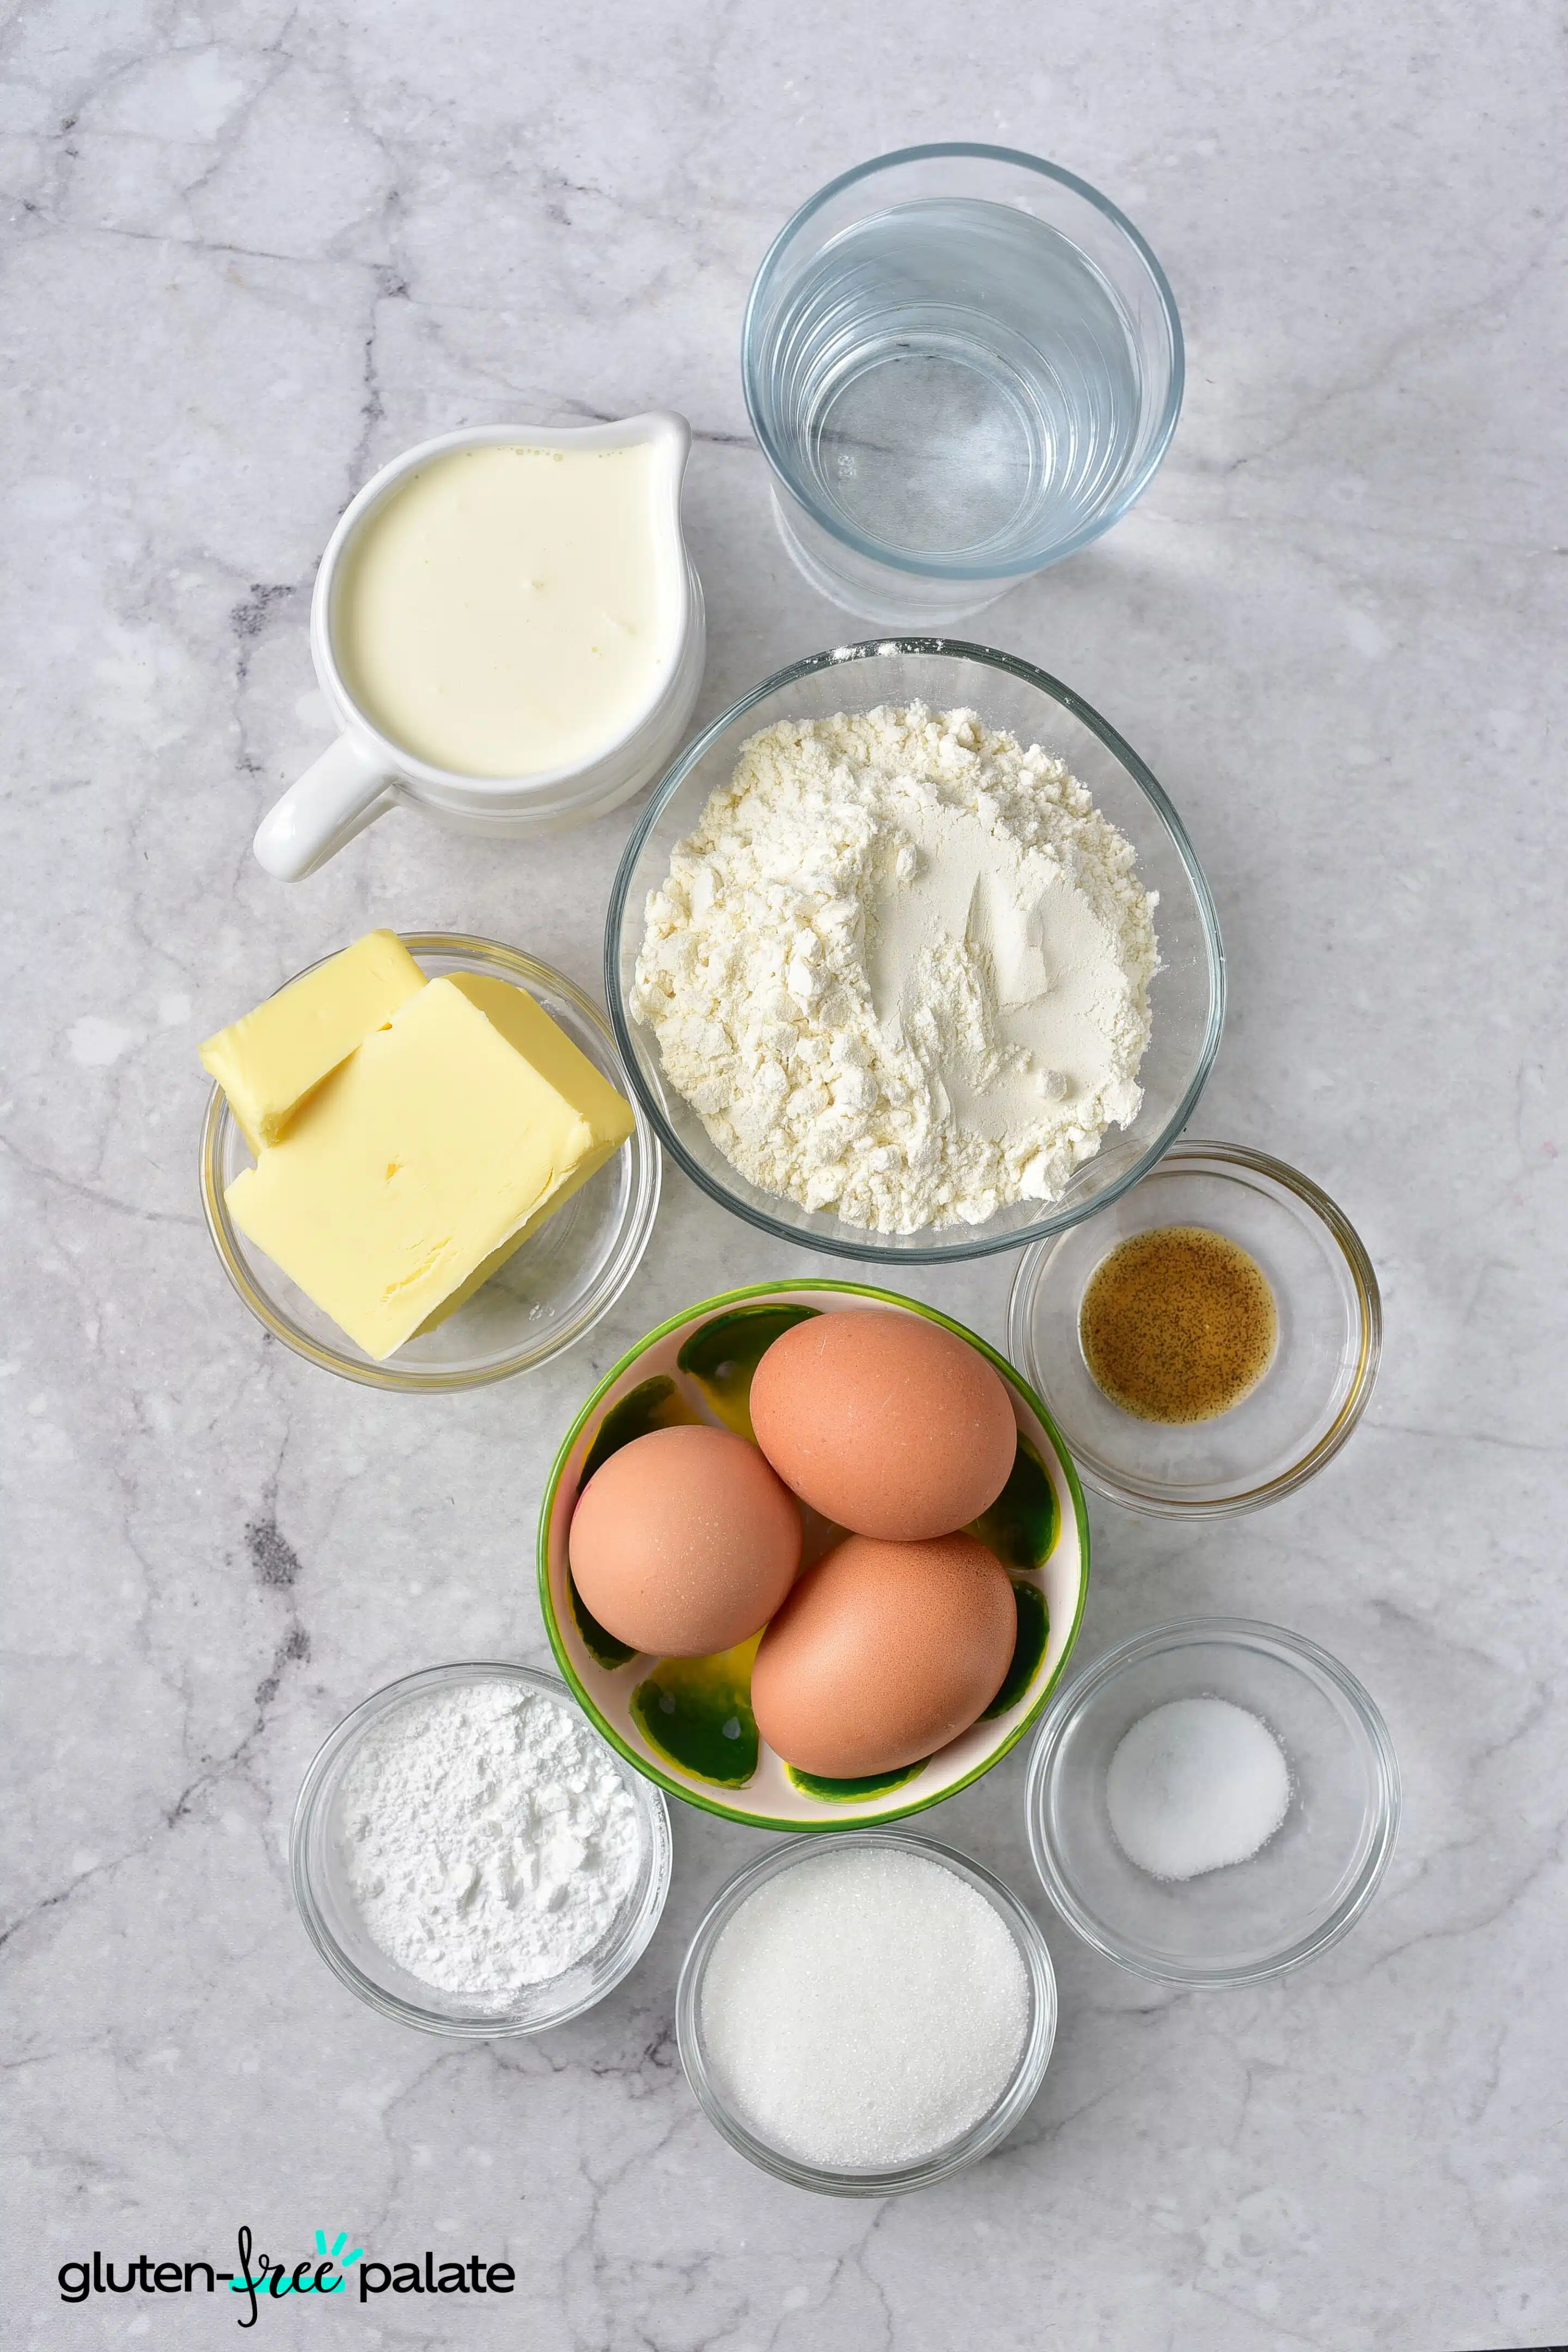
Ingredients in Gluten-Free Cream Puffs
Gluten-free plain flour - Gluten-free plain flour is the main ingredient to make the dough for the cream puffs.
Unsalted butter - I have used unsalted butter to give the dough a rich flavor and to help it achieve a crispy texture.
Water - This is to create the custard-like dough.
Sugar - This adds sweetness to the dough.
Eggs - are used to give structure to the dough and to make it light and airy.
Salt - used to enhance the flavor of the dough.
Whipping cream - This is the basis for the Chantilly cream filling for the puffs.
Vanilla paste - used to add flavor to the Chantilly cream.
Powdered sugar - This is used to sweeten the Chantilly cream and sprinkle it on top of the finished puffs.
Missing something? No worries! Order missing ingredients from GoPuff and have them arrive at your doorstep in minutes.
Equipment Needed for These Gluten-Free Cream Puffs
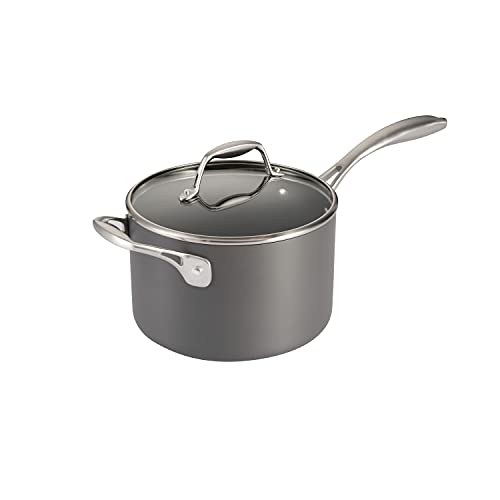
Small saucepan - Heat up the water, sugar, salt, and butter until the butter is completely dissolved in a small saucepan.
Spatula - You'll also need a spatula to stir the ingredients in the saucepan and mix the dough.
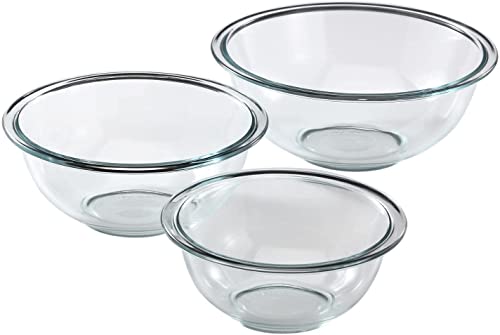
Mixing bowl - A mixing bowl is necessary for transferring the dough and adding the eggs one at a time to the mixture.
Baking sheet - To bake the cream puffs, you'll need a baking sheet and a silicone mat or parchment paper for lining the sheet.
Whisk - For making the Chantilly cream filling; you'll need a whisk to beat the whipping cream until it's fluffy.
Star tip - If you want to get fancy with your cream puffs, you can also use a star tip for piping the cream onto the pastry shells.
If you have any questions about making Gluten-Free Cream Puffs, please leave a comment, and we will get back to you as soon as possible.
How to Make Gluten-Free Cream Puffs
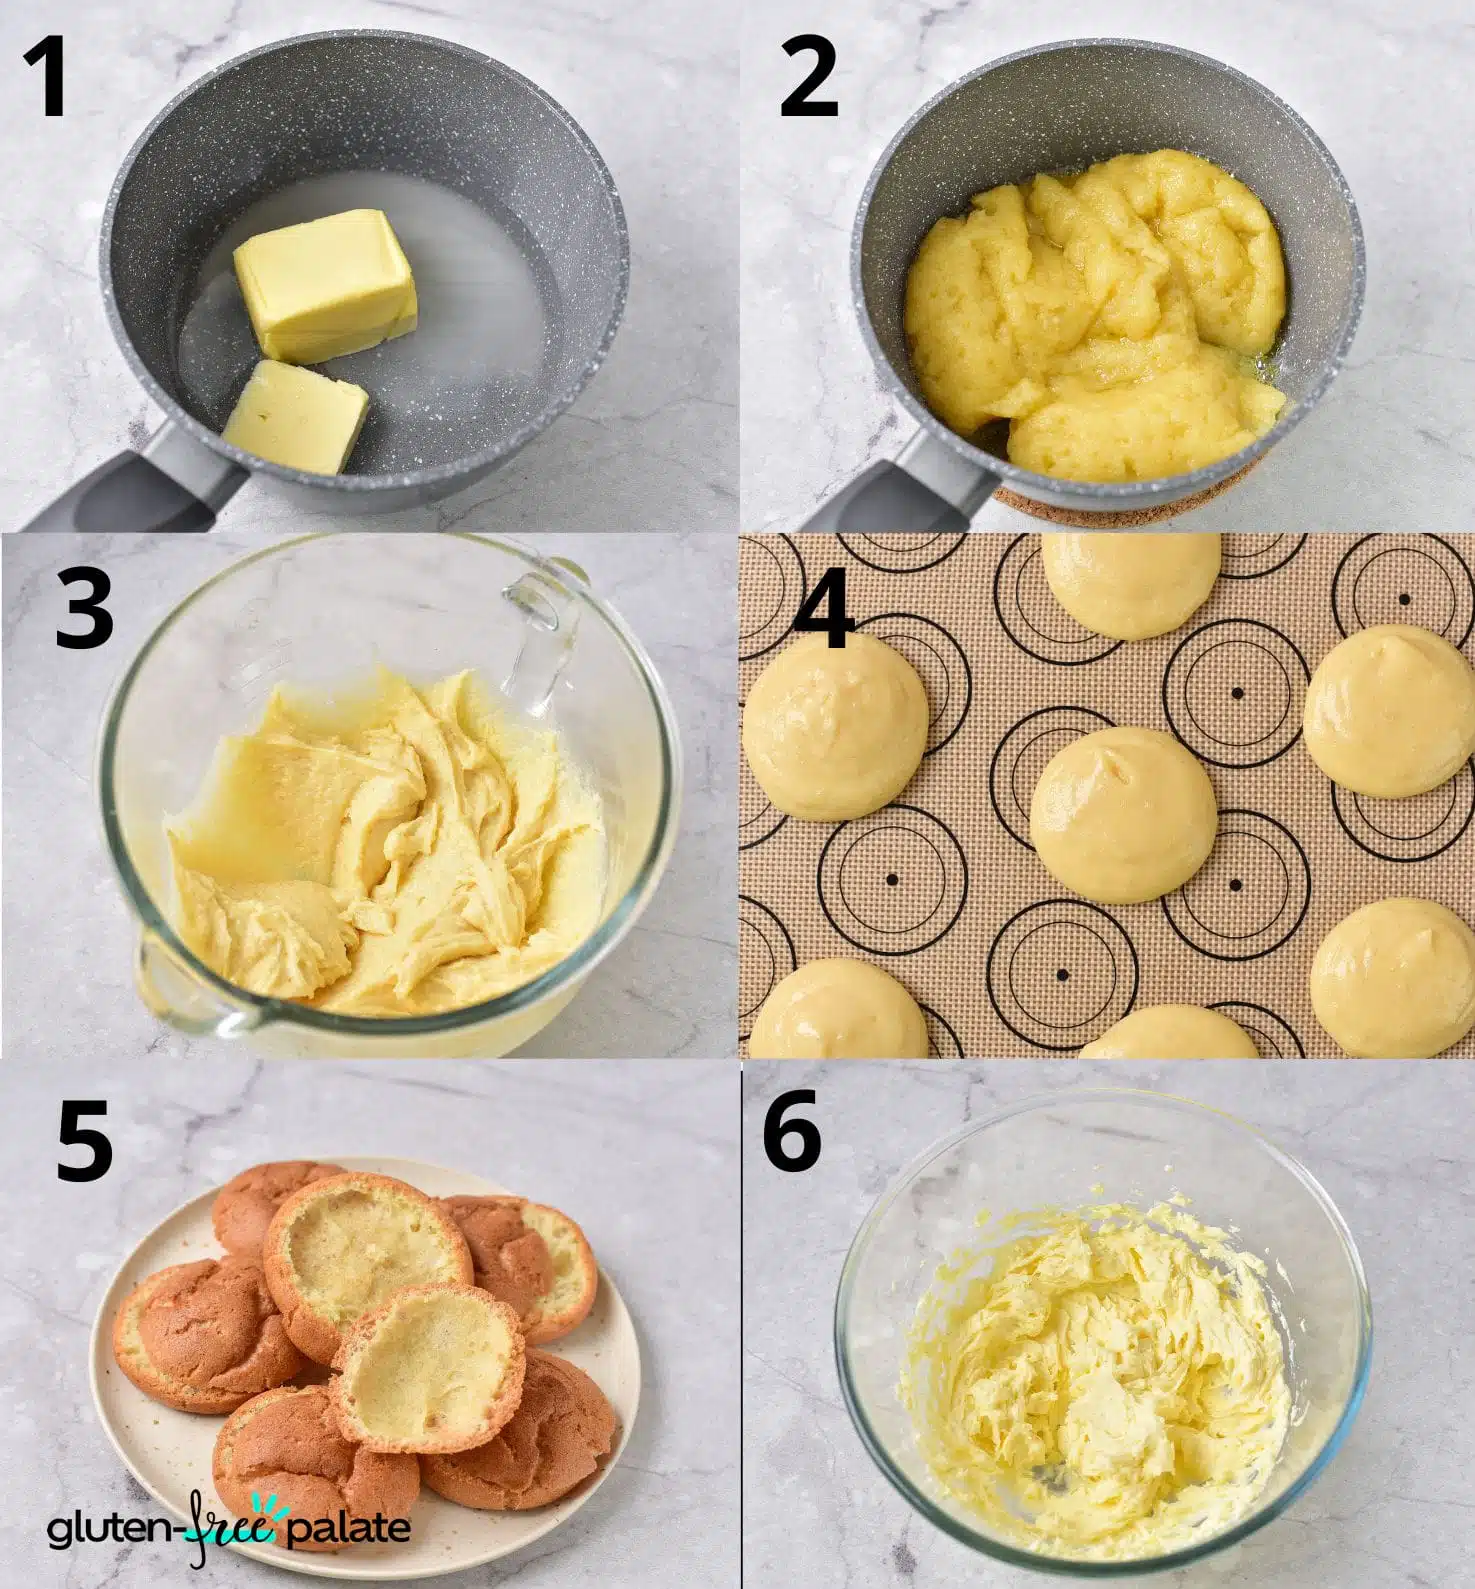
- Pour water into a small saucepan, and add salt, sugar, and butter.
- Heat the saucepan until the butter is completely dissolved, stirring with a spatula.
- After boiling water with butter, immediately pour all the gluten-free flour into a saucepan. Start mixing with a spatula until you get a dense custard dough.
- After a couple of minutes, transfer the dough to a mixing bowl and let it cool to about 125° F. Then add the eggs one at a time, mixing thoroughly each time.
- The dough should not be liquid but rather thick enough.
- Transfer the finished dough for convenience to a piping bag. You can also spread the dough with a spoon.
- Cover the baking sheet with a silicone mat or parchment. Lay out dough portions about 2 inches in diameter. The distance between portions of dough should be 2-3 inches.
- Bake at 400F for 15 minutes and then 10-15 minutes at 360F so that the puffs can bake from the inside. During baking, do not open the oven door, and after baking, gently open the door for 5 minutes, after which you can remove the puffs from the oven.
- Cut off the tops of the puffs.
- Mix the whipping cream, powdered sugar, and vanilla paste in a bowl.
- Beat for 1-2 minutes until you get a fluffy Chantilly cream.
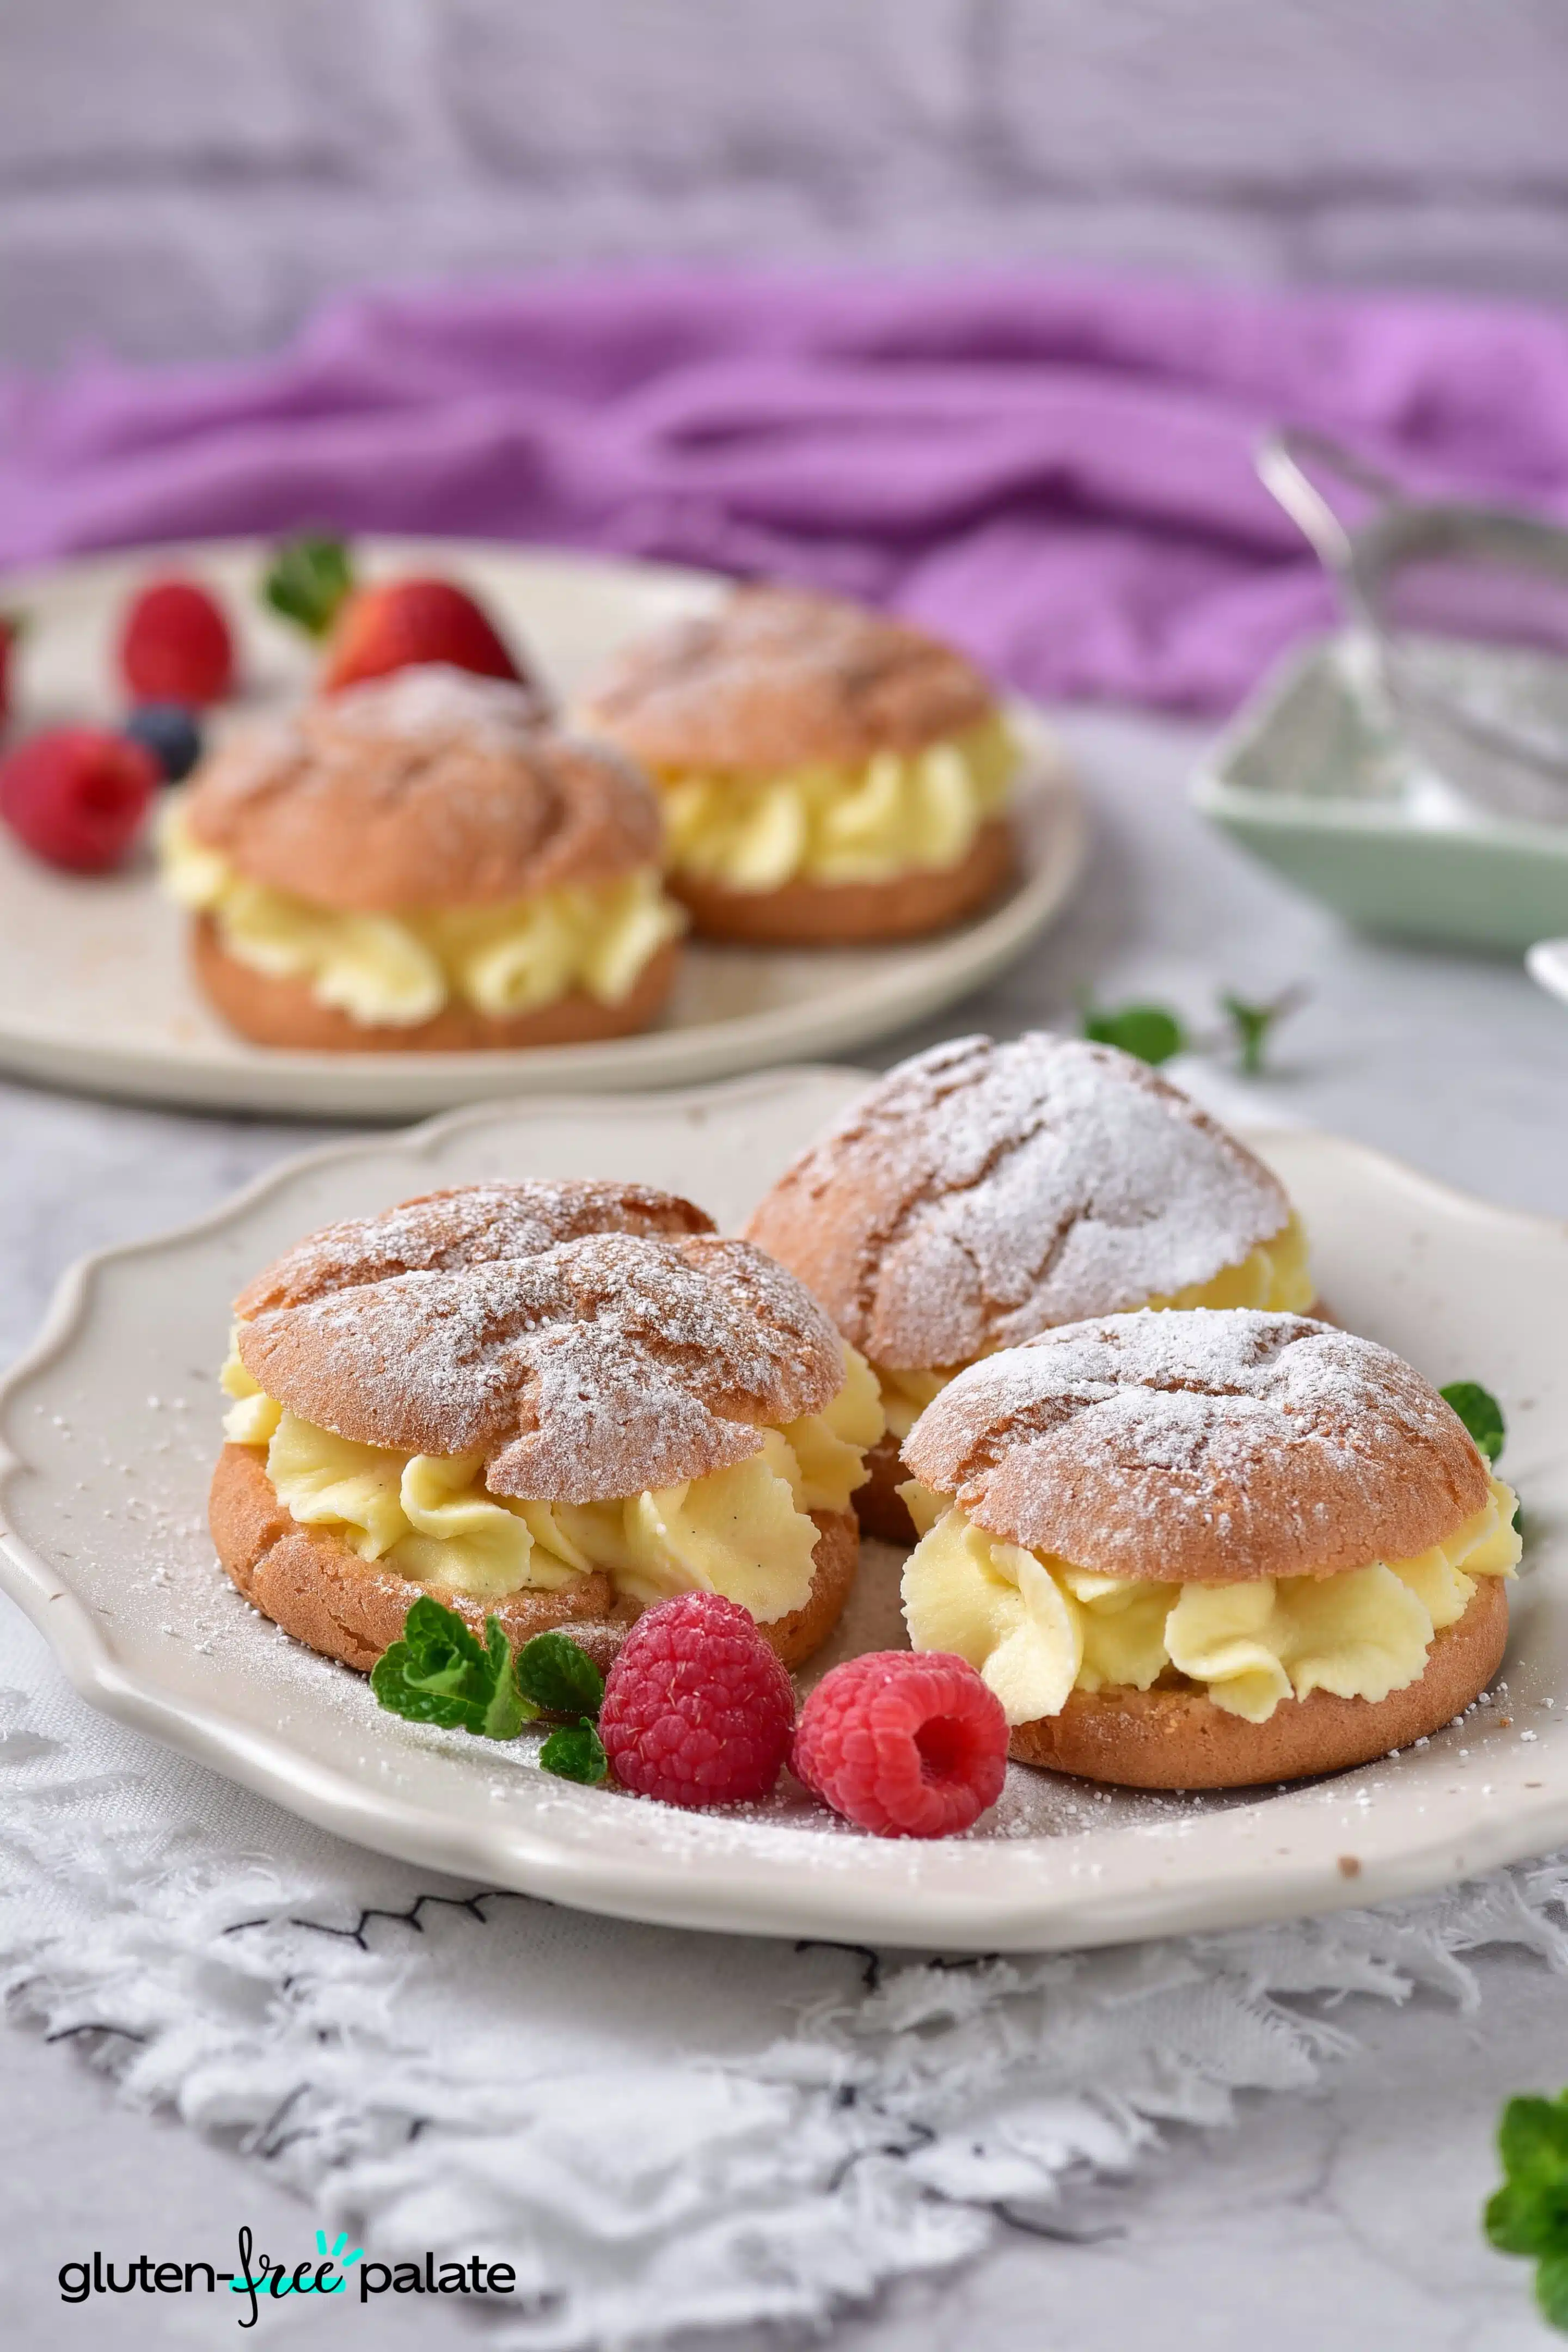
- Transfer the cream to a piping bag fitted with a star tip. Spread the cream on the bottom halves of the puffs. Cover the cream with the top halves of the puffs, sprinkle with powdered sugar, and serve. You can also serve it with fresh berries and mint. Alternatively, if desired, drizzle the puffs with melted chocolate or a sweet topping.
Tips for Making the Best Gluten-Free Cream Puffs
Use room-temperature eggs - This will ensure that the dough comes together smoothly.
Dough cool - Let the dough cool to the recommended temperature before adding the eggs to avoid scrambling them.
Don't open the oven door - While baking the cream puffs, do not be tempted to check and open the oven door, as this can cause them to collapse.
Let them cool - After baking, let the cream puffs cool before filling them with the Chantilly cream to prevent them from melting.
Frequently Asked Questions
How Do I Store Gluten-Free Cream Puffs?
Store the cream puffs in an airtight container in the refrigerator. They will keep for up to 3 days but are best served fresh.
Can I Freeze Gluten-Free Cream Puffs?
Yes, you can freeze the cream puffs. Place them in an airtight container or freezer bag and freeze them for up to 1 month. To thaw, let them sit at room temperature for about 10-15 minutes before filling them with the Chantilly cream.
Can You Make This Gluten-Free Cream Puffs Ahead of Time?
Yes, you can make the pastry shells ahead of time and store them in an airtight container until you're ready to fill them with the Chantilly cream. Store them in the refrigerator if you're not going to fill them right away.
What Substitutions / Replacements Can I Make in These Gluten-Free Cream Puffs?
Egg-free - I have not tried an egg replacer.
Butter - You can use salted butter instead of unsalted butter, but be sure to adjust the salt accordingly.
Vanilla extract - For the Chantilly cream, you can substitute vanilla extract for the vanilla paste if needed.
Are Costco Cream Puffs Gluten-Free?
No, Costco's cream puffs are not gluten-free as they contain wheat flour in their puff ingredients, making them unsuitable for gluten intolerance or sensitivity.
Gluten-Free Cream Puffs
Indulge in these easy-to-make and certain-to-please scrumptious gluten-free cream puffs! These delightful treats feature a crispy, airy pastry shell filled with fluffy Chantilly cream.
Ingredients
Cream puffs
- 1 cup gluten-free plain flour
- ½ cup unsalted butter
- 1 cup water
- 3 tbsp sugar
- 4-5 eggs
- ⅓ tsp salt
Cream
- 1 cup whipping cream
- 1 tsp vanilla paste
- 3 tbsp powdered sugar
Instructions
- Pour water into a small saucepan, and add salt, sugar, and butter.
- Heat the saucepan until the butter is completely dissolved, stirring with a spatula.
- After boiling water with butter, immediately pour all the gluten-free flour into a saucepan. Start mixing with a spatula until you get a dense custard dough.
- After a couple of minutes, transfer the dough to a mixing bowl and let it cool to about 125° F. Then add the eggs one at a time, mixing thoroughly each time.
- The dough should not be liquid but rather thick enough.
- Transfer the finished dough for convenience to a piping bag. You can also spread the dough with a spoon.
- Cover the baking sheet with a silicone mat or parchment. Lay out dough portions about 2 inches in diameter. The distance between portions of dough should be 2-3 inches.
- Bake at 400F for 15 minutes and then 10-15 minutes at 360F so that the puffs can bake from the inside. During baking, do not open the oven door, and after baking, gently open the door for 5 minutes, after which you can remove the puffs from the oven.
- Cut off the tops of the puffs.
- Mix the whipping cream, powdered sugar, and vanilla paste in a bowl.
- Beat for 1-2 minutes until you get a fluffy Chantilly cream.
- Transfer the cream to a piping bag fitted with a star tip. Spread the cream on the bottom halves of the puffs. Cover the cream with the top halves of the puffs, sprinkle with powdered sugar, and serve. You can also serve it with fresh berries and mint. Alternatively, if desired, drizzle the puffs with melted chocolate or a sweet topping.
Notes
- Use room-temperature eggs - to ensure that the dough comes together smoothly.
Recommended Products
As an Amazon Associate and member of other affiliate programs, I earn from qualifying purchases. They never cost you extra.
-
 Bob's Red Mill Resealable Gluten Free All Purpose Baking Flour, 22 Ounce (Pack of 2)
 -
Tramontina Covered Sauce Pan Hard Anodized 4 Qt
-
ChefAide 4 Pieces Silicone Spatula Set
-
Pyrex Smart Essentials 3-Piece Prepware Mixing Bowl Set, 1-Qt, 1.5-Qt ,and 2.5-Qt Glass Mixing Bowls, Dishwasher, Microwave and Freezer Safe
-
NutriChef Non-Stick Kitchen Oven Baking Pans-Deluxe & Stylish Nonstick Gray Coating Inside & Outside, Commercial Grade Restaurant Quality Metal Bakeware with Red Silicone Handles NCSBS3S, 3 Piece Set
-
Reynolds Kitchens Parchment Paper Roll, 60 Square Feet
-
OXO Good Grips 11-Inch Balloon Whisk
-
Ateco Open Star Pastry Stainless Steel Cake Decorating Tubes/Nozzles/Tips, Sizes 0-9 (827)


Nutrition Information:
Yield:
24Serving Size:
1Amount Per Serving: Calories: 93Total Fat: 8gSaturated Fat: 5gTrans Fat: 0gUnsaturated Fat: 3gCholesterol: 60mgSodium: 50mgCarbohydrates: 3gFiber: 0gSugar: 3gProtein: 2g
This nutrition info is based on the exact ingredients and brands used at the time. It may not be 100% accurate. Please check your ingredients nutrition labels.
Wondering what to make next? Try this easy Gluten-Free Madeleine recipe.
Eleyn Isaak
Oooooh!! I cannot wait to try these! Thank you!
Wendy Stoltz
You're welcome, Eleyn! I hope you enjoy them!
Linda
I am confused what I have to do with finished dough? I know instruction 6 says put in piping bag but I am sure that's not what they mean? Please clarify? What to do with the finished dough?
Wendy Stoltz
Hi Linda,
Lay out dough portions about 2 inches in diameter. So either use a spoon or pipe them.
Laura Bell
My 14 year old daughter made these today, and they were amazing! The dough looked like a mess when I saw it after she'd added the flour, and I really thought we'd end up dumping the whole thing, but I'm glad she stuck with it - they were delicious! Crispy and golden on the outside, soft and slightly sweet on the inside. She used an icing injector to fill some of them with homemade whipped cream we already had. It was tricky, but so fun to have cream puffs after a long gf hiatus!
Wendy Stoltz
That's fantastic, Laura! Kudos to your daughter for her determination. The results sound delightful—crispy, golden, and delicious cream puffs are always a win. And the addition of homemade whipped cream must have been a delightful treat. Enjoy those moments in the kitchen!
Carol M.
These look delicious! The recipe calls for 4 or 5 eggs. How do I determine the quantity to use?
Wendy Stoltz
Hi Carol,
From the post "Then add the eggs one at a time, mixing thoroughly each time.The dough should not be liquid but rather thick enough." So you need to judge if 4 or 5 is enough based on your dough. I hope this makes sense.