



There is something magical about tearing into a warm, flaky croissant. The layers, the buttery aroma, the delicate crunch all feel like the heart of French baking.
For years, that experience was out of reach if you needed to eat gluten free. The good news is that with the right ingredients and technique, you can make croissants at home that are just as golden and tender while being completely safe to enjoy.

This recipe will guide you step by step, from mixing the dough to creating those signature layers, so you can bring a bakery treat right into your kitchen.
Our Gluten-Free Croissant Recipe
“Croissant” originated from the word “crescent”, as in a “crescent moon”. And they're a little different than our gluten-free crescent rolls recipe. Those are more of a side dish for dinner, where these exquisite croissants are more of a breakfast treat. Just note that they can be a labor of love (like all pastries). But the result is so worth it. Your struggle to find a gluten-free croissant is officially over.
Follow my tips and techniques in the recipe card, and you'll master these delicious treats in no time. Don't let the laminating process put you off. I will guide you through the process.
Laminating, in basic terms, is when there is a layer of butter, then a layer of dough which is a technique you follow to achieve the multiple layers. This is a really fun process if you're into pastries. For something simpler, try this Easy Gluten-Free Bread Recipe.
Why You're Going to Love These Gluten-Free Croissants
Simple ingredients - With a handful of simple ingredients, you can enjoy these the next day for tea.
Bakery-style croissants - These, in my opinion, are like bakery-style croissants. They're flaky, light, and perfectly sweetened.
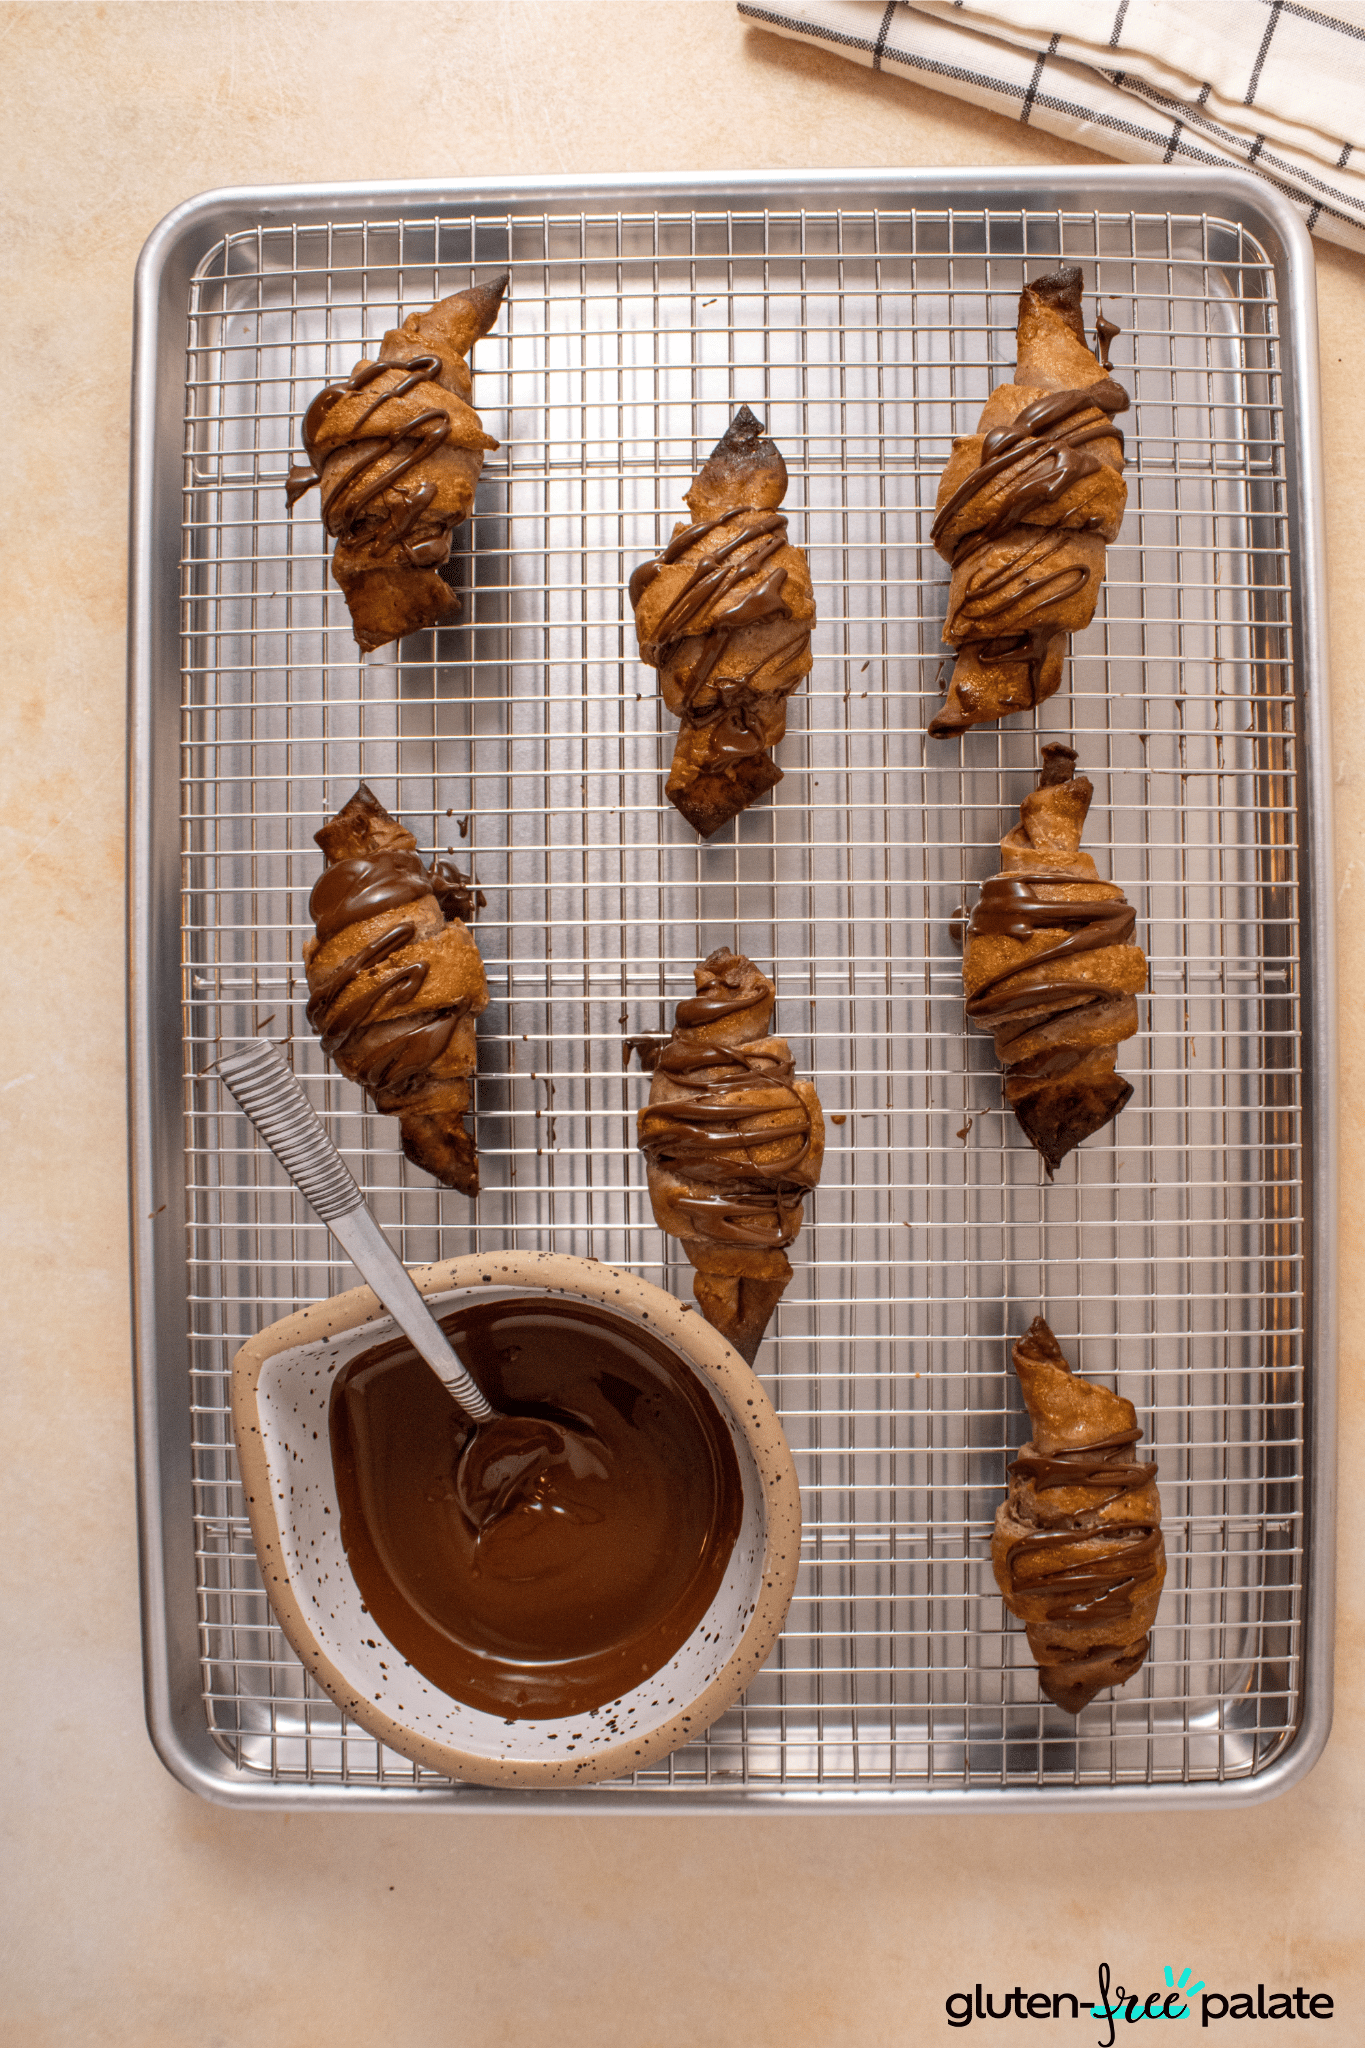
Dress them up or down - You can eat these as is from the oven. I battle to let them cool, or you can top them off with melted chocolate. You can even add your favorite filling.

Ingredients Used In This Recipe
There are two parts. The detrempe and the beurrage. Here are the ingredients you'll need for both.
FOR THE DOUGH (DETREMPE)
- Flour - I've used an all-purpose gluten-free flour.
- Sugar - Use granulated sugar.
- Yeast - Use instant dry yeast. Check the brand you use is in fact gluten-free. The term "enriched" is used sometimes, so look out for that.
- Salt - I like to control the amount of salt I use.
- Baking powder - Use baking powder and not baking soda.
- Psyllium husk powder - This helps with the elasticity of the dough.
- Butter - I use unsalted butter that's been melted.
- Water - The water must be warm.
FOR THE BUTTER BLOCK (BEURRAGE)
- Butter - I used unsalted butter.
- Egg - Use the egg yolks only.
- Whipping cream - I've used heavy whipping cream.
Equipment Needed For This Recipe
- Rolling pin - I use the traditional wooden rolling pin, but you can choose from the fancier options.
- Stand mixer - Use a stand mixer to make the dough mix through nicely.
- Pizza cutter or knife - You'll need this to cut the dough
- Ruler - Optional, but helpful if you want to be precise when making the cuts.
If you have any questions about making gluten-free croissant, please leave a comment and we will get back to you as soon as possible.
How to Make Gluten-Free Croissants
Start by making the gluten-free croissant dough. In a large bowl, whisk together the dry ingredients, including the yeast, until everything looks evenly mixed.

Add in the water and butter, then let your stand mixer with the dough hook do the work.
You’re aiming for a dough that feels sticky but also starts to pull away from the sides of the bowl. If it looks too dry, don’t be afraid to splash in just a little more water.
Cover the bowl tightly with plastic wrap and drape a clean kitchen towel over the top. Place the whole thing in your oven with just the oven light on—it creates a cozy, warm spot that helps the yeast do its job. Leave the dough to proof for two to three hours.
Ideally, it will double in size, but if it doesn’t rise quite as much as you’d like, that’s not a deal-breaker for this recipe. After proofing, transfer the covered bowl directly to the fridge and let it chill for about four hours.
While the dough chills, you’ll prepare the butter block. Lay down a sheet of parchment and place the butter in the center, side by side. Cover it with a second sheet of parchment and use your rolling pin to gently pound and then roll the butter into a rectangle, about 8 by 6 inches.

Try not to press too hard. You want it even, not melted. Fold the parchment around it like an envelope and roll again to fill the shape. Refrigerate the butter block for at least four hours.
When both the dough and butter are chilled, let them sit at room temperature for five minutes. Roll the dough into a large rectangle, roughly 18 by 25 inches and about ¼ inch thick. Place the butter block right in the middle. Fold the extra dough over the butter so the sides meet in the center, then lightly pat with the rolling pin to seal. This process is called lamination, and it's vital to the recipe.
From there, roll gently until you’ve got one smooth rectangle. Trim the edges so the dough looks neat and measure to cut even sizes. They'll look like the long triangles shown above.

Each triangle will become a croissant. Make a small cut at the base of the triangle, spread the two sides a little, and then roll from the base toward the tip.
Be gentle, and use your palms to guide the shape. Place the finished croissants on a parchment-lined baking sheet, cover loosely with plastic, and pop them in the freezer for 20 minutes. This helps them hold their shape.
Right before baking, whisk together an egg yolk with a splash of heavy cream or melted butter. Brush this mixture lightly over each croissant. Bake in a preheated 350°F oven for 20 to 30 minutes, until they’re beautifully golden and flaky. Enjoy them warm, straight from the oven, and if you like a little extra sweetness, drizzle melted chocolate over the top before serving.
Tips To Help Them Turn Out Right Every Time
Read the recipe twice. The recipe is not complex, but reading through it a few times will help you understand the process. I've elaborated on it above, so you know why each step is done.
Make it a 2-day commitment. Depending on when you start the recipe, it can be up to two days to make sure these turn out right. Don't skimp. They're worth it.
Use the ingredients in the recipe card below. This recipe has been tried and tested with specific ingredients. If you want yours to turn out like the ones in my photos and video, follow the ingredients exactly.
Store-Bought Gluten-Free Croissants
Sometimes you might not have the time to make your own pastries. I get it! So where are the best places to buy gf croissants?
The answer depends where you are. Around Chicago, I've seen two different gluten-free spots (which are normally stellar for fresh baked goods) that don't make croissants at all. They have cupcakes, bread, and even cake. But they don't make croissants.
Instead, you can find frozen ones from Shar. They're celiac-friendly, but they do contain wheat starch. You can also try to make a similacrum with gf puff pastry dough. That's often difficult to find, and the flavor won't be nearly as good as making your own.
Frequently Asked Questions
Here are a few things readers have asked about in the past. The short answer for most other questions is usually, "follow the recipe!" But if I haven't answered yours, please let me know in the comments!
Any Tips for Shaping Gluten-Free Croissants?
There are two things you may want to try to make sure your pastries turn out just right. The first is a perfect 9" x 14" rectangle. That means cutting it out after rolling it.
And use a ruler! It might sound unusual, but it works. Using a ruler, mark every 3" and cut straight. You should have even rectangles. Cut them diagonally to get triangles with even sides.
Make a small cut in the middle of the shortest side and spread the two sides. Be careful not to rip the dough. Using your palm, roll the dough to form the croissant. Repeat with the rest.
What Substitutions Can I Make?
Vegan - Try using an egg replacer, vegan butter, and vegan whipping cream. I have not tried this myself, so it may require a bit of trial and error.
Dairy-free - Use vegan whipping cream. Again, I have not tested this. Comment below if you do. I love to hear how your substitutions work out!
Au chocolat - If you want to make gluten-free chocolate croissants, just add some chocolate to the center when you roll them. It will melt inside for a decadent treat. Or make them as described and serve them with Whipped Hot Chocolate!
Xanthan gum - Some bakers like to swap psyllium husk from their recipes. If you do, you'll want another binding agent. Xanthan gum would be my first choice. That said, I haven't tried it in this!
How Do I Store These Gluten-Free Croissants?
You can store them in an airtight container for up to 1-2 days. Any longer and I would suggest you freeze them and bake them fresh.
Can I Freeze Them?
Yes, you can. I would make them up to the step just before placing them in the oven. Par freeze them on a baking tray and then transfer them into a freezer bag or airtight container. You can freeze them for up to 3 months.
Can You Make These GF Croissants Ahead of Time?
Yes, you can. I suggest you make them and then freeze them. Take them out of the freezer on the day you want to serve them. I've mentioned this earlier. It's a two day-recipe, but you can store them for later!
How Do I Serve Croissants?
Serve them as is with a cup of coffee or tea. You can also add toppings like melted chocolate. You could even add a savory filling to them, like some delicious melted brie. You can even cut them in half to make little croissant sandwiches!
Gluten-Free Croissants

I never thought gluten-free croissants could be this light and buttery. Here is the recipe that worked.
Ingredients
For the Dough (detrempe)
- 420 g all purpose gluten-free flour
- 129 g sugar
- 16 g instant dry yeast
- 5 g salt
- 17 g baking powder
- 13 g psyllium husk powder
- 56 g butter, melted
- 301 g warm water
For the Butter Block (Beurrage)
- 175 g European butter
- 1 egg yolk
- 1 tbsp heavy whipping cream
Instructions
1. Mix dry ingredients, including yeast, in a large bowl.
2. Stir to combine.
3. Add water and butter.
4. Knead with a dough hook until a sticky dough forms.
5. Add a splash of water if too dry.
6. Cover the bowl with plastic wrap and a towel.
7. Proof in oven with light on, 2–3 hours.
8. Dough should double, but don’t stress if it doesn’t.
9. Move bowl to fridge for 4 hours.
10. Make a butter block between parchment, roll to 8x6, chill 4 hours.
11. Let the dough and butter sit out 5 minutes.
12. Roll the dough to an 18x25 rectangle, place butter in the center, and fold the sides.
13. Roll out gently to form a large rectangle.
14. Trim edges, cut into triangles, roll into croissants.
15. Freeze 20 minutes, brush with egg wash.
16. Bake at 350°F for 20–30 minutes until golden.
Notes
- Read the recipe a few times so you can familiarize yourself with the steps.
- Use the ingredients as listed; they make a difference!
Recommended Products
As an Amazon Associate and member of other affiliate programs, I earn from qualifying purchases. They never cost you extra.




Nutrition Information:
Yield:
8Serving Size:
1Amount Per Serving: Calories: 292Total Fat: 25gSaturated Fat: 16gTrans Fat: 1gUnsaturated Fat: 8gCholesterol: 87mgSodium: 661mgCarbohydrates: 18gFiber: 0gSugar: 16gProtein: 1g
This nutrition info is based on the exact ingredients and brands that I used a the time. It may not be 100% accurate. Please check your ingredients nutrition labels.
Did you make this gluten-free croissant recipe? Please leave me a comment below, letting me know what you thought.
DID YOU MAKE THIS RECIPE?
Tag @glutenfreepalate on Instagram and hashtag it #glutenfreepalatebaker so we can see all the deliciousness!





Ps
Any other flour thatcan be used? Bobs red mill ap has garbanzo flour that my stomach has problems with.
Wendy Stoltz
Hi Ps, take a look at this article and see which flour you can make yourself that helps with your dietary requirements https://www.glutenfreepalate.com/gluten-free-flours/
Sharon Ripps
Do you have a photo of the inside? Don’t most croissants get folded and rolled 3 times?
Jim
This video shows a bit the inside!
Sharon
Looks pretty tough, thanks,