


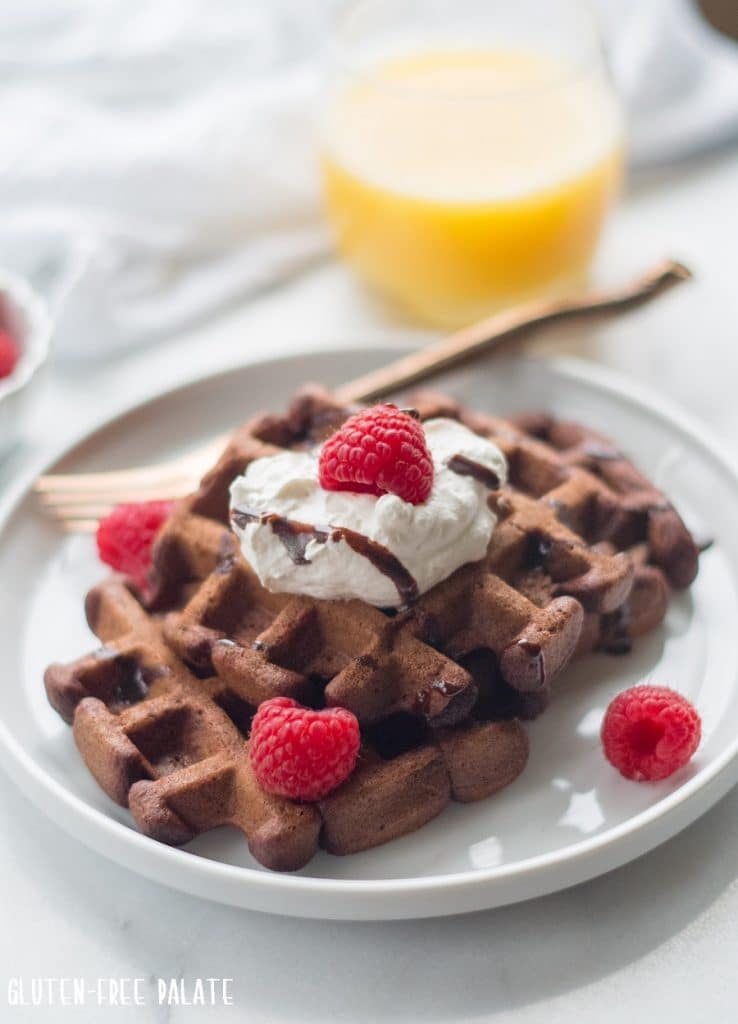
Homemade gluten-free chocolate waffles that are dairy-free, nut-free, and easy enough for breakfast any time of the year. They turn out fudgy and dense, and they are perfect with maple syrup, a drizzle of chocolate sauce, or a pile of berries.
These waffles are an adaptation of my Gluten-Free Waffles recipe. If you like chocolate, you’ll also want to try my Gluten Free Chocolate Muffins.
Gluten-Free Chocolate Waffles
Raise your hand if you like waffles. Now raise it again if you like chocolate. If you’re a fan of both, you’ll love these gluten-free chocolate waffles. They’re fudgy, dense, and they hold up beautifully under syrup, fruit, and toppings.
They come together fast using pantry staples, including eggs, cocoa powder, and a gluten-free flour blend. The batter mixes in one bowl and you can stir it up in just a couple minutes.
- Uses simple dry ingredients plus dairy-free milk and oil
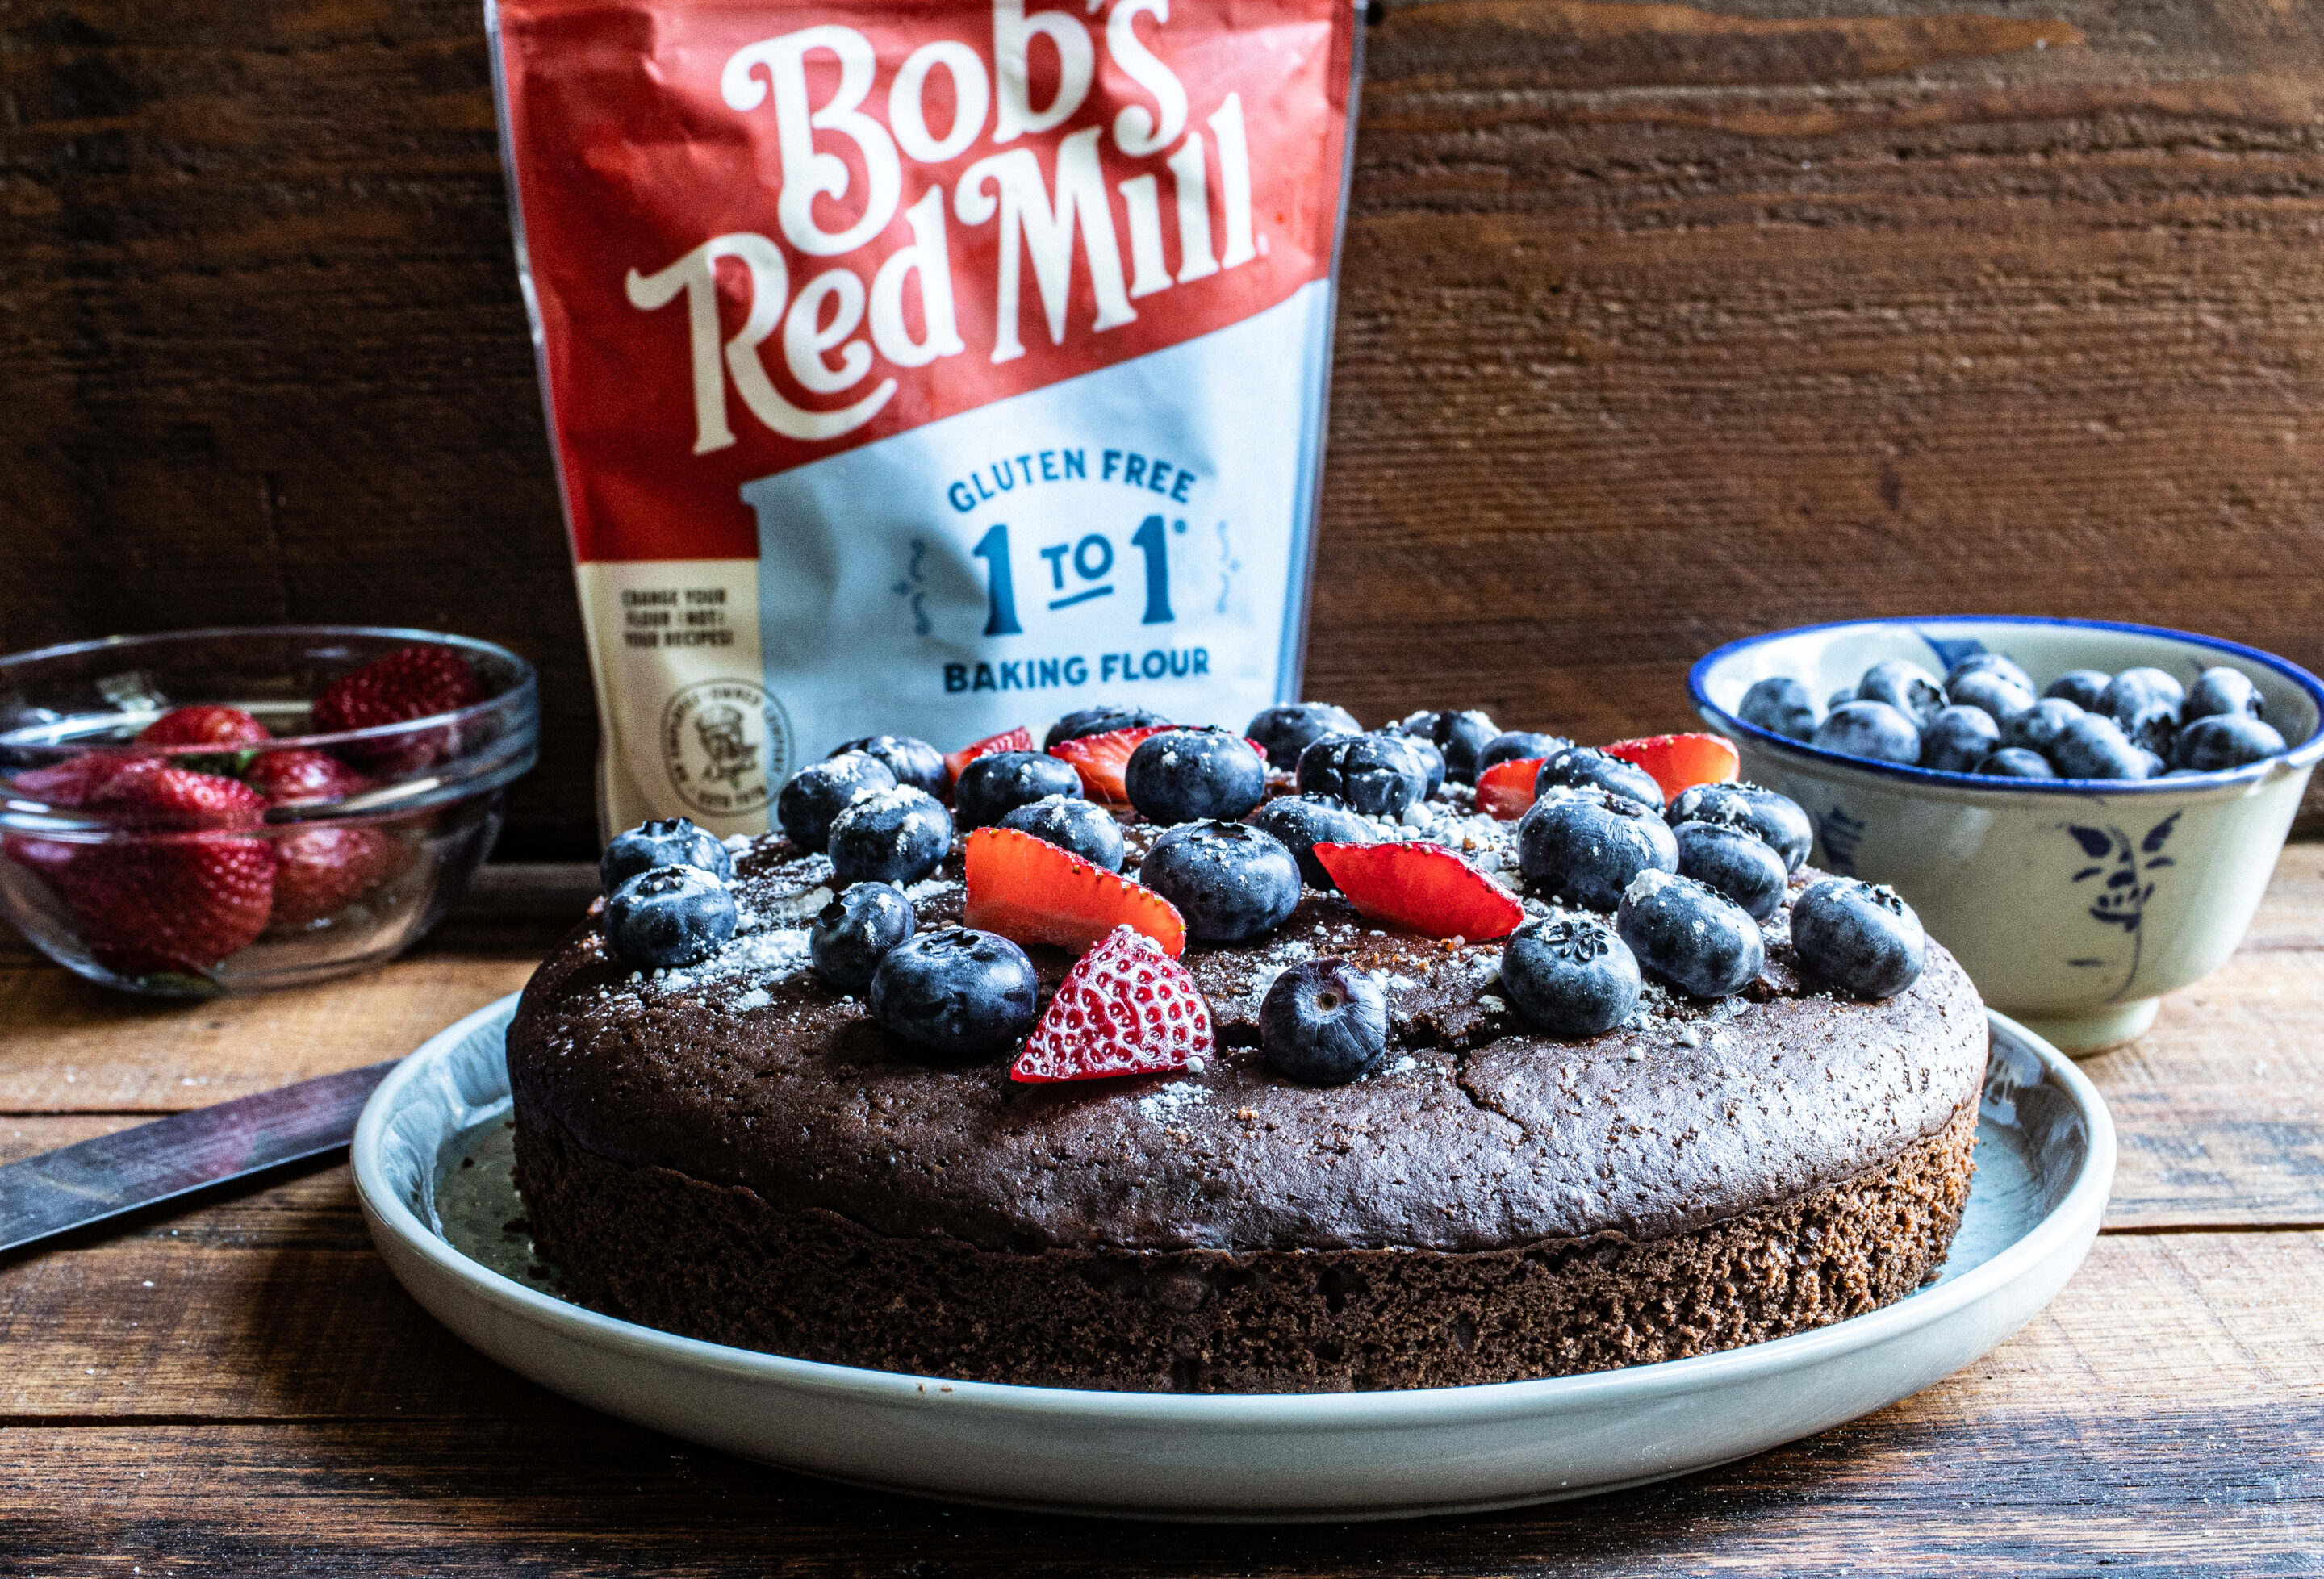
- Works well with Bob’s Red Mill 1-to-1 and Ryze Yellow Bag flour blends
- Freezer-friendly for quick breakfasts and snacks
Key ingredient notes
Flour blend: This recipe uses 1 ¾ cups all-purpose gluten free flour blend. Bob’s Red Mill and Ryze Yellow Bag both work well. Different blends absorb liquid differently, so the batter may look slightly thicker or looser depending on what you use.
Xanthan gum: Check your blend. If your flour blend already contains xanthan gum, you are set. If it does not, add about ¾ teaspoons xanthan gum for this batch to help the waffles hold together and release cleanly.
Cocoa: Use unsweetened cocoa powder, and whisk it thoroughly with the dry ingredients so you don’t get bitter cocoa pockets in the finished waffles.
Optional add-in: If you want a sweeter, more dessert-like waffle, fold in a small handful of chocolate chips right after mixing. Keep it light so the waffles still cook through evenly.
How to make them
Preheat your non-stick waffle iron. A hot waffle iron matters, it helps set the exterior quickly so the center cooks without tearing when you lift the waffle out.
- In a large mixing bowl, combine the dry ingredients: gluten-free flour blend, unsweetened cocoa, granulated sugar, gluten-free baking powder, and salt.
- Add the vanilla, eggs, dairy-free milk, and oil. Stir just until smooth.
- If your waffle iron has a true non-stick surface, skip spray. If your waffle iron is not non-stick, spray your preheated waffle iron with non-stick cooking spray.
- Pour batter onto the hot waffle iron, about ¼ cup for small square waffles, or ⅓ cup for round waffles. Cook until the center is set.
- Remove the waffle, then repeat with the remaining batter.
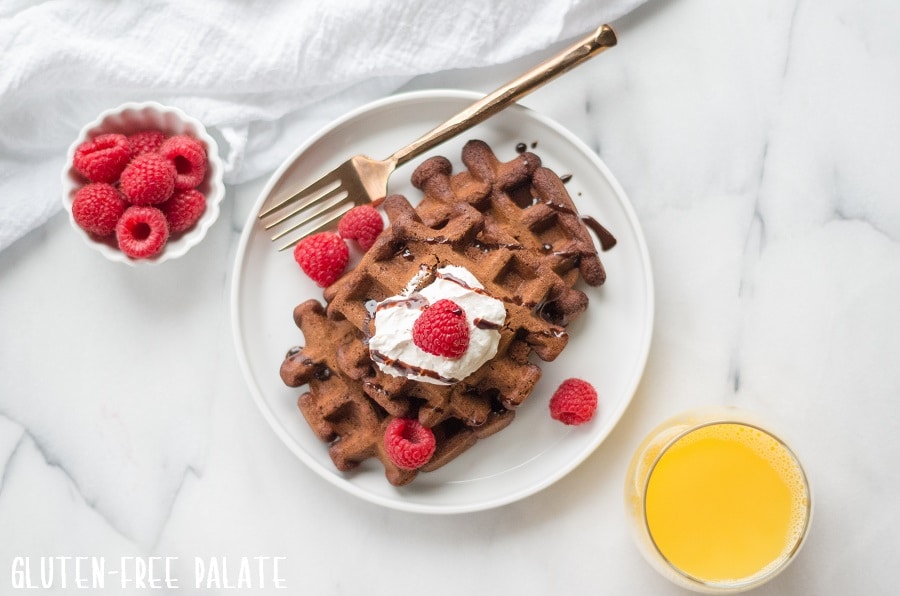
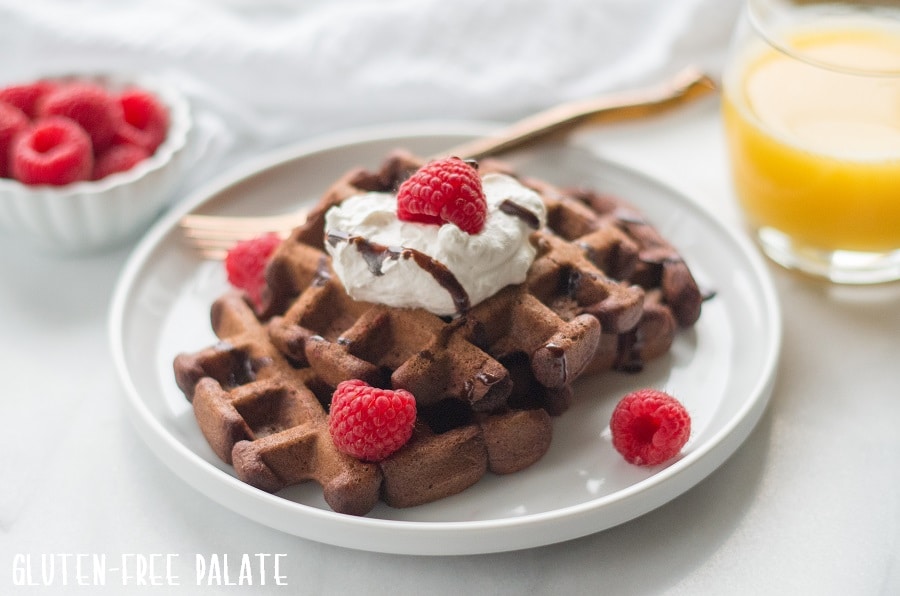
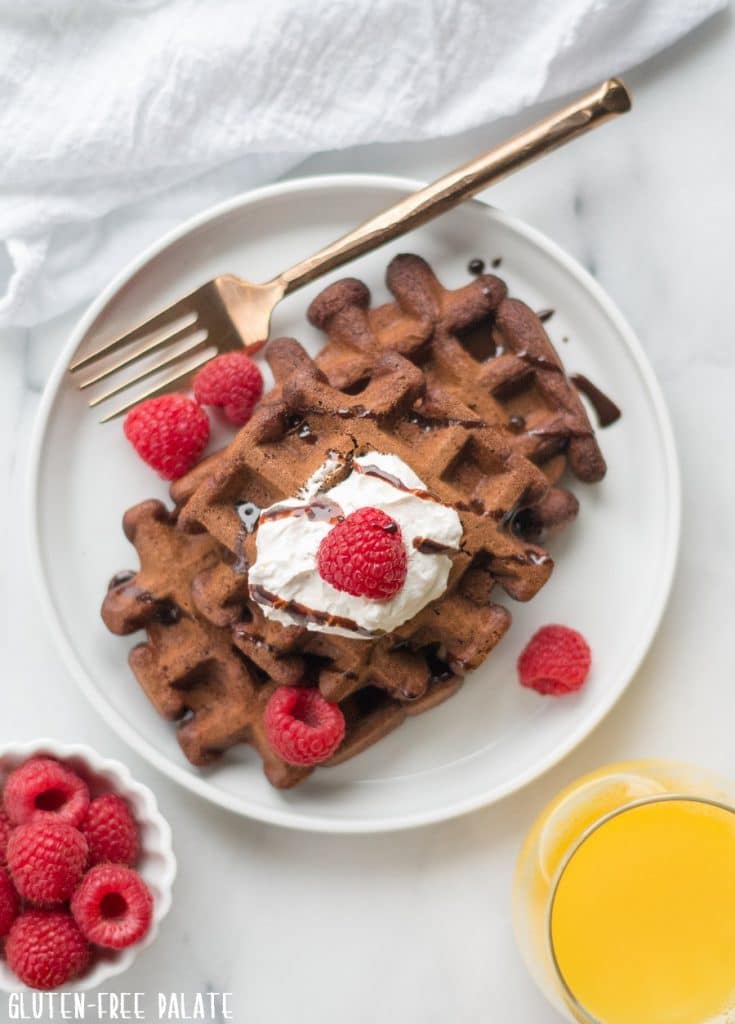
Top with your favorite toppings and serve hot. We love strawberries, raspberries, and other berries, plus a little dairy-free butter if you want that classic waffle shop feel. If you’re serving these for brunch, they pair nicely with orange juice, and yes, even a cold soda if that’s your family’s thing.
When I first made these waffles, my kids devoured the whole batch in less than a week. Not only did they enjoy them for breakfast, one night we used them to make gluten free ice cream sandwiches. We smashed a large scoop of dairy-free vanilla ice cream in between two gluten-free chocolate waffles and called it dessert. Another night we made s’mores with them, delish.
Working with gluten-free flours
For gluten-free baking, measuring well makes a big difference. Spoon the flour into your measuring cup and level it off. Avoid scooping the cup directly into the flour, it packs the flour and can leave you with a dry batter. Weighing is the most accurate method when you can.
This recipe uses 4 teaspoons of gluten-free baking powder, and those teaspoons matter for lift and texture. If your waffles seem dense beyond the intended fudgy texture, make sure your baking powder is fresh.
This batch makes about 12–16 waffles, depending on the size of your waffle iron. I love batch-cooking and often double the waffles and freeze them for my girls.
They pull frozen waffles from the freezer and toast them for a quick, filling breakfast. I usually serve them with fruit and a protein, but they’re plenty satisfying on their own.
Troubleshooting
Waffles are sticking
If your waffles are sticking to the waffle maker, it usually comes down to one of three things:
- Your waffle iron temperature is too low. Let it preheat fully so the batter starts setting right away.
- The surface and spray rules are mismatched. If your waffle iron is non-stick, skip cooking spray. If it is not non-stick, spray the preheated iron.
- You opened the iron too early. Wait until the waffle looks set and releases more easily before lifting it out.
If you share a waffle iron between gluten and gluten-free cooking, clean it extremely well and consider keeping a dedicated iron for gluten-free use to reduce cross-contact.
If you made these gluten-free chocolate waffles, tell me what you think in the comments. If you share a photo on social media, I love seeing your waffle creations and toppings.
Gluten-Free Chocolate Waffles
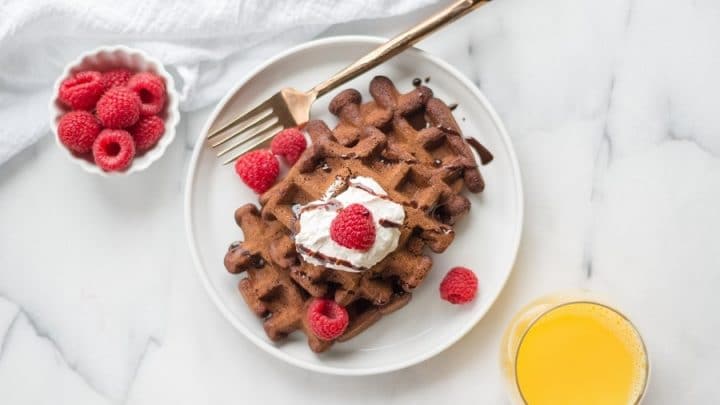
Homemade Gluten-Free Chocolate Waffles that are dairy-free, nut-free, and perfect for breakfast any time of the year.
Ingredients
- 1 ¾ cups all-purpose gluten free flour blend (Bob's Red Mill and Ryze Yellow Bag both work well)
- ¼ cup unsweetened cocoa
- 3 tablespoons granulated sugar
- 4 teaspoons gluten-free baking powder
- ½ teaspoon salt
- 1 teaspoon gluten-free vanilla extract
- 2 eggs
- 2 cups dairy-free milk
- ½ cup oil
Instructions
- Preheat your non-stick waffle iron.
- In a large mixing bowl, combine flour, cocoa, sugar, baking powder, and salt.
- Add in the vanilla, eggs, milk, and oil. Mix just until smooth.
- Make sure your waffle iron is hot before you get started! If your waffle iron is not non-stick, spray your preheated waffle iron with non-stick cooking spray.
- Pour mix onto hot waffle iron, approximately ¼ cup for small square waffles, ⅓ cup for round waffles. Cook until the center is set.
- Remove waffle from waffle iron.
- Top with your favorite toppings. Serve hot!
Recommended Products
As an Amazon Associate and member of other affiliate programs, I earn from qualifying purchases. They never cost you extra.

Nutrition Information:
Yield:
8Serving Size:
1Amount Per Serving: Calories: 261Total Fat: 17gSaturated Fat: 2gTrans Fat: 0gUnsaturated Fat: 14gCholesterol: 51mgSodium: 426mgCarbohydrates: 22gFiber: 1gSugar: 5gProtein: 6g
These are more fudgy and dense than “thin and crispy,” but you can still get a crisp outside if your waffle iron is fully preheated and you cook until the center is set. For extra crisp edges, avoid opening the iron early and let the waffles finish cooking before you lift them out. If you stack hot waffles, steam softens them fast, so serve right away or keep them warm in a single layer.
In my kitchen, Bob’s Red Mill 1-to-1 and Ryze Yellow Bag both work well with this batter. Different blends absorb liquid differently, so the texture can vary a little from brand to brand, but those two are reliable for this recipe.
Yes. Use the recipe as written with 1 ¾ cups of Bob’s Red Mill 1-to-1 gluten free flour blend. Mix the dry ingredients first, then add the wet ingredients and stir just until smooth.
If your blend does not include xanthan gum, add about ¾ teaspoons for this batch. That small amount helps the waffles hold together and release from the iron more cleanly. If your blend already includes xanthan gum, you do not need to add more.
Yes. This recipe already uses dairy-free milk and oil instead of butter in the batter. Use your favorite unsweetened dairy-free milk, and then top with whatever works for your home, dairy-free butter, fruit, or syrup.
Yes, as long as your gluten-free flour blend and dairy-free milk are nut-free. I always recommend checking labels for shared equipment statements if you are cooking for allergies.
This recipe is written with eggs, and they help with structure and that fudgy interior. If you need egg-free waffles, I recommend using an egg-free gluten-free waffle recipe that was tested that way, because swapping eggs in chocolate waffle batter can change the set and how cleanly the waffles release.
You can reduce the 3 tablespoons of sugar slightly, but keep in mind sugar helps with browning and texture. If you cut it too much, the waffles can taste more bitter from the cocoa powder and they may brown less.
Yes. Stir in chocolate chips after the batter is mixed smooth, right before you start cooking. I keep it to a small handful so the waffles still cook evenly and do not tear when you lift them out.
Use unsweetened cocoa powder. Make sure you whisk it well with the other dry ingredients so it distributes evenly and you do not get pockets of cocoa in the finished waffles.
The most common reason is the flour blend. Some blends absorb more liquid than others. Use the recipe as written first, then adjust only if you truly need to. If the batter is unusually thick, let it sit for a couple minutes, then stir again before deciding. If it is still too thick to spread, add a small splash of dairy-free milk. If it is runny, double-check that you measured 1 ¾ cups flour and 2 cups milk correctly.
Sticking usually comes down to heat and the iron surface. Preheat fully, then follow the spray rule, if the waffle iron is non-stick, do not spray. If it is not non-stick, spray the preheated iron lightly. Also, do not open the iron early. Wait until the center is set so the waffle releases more easily.
This typically happens when the waffle is undercooked or the iron was not hot enough to set the outside quickly. Cook until the center is set and the waffle lifts out cleanly. Also check whether your flour blend includes xanthan gum, it helps with structure and can make a big difference in how sturdy the waffles feel.
Cook until the center is set and the waffle releases easily when you lift it out. If you pull it too early, the inside is still soft and it can tear. When in doubt, give it another minute and check again.
I prefer making the batter and cooking right away, because the baking powder starts working once the wet and dry ingredients combine. If you need to prep, you can mix the dry ingredients in advance and store them, then add the wet ingredients and stir just until smooth when you are ready to cook.
Yes, they freeze well. Let waffles cool completely, then freeze in a single layer until firm, and transfer to a freezer bag. That prevents them from freezing into a solid block. They are great pulled straight from the freezer for quick breakfasts.
The toaster is the easiest for day-to-day. For a bigger batch, reheat in the oven on a baking sheet so air can circulate. Avoid microwaving if you want any crispness, the microwave softens them quickly.
They are best fresh, but they keep well for a few days in the fridge and longer in the freezer. I like freezing for the best texture and easiest reheating.
Yes, you can double it. Just keep the same method, combine the dry ingredients first, then add the wet ingredients and stir until smooth. If you are making a double batch, keep cooked waffles from steaming by laying them in a single layer until serving or freezing.
My favorites are strawberries and other berries, plus maple syrup and a little dairy-free butter. You can also add chocolate chips on top while the waffles are hot, or use them as the base for ice cream sandwiches for dessert.
I usually serve them with fruit and a protein. If you want a fun weekend breakfast, add a big bowl of berries and a glass of orange juice. Kids are kids, so I have also seen these eaten with a random morning soda, no judgment, just balance the rest of the day.
Frequently Asked Questions
Are gluten-free chocolate waffles crispy, or are they soft?
What’s the best gluten-free flour blend for gluten-free chocolate waffles?
Can I use Bob’s Red Mill 1-to-1 in this recipe?
If my flour blend does not include xanthan gum, how much should I add?
Can I make these waffles dairy-free?
Can I make these waffles nut-free?
Can I make these waffles egg-free?
Can I reduce the sugar?
Can I add chocolate chips?
What cocoa should I use for this recipe?
Why is my batter too thick or too runny?
Why are my waffles sticking to the waffle iron?
Why are my waffles falling apart when I remove them?
How do I know when a waffle is done?
Can I make the batter ahead of time?
Can I freeze gluten-free chocolate waffles?
What’s the best way to reheat them so they don’t get soggy?
How long do these waffles keep?
Can I double the recipe?
What toppings go best with chocolate waffles?
What should I serve with these for breakfast?
DID YOU MAKE THIS RECIPE?
Tag @glutenfreepalate on Instagram and hashtag it #glutenfreepalatebaker so we can see all the deliciousness!


Natalie
These waffles look perfect for weekend brunch! YUM!
Tim Hammond
This recipe lead to very runny batter. I added another 1/2 cup or more of flour. For my round maker I used 2/3-1 cup if batter per waffle. They came out MUCH fluffier than those with just 1/3 cup which were crispy and wafer like.
chrystal
Hi Tim,
Did you use Ryze flour in this recipe? The batter shouldn't have been runny. Ryze is 100% rice flour, and absorbs the wet ingredients more then other flour blends.
Best,
Chrystal
Trent Hilderbrand
I used the flower substitute from Costco, in extra egg, a few chocolate chips, brown sugar instead of white and some almonds. They came out very fluffy in spite of the batter being a little runnier than I expected. some of the best waffles I've ever had thanks for the recipe 🙂
chrystal
Thanks for sharing! I'm so glad you like them.
Best,
Chrystal
Olivia
Hi can I use dairy milk in these?
chrystal
Yes, you can.
Best,
Chrystal
annie
What can i sub for ryze?
Lindsay
You don't need to use Ryze in this recipe. Any all-purpose gluten-free flour blend can be used. Bob's Red Mill 1:1 is a good option.