

Gluten-free rye bread is not as difficult to make as you might think.
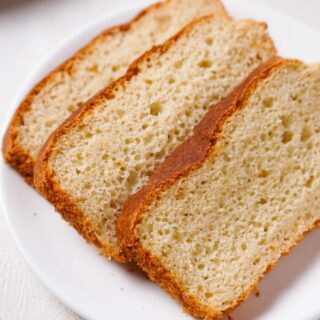
Missing your Reuben or deli sandwich? This gluten-free rye bread will satisfy that craving with its fluffy center and the perfect crust. So, get those sandwich ingredients ready, this recipe is worth the effort, and I've included step-by-step directions. You'll be enjoying the sandwich you've craved for!
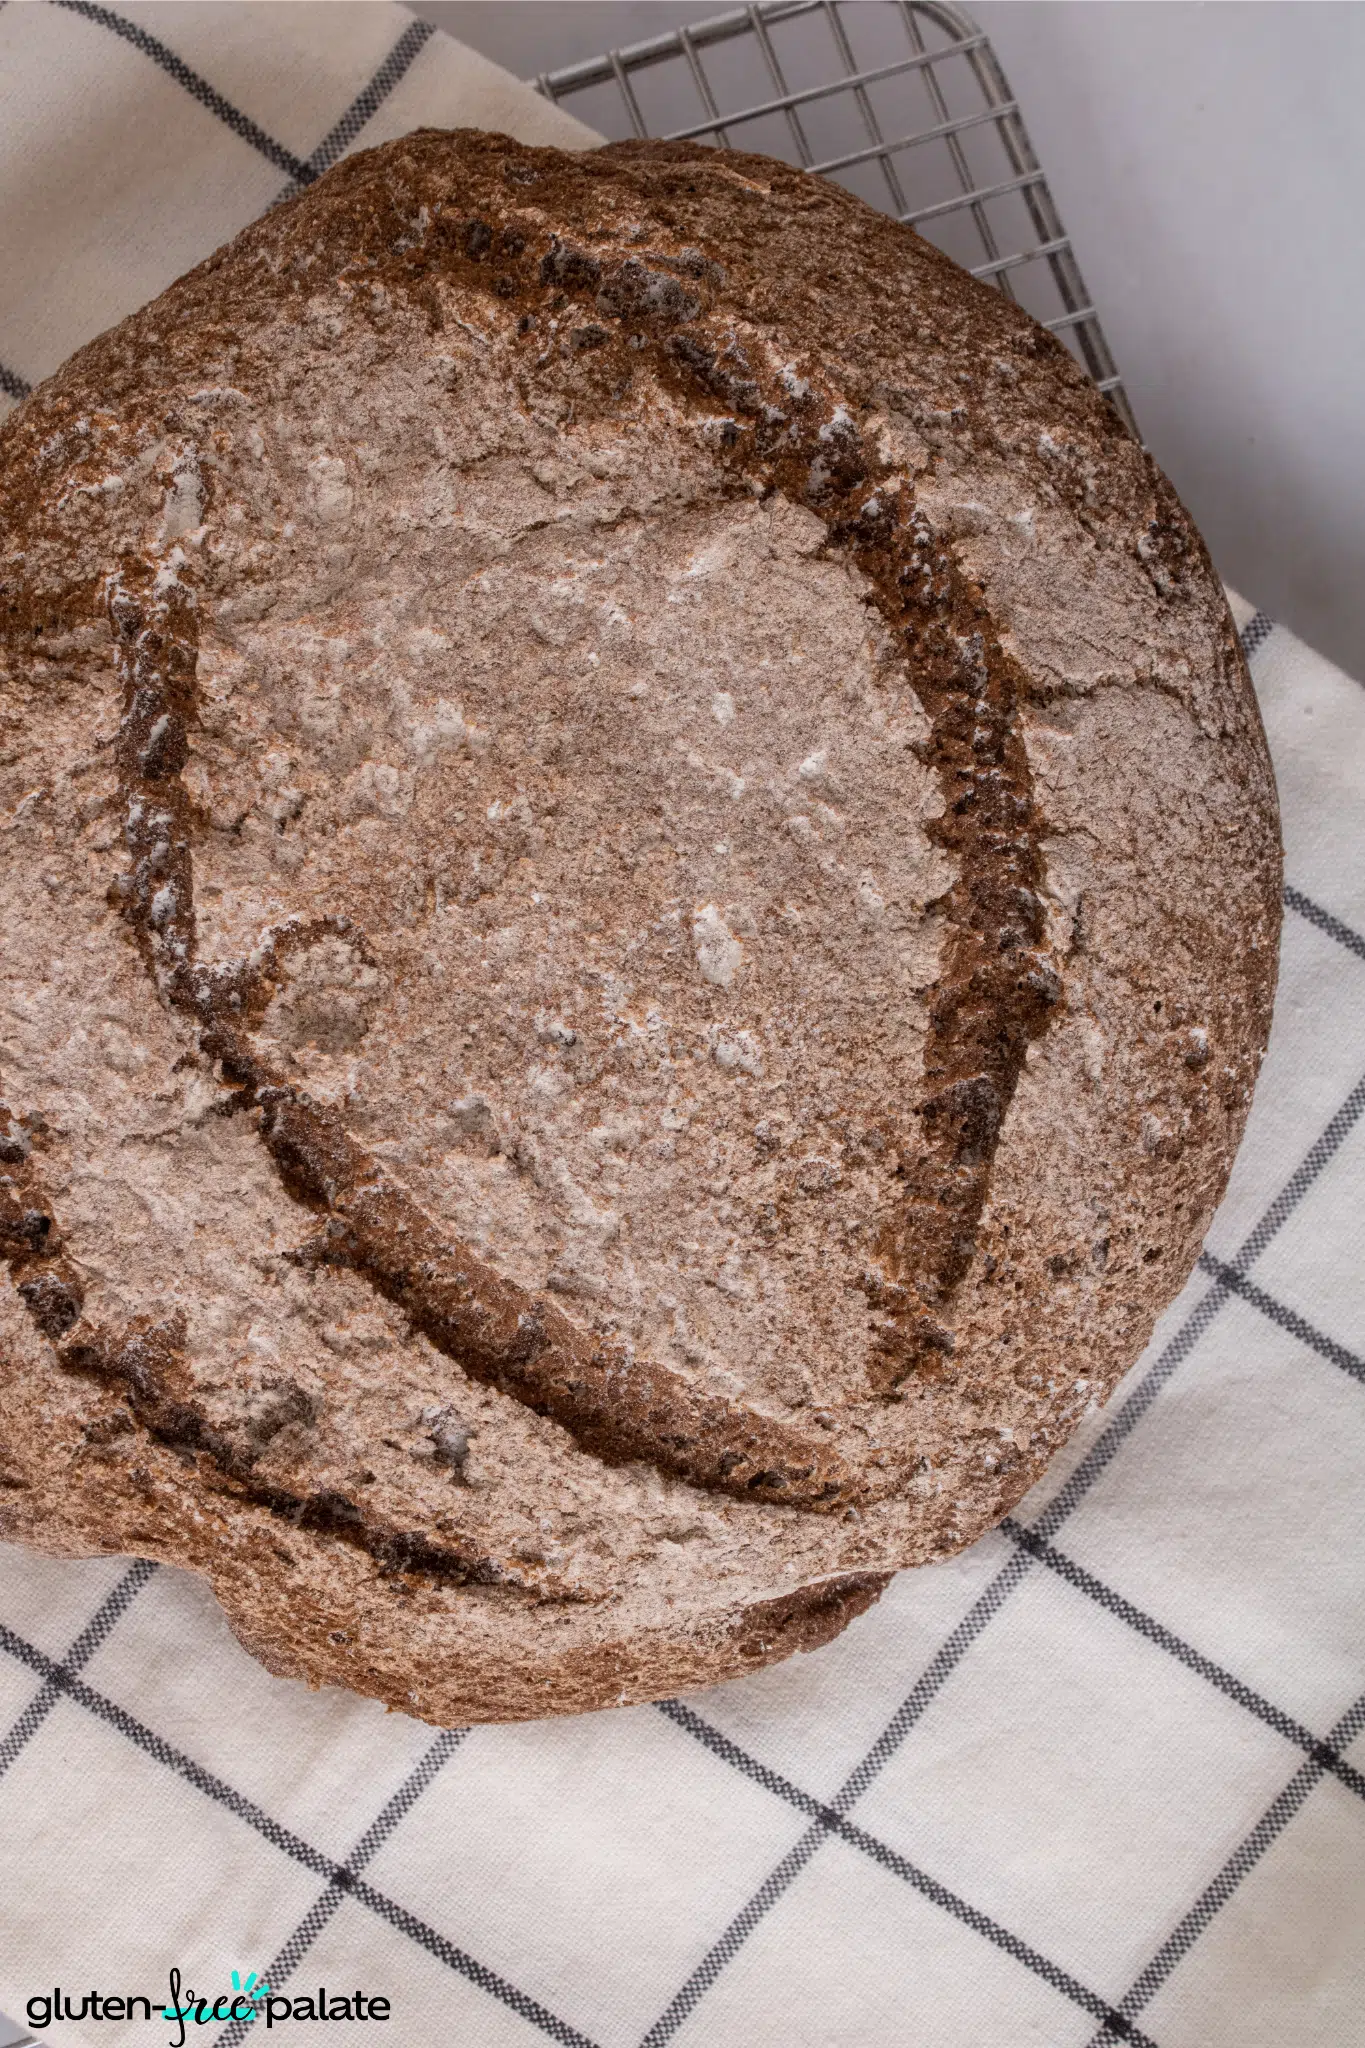
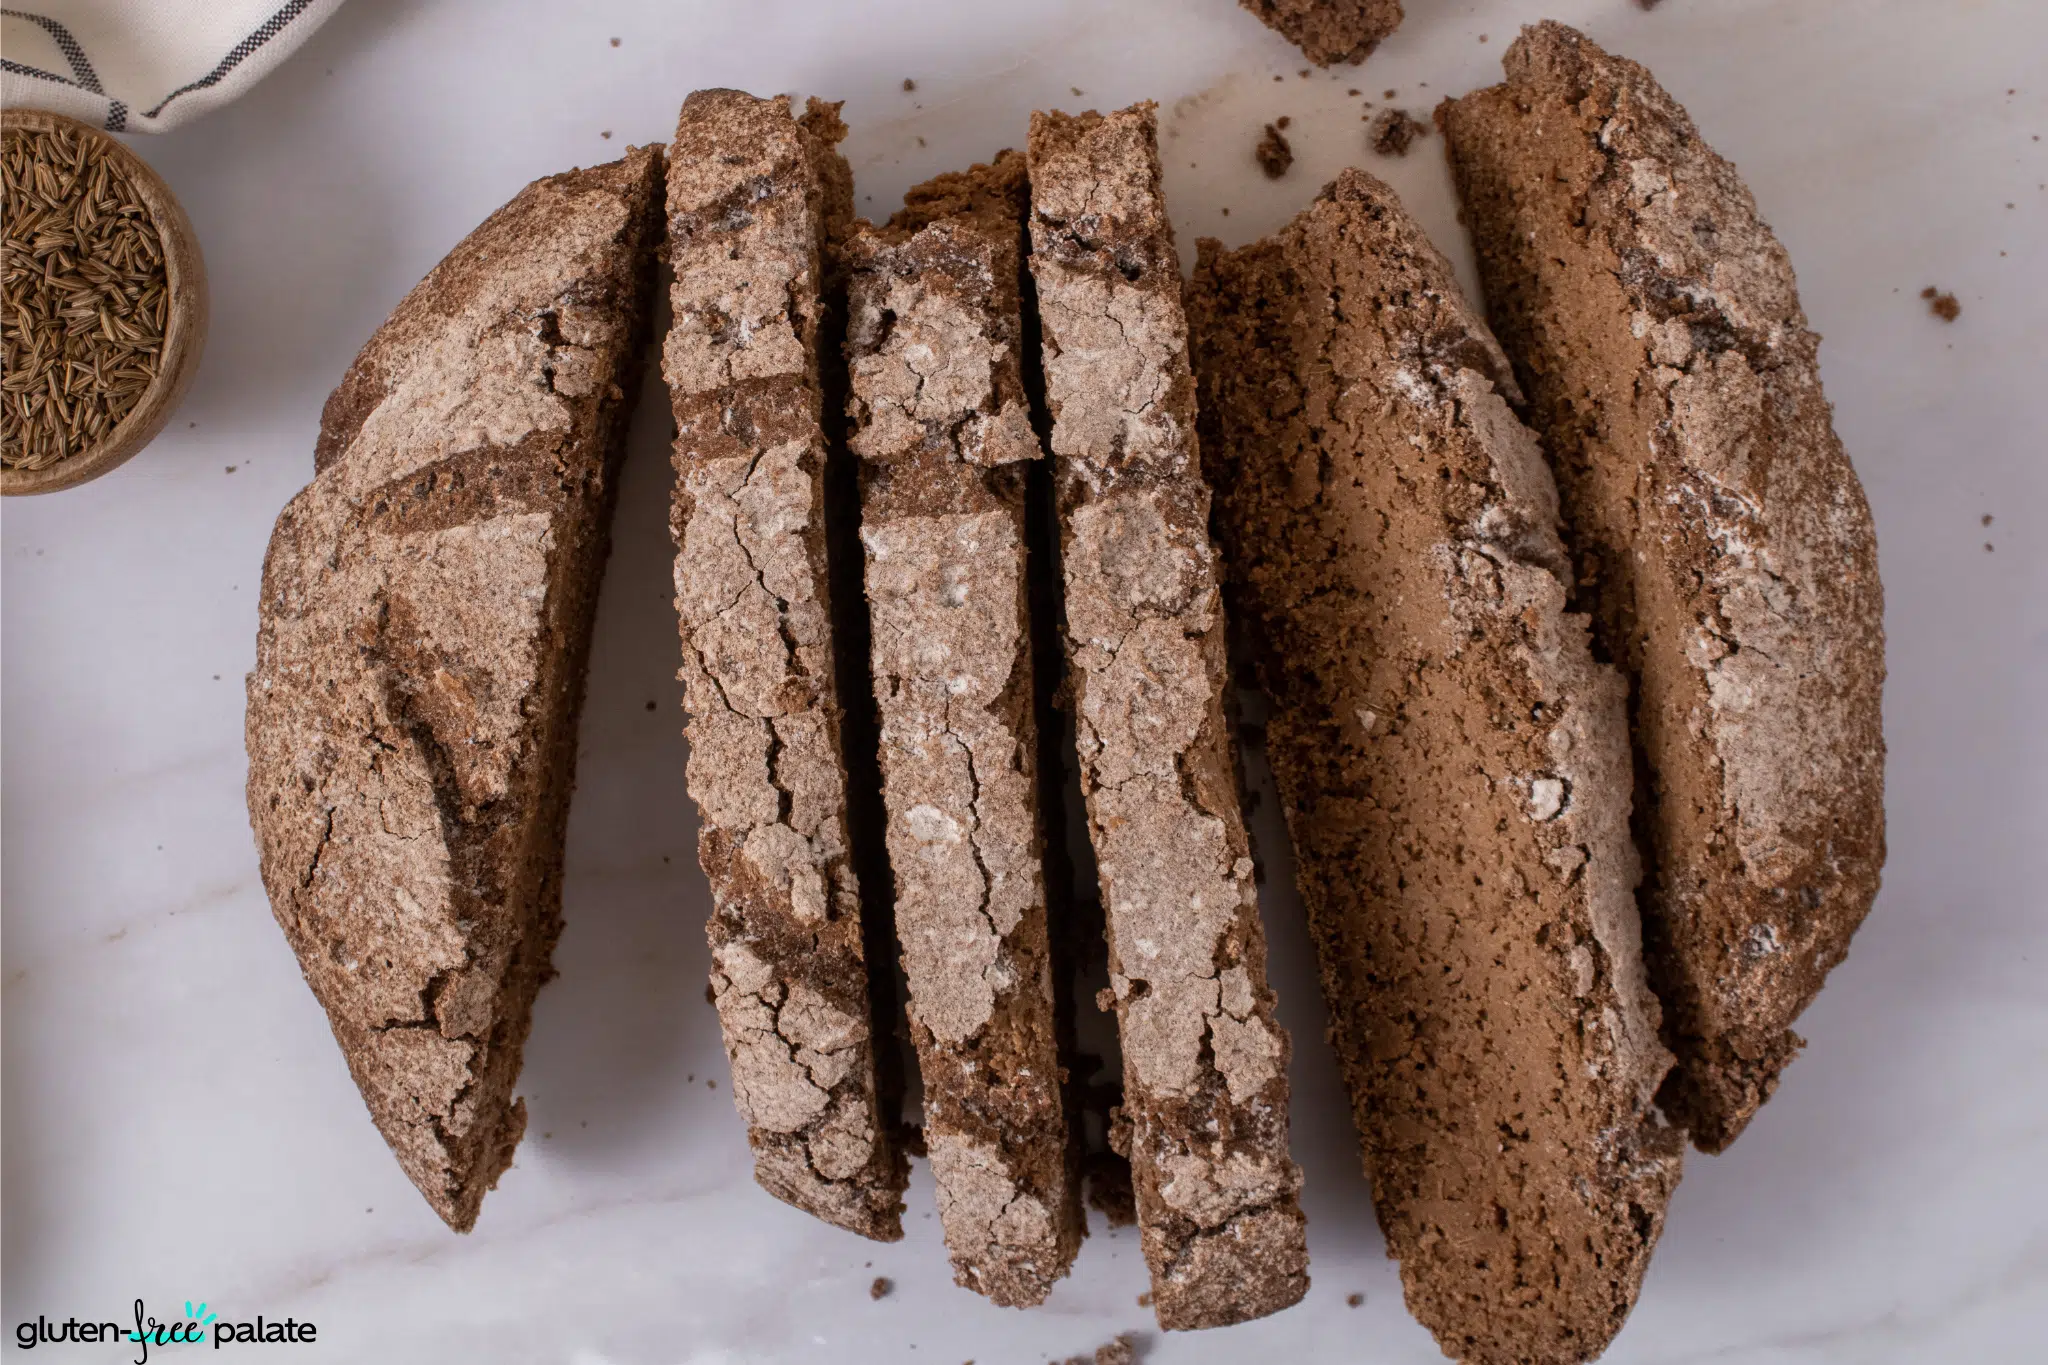
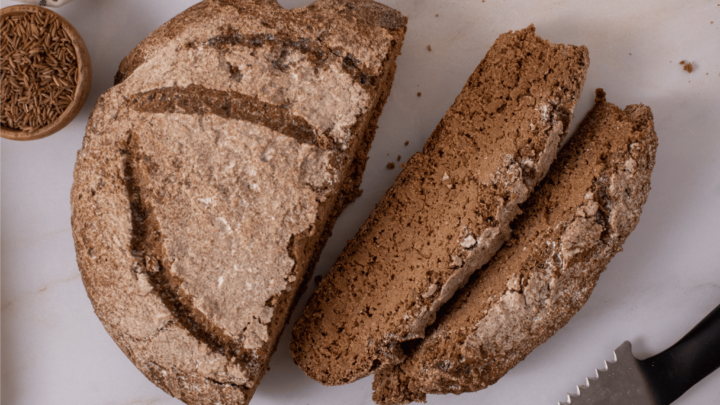
You don't need to miss out on your rye bread on a gluten-free diet. This recipe has been tried and tested, and I believe it is the closest to rye bread after extensive trial and error. The crust and center mimic the rye bread you've come to know, and the taste is really good.
Make your own breadcrumbs with this gluten-free bread crumbs recipe. Try these other bread options like this homemade gluten-free bread recipe that's simple to make, dairy-free, and bakes into the best gluten-free bread. Alternatively, make a beautiful free-form rustic loaf of gluten-free sourdough bread!
GLUTEN-FREE RYE BREAD RECIPE
Just because you can't have rye flour, you can make this gf rye bread believable with a secret ingredient! Guess what the secret ingredient is in rye bread? Cocoa powder! Unsweetened cocoa powder gives the rye loaf its distinct color, and molasses further enhances it.
This recipe is worth the time and effort when you're biting into your deli sandwich or Reuben sandwich! No more reminiscing about bread once you've made this loaf.
WHY YOU’RE GOING TO LOVE THIS GLUTEN-FREE RYE BREAD
Sandwiches - One of the things I crave most for being gluten-free is bread that tastes like bread (and not, say, cheesy breadsticks). This bread is perfect for deli-style sandwiches or if you love a good Reuben sandwich.
Satisfying to make - Making your own homemade bread is such a satisfying process.
Taste - This loaf tastes so good, from the soft center to the perfect crust.
INGREDIENTS IN GLUTEN-FREE RYE BREAD
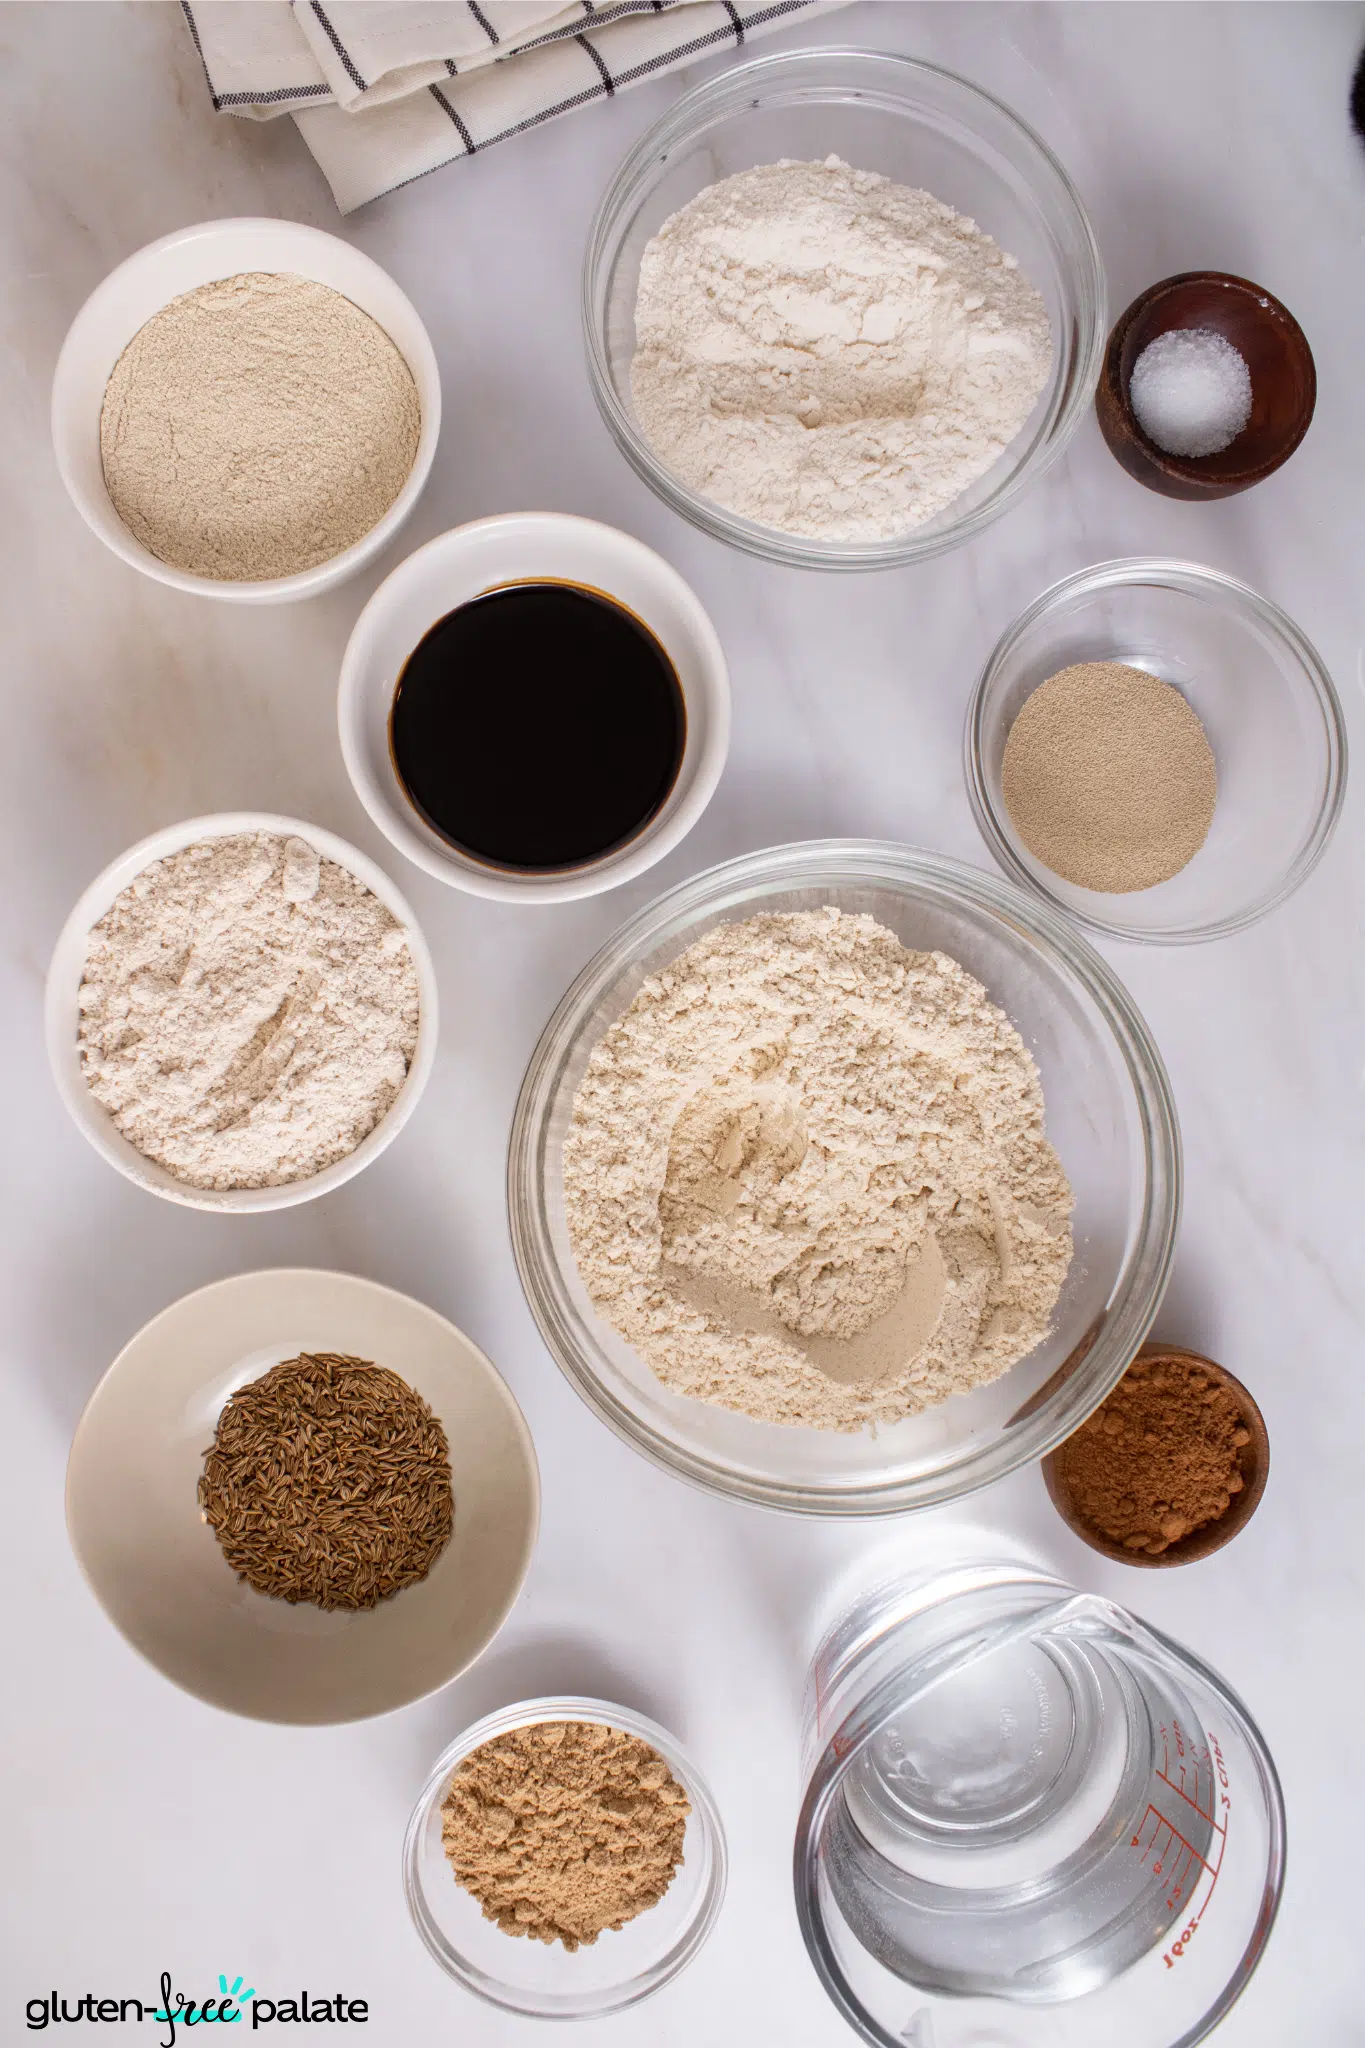
Flour - You'll need sorghum flour, brown rice flour, oat flour, and quinoa flour.
Psyllium husk powder - This acts as a binder to keep the bread together so it doesn't crumble.
Cocoa powder - As mentioned, the unsweetened cocoa powder gives the gf rye bread its distinctive color.
Salt - I've used sea salt.
Caraway seeds - Caraway seeds give the GF rye bread its dense texture and taste.
Yeast - I have used active dry yeast.
Molasses - Molasses also contribute to the deep brown color of rye bread.
Water - Warm water to add to the yeast.
EQUIPMENT NEEDED FOR THIS GLUTEN-FREE RYE BREAD
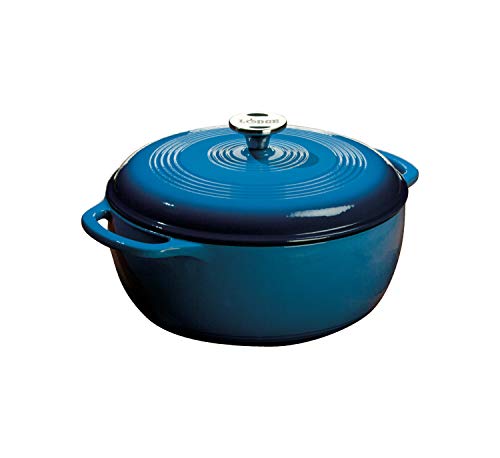
Dutch oven - This Dutch oven is so versatile.
Stand mixer - Use a stand mixer to make the dough mix through nicely.
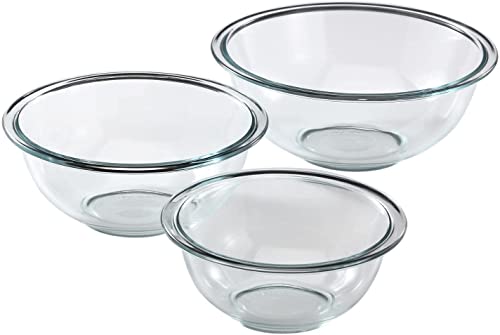
Mixing bowls - These Pyrex mixing bowls come in handy.
Related: Best Gluten-Free Bread Makers
HOW TO MAKE GLUTEN-FREE RYE BREAD
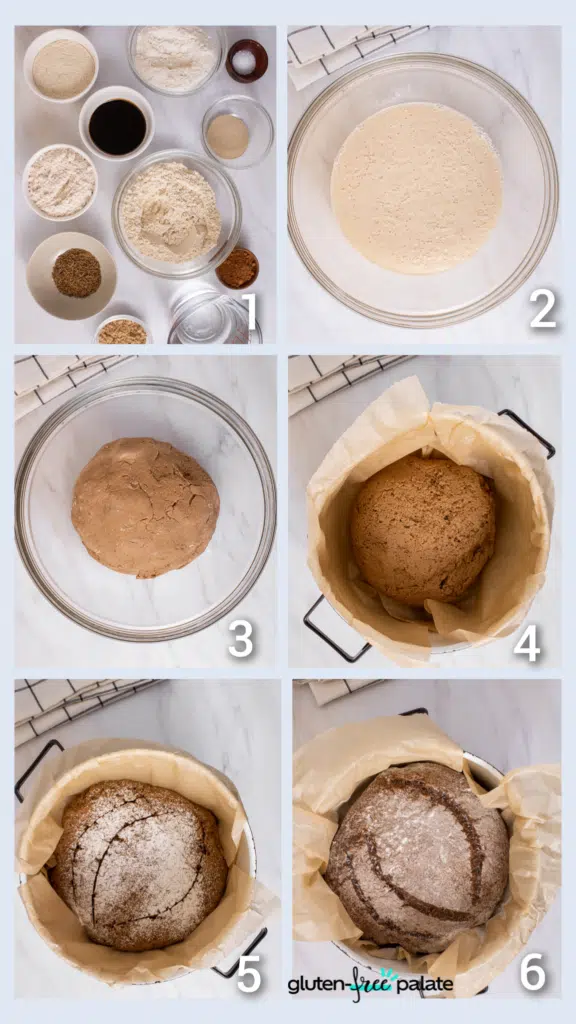
- Combine the water, active dry yeast, and molasses in the stand-up mixer bowl. Let the yeast bloom for a few minutes. About 5-10 minutes. It is ready when it is bubbly and smells like bread.
- Add the rest of the ingredients and using the dough hook on your stand-up mixer knit until the dough is well formed. Add more sorghum flour if needed.
- Transfer the dough to a pre-greased bowl and cover with plastic wrap and a clean dish towel. Place it into a cold oven and turn the oven light on. This will help the dough rise quicker. Proof the dough for several hours or until it doubles in size.
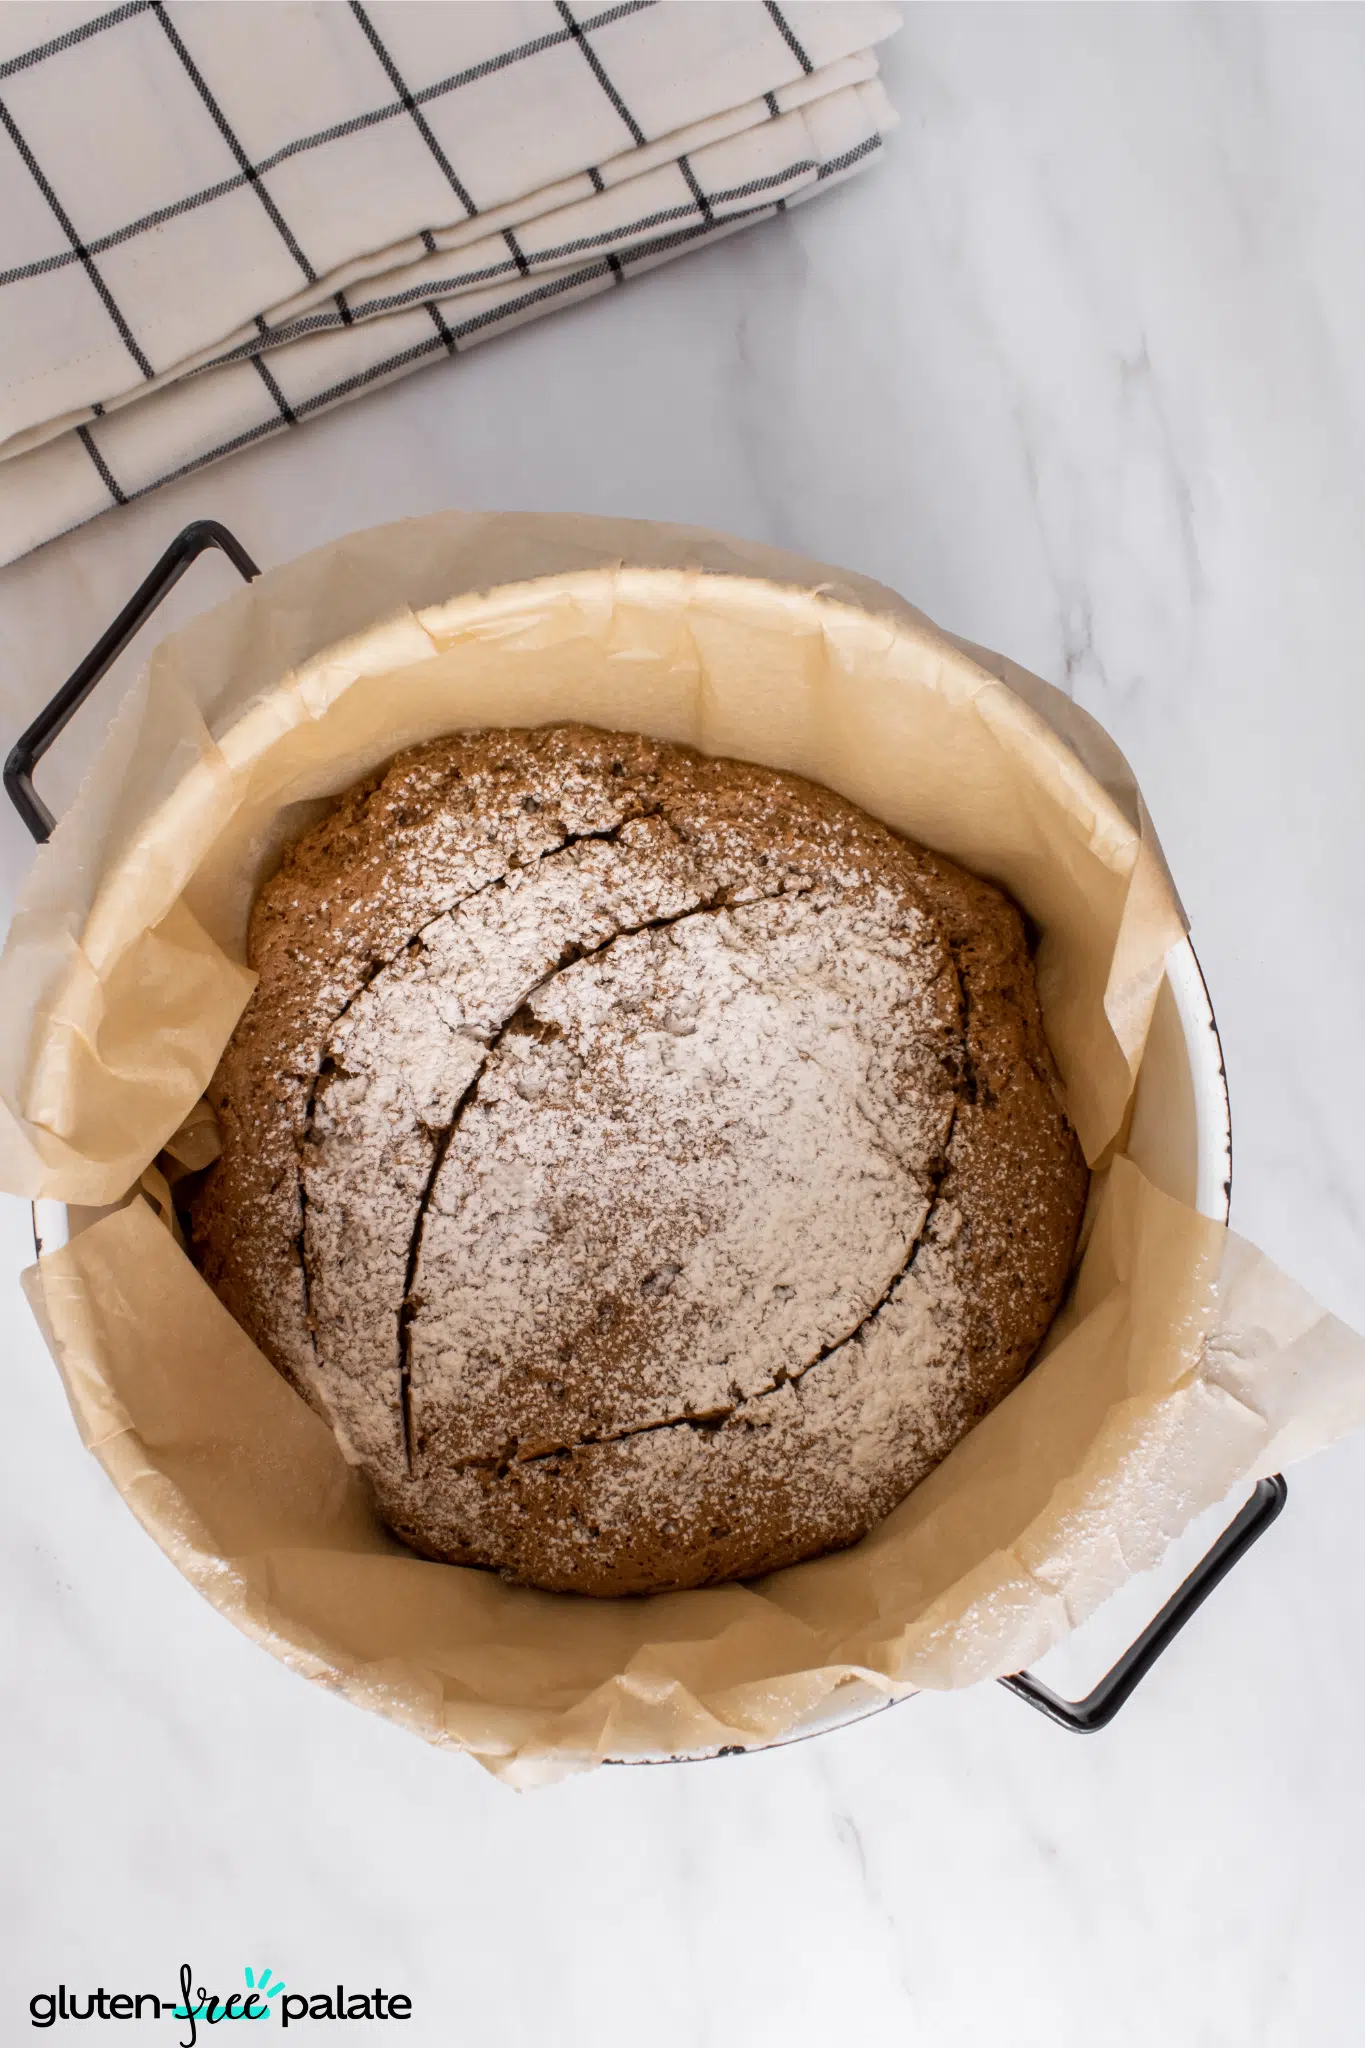
- When it doubles in size, punch in the middle and sprinkle a little bit of any of the flour. Shape into a ball and place into a Dutch oven or the dish you will be baking it in. A deep pot lined with parchment paper works just fine.
- Cover the Dutch oven with plastic wrap and a clean dish towel and place in the oven again. Proof one more time. It might take up to 4 hours to double in size.
- Take the dough out and preheat the oven to 350 F. Fill a muffin pan with hot water and place it on the bottom of the oven.
- Dust flour evenly on top of the dough and cut two large slits on each side using a sharp knife. Bake in the oven for about 25-30 minutes. You can check if it is done by inserting a wooden skewer in the middle of the bread. When it comes out almost clean, it is done.
- Cool off before handling. Transfer to a cooling rack and let the bread cool off completely before slicing. If cooling it off overnight, wrap the bread in a clean dish towel and leave it on top of the cooling rack.
These numbered steps match the numbered photos above and are for illustration purposes. For the complete list of ingredients and instructions in gluten-free rye bread, please see the complete recipe below.
TIPS FOR MAKING THE BEST GF RYE BREAD
Correct water temperature - Don't use boiling water, as it will kill the yeast.
Proof the dough - Make sure to proof the dough until it is double in size and then proof it for a second time.
Place water in the bottom of the oven - Fill a muffin pan with hot water and place it on the bottom of the oven. This ensures the loaf remains moist and expands easily.
HOW DO I STORE GLUTEN-FREE RYE BREAD?
You can store it on the counter for up to 3 days in a towel or bread bag.
CAN I FREEZE GLUTEN-FREE RYE BREAD?
Yes. Slice the gf rye bread and freeze it for up to 3 months. You can then place it in the toaster.
CAN YOU MAKE GLUTEN-FREE RYE BREAD AHEAD OF TIME?
Yes, you can. You can then either keep it on the counter if you plan to eat it within 3 days or else freeze it and then defrost it when you are ready to use it.
CAN RYE BREAD BE GLUTEN-FREE?
Rye bread is made from rye flour, which contains gluten. This recipe has been tested with gluten-free products. Always ensure you read the ingredient labels on the products you use to ensure its gluten-free.
CAN CELIACS EAT RYE?
No, rye is made with rye flour, which contains gluten.
WHAT CAN I MAKE WITH GF RYE BREAD?
You can make a deli sandwich or a Reuben sandwich with rye bread. You can also enjoy a slice with butter, toast it and add your favorite toppings, dip it into a hearty soup...the options are endless, really.
HOW DOES GLUTEN-FREE RYE BREAD GET ITS FLAVOR?
Caraway seeds give GF rye bread the flavor you are used to. Molasses is also another key ingredient, adding nutty sweetness.
Gluten-Free Rye Bread
Missing your Reuben or deli sandwich? This gluten-free rye bread will satisfy that craving with its fluffy center and the perfect crust.
Ingredients
- 145 g Sorghum flour + more for dusting
- 125 g brown rice flour
- 96 g oat flour
- 83 g quinoa flour
- 30 g psyllium husk powder
- 12 g cocoa powder
- 6 g sea salt
- 12 g caraway seeds
- 13 g active dry yeast
- 35 g molasses
- 550 ml warm water
Instructions
- Combine the water, active dry yeast, and molasses in the stand up mixer bowl. Let the yeast bloom for a few minutes. About 5-10 minutes. It is ready when it is bubbly and smells like bread.
- Add the rest of the ingredients and using the dough hook on your stand-up mixer knit until the dough is well formed. Add more sorghum flour if needed.
- Transfer the dough to a pre-greased bowl and cover with plastic wrap and a clean dish towel. Place it into a cold oven and turn the oven light on. This will help the dough rise quicker. Proof the dough for several hours or until it doubles in size.
- When it doubles in size, punch in the middle and sprinkle a little bit of any of the flour. Shape into a ball and place into a Dutch oven or the dish you will be baking it in. A deep pot lined with parchment paper works just fine.
- Cover the Dutch oven with plastic wrap and a clean dish towel and place in the oven again. Proof one more time. It might take up to 4 hours to double in size.
- Take the dough out and preheat the oven to 350 F. Fill a muffin pan with hot water and place it on the bottom of the oven.
- Dust flour evenly on top of the dough and cut two large slits on each side using a sharp knife. Bake in the oven for about 25-30 minutes. You can check if it is done by inserting a wooden skewer in the middle of the bread. When it comes out almost clean, it is done.
- Cool off before handling. Transfer to a cooling rack and let the bread cool off completely before slicing. If cooling it off overnight, wrap the bread in a clean dish towel and leave it on top of the cooling rack.
Recommended Products
As an Amazon Associate and member of other affiliate programs, I earn from qualifying purchases. They never cost you extra.
-
 Lodge 6 Quart Enameled Cast Iron Dutch Oven with Lid – Dual Handles – Oven Safe up to 500° F or on Stovetop - Use to Marinate, Cook, Bake, Refrigerate and Serve – Blue
 -
KitchenAid KSM150PSAQ Artisan Series 5-Qt. Stand Mixer with Pouring Shield - Aqua Sky
-
Pyrex Smart Essentials 3-Piece Prepware Mixing Bowl Set, 1-Qt, 1.5-Qt ,and 2.5-Qt Glass Mixing Bowls, Dishwasher, Microwave and Freezer Safe

Nutrition Information:
Yield:
1Serving Size:
1Amount Per Serving: Calories: 1965Total Fat: 27gSaturated Fat: 4gTrans Fat: 0gUnsaturated Fat: 19gCholesterol: 0mgSodium: 2406mgCarbohydrates: 387gFiber: 51gSugar: 31gProtein: 62g
This nutrition info is based on the exact ingredients and brands that I used a the time. It may not be 100% accurate. Please check your ingredients nutrition labels.
Try Next: Easy Homemade Gluten-Free Potato Bread


JoAnne
Your ingredients are listed in Metric.. Do you have a recipe that shows the ingredients listed in Imperial measurement?
I would love to try this recipe but I am not confident trying to convert the measurement for the ingredients.
Thanks.
Wendy Stoltz
Hi JoAnne,
Unfortunately, not. However, you should give this website a try: https://convertrecipe.com/convert_metric_to_US.php It can automatically convert recipes for you. Hope that helps!
Melissa
I haven't tried this recipe but have been doing tons of gf baking. You should absolutely get yourself a little digital kitchen scale and always go by weight. This has been clutch in getting results that match the recipe as well as each time you make. This is assuming you're trying convert to cups which is a volume measurement. I seriously use my scale nearly every day.
Elisabeth Brunner
Hello Wendy, I made your GF Rye bread recipe and the bread is way too bitter to enjoy. I am sure it's something I did. I had never made a GF bread before-- this was intended for a friend who has Celiac.
All ingredients were weighed. The dough was like pancake batter when I mixed all the ingredient. I added 1/2 cup or more sorghum -- close to 75 extra g. The dough doubled a first time and never quite double the 2nd time. It came out of the oven very dense and tasting quite bitter after cooling.
Wendy Stoltz
Hello Elisabeth! I'm sorry to hear that your GF Rye bread didn't turn out as expected. I'm glad you reached out for help troubleshooting the issue.
A possibility is that you may have over-proofed the dough, which can result in a dense texture and a bitter taste. It's important to watch the dough during the proofing process to ensure it doesn't overproof. Additionally, adding too much sorghum flour could affect the overall texture and flavor of the bread.
I would recommend trying the recipe again with the recommended amount of sorghum flour and keeping a close eye on the dough during the proofing process. I hope this helps, and please let me know if you have any other questions!