


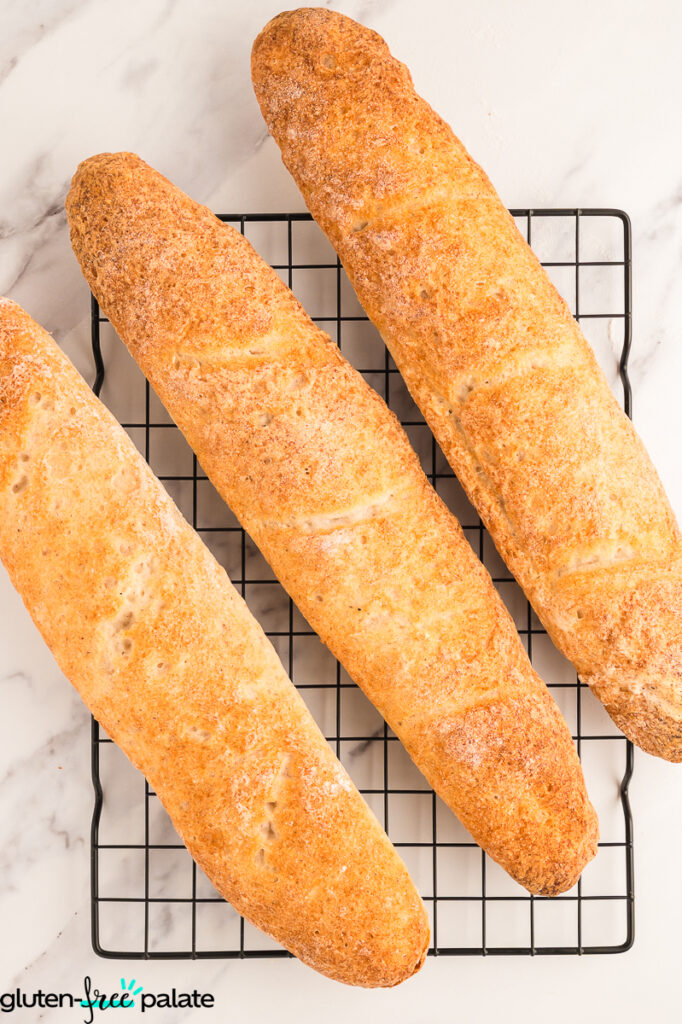
No more missing crusty bread with this gluten-free baguette recipe. With just a few ingredients and minimal hands-on time, you'll be enjoying this soft French loaf with the perfect crust.

Say goodbye to dry and tasteless gluten-free bread with this gf baguette recipe. I'll share some tips and advice for you to succeed at home with this fabulous crispy bread, so you'll have the perfect loaf for sandwiches and appetizers.
The Best Gluten Free Baguette Recipe
When gluten-free products were not so readily available, I am sure you remember the crumbly and expensive store-bought gluten-free bread. It did not nearly resemble normal bread and, let's be honest, was pretty depressing as an alternative.
I have worked hard on this recipe, and I must say I am happy with the outcome. It is tasty, soft on the inside, with the perfect crust on the outside.
If you love gluten-free bread recipes, try these. A homemade gluten-free bread recipe that's simple to make, dairy-free, and bakes into the best gluten-free bread. This garlicky, toasted gluten-free garlic bread is perfectly seasoned and sure to be a family favorite from now on.

Why You’ll Love These Gluten-Free Baguette Loaves
Simple to make - This gf baguette recipe is simple to make. I know making bread may seem intimidating, but follow my step-by-step directions for success.
Tastes so good - When you are gluten-free, it doesn't mean missing your favorite bread.
Simple ingredients - Most ingredients are pantry staples, so you'll have most on hand.
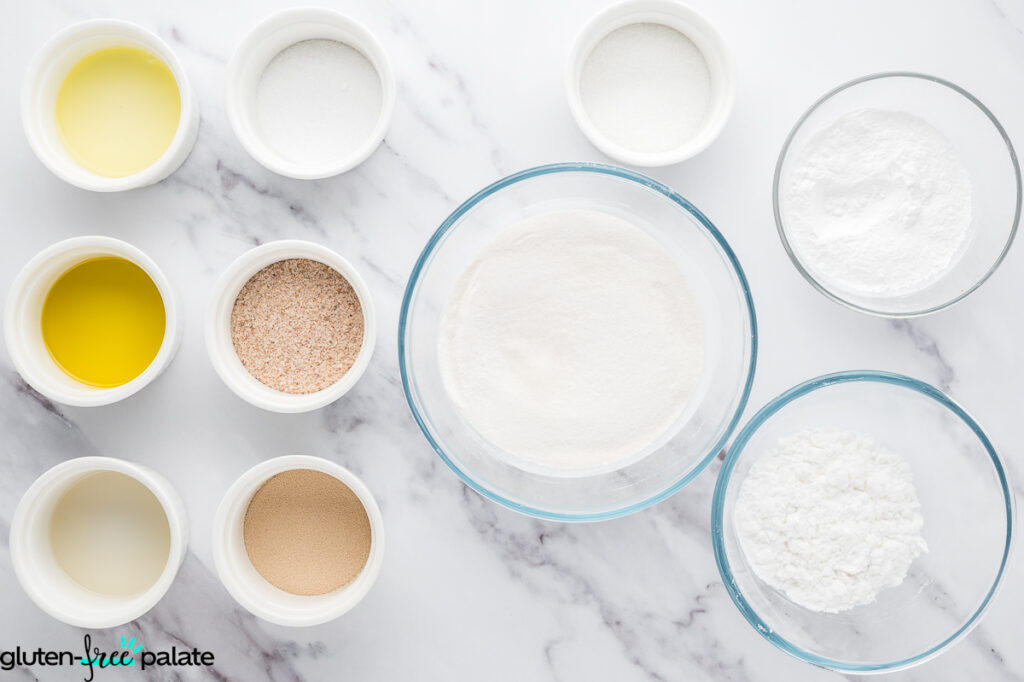
Ingredients In Gluten-Free Baguette
Get a few ingredients ready, and you'll be mesmerized by how the blend makes the most beautiful bread.
- White rice flour - This is the base flour of this recipe. It has a very neutral flavor and gives a nice, clean crumb.
- Tapioca starch - This is used for elasticity and chew. It helps us to mimic gluten bread.
- Potato starch - This is so that the dough transforms into a nice and tender crumb. It traps in the moisture so the bread doesn’t dry out.
- Whole psyllium husk or psyllium husk powder - This is known as a replacement for gluten. It forms a gel when you combine it with water.
- Warm water - This is used to activate the yeast and hydrate the flour.
- Salt - It helps to strengthen the dough structure and helps to give a nice brown crust.
- Instant yeast or active dry yeast - It is a leavening agent that expands the dough.
- White sugar - It gives the loaf a nice brown coloring.
- Olive oil - Adds moisture and a touch of flavor.
- Apple cider vinegar - It gives you a nice soft crumb and also adds to the taste. (Not that apple cider vinegar is also a "functional food").
- Egg white (optional) - This helps with the structure. There are also health benefits to egg whites.
Equipment Needed
I've used a large mixing bowl and a few smaller mixing bowls for blooming the yeast, making the psyllium husk gel, and also for making the final bread dough. They also work well for proofing.
Use a stand mixer to mix the dough nicely and evenly. And I bought a baguette pan, which is relatively inexpensive. I plan on making this bread for all my charcuterie boards, so it is easier to shape.
Use a wire rack to cool the loaves. And a nice, sharp bread knife works well to get the best slices.
How To Make This Gluten Free Baguette Recipe
If you have never made gluten-free bread, look at these visuals, and you'll be one step closer to freshly baked bread.
Mix Dry Ingredients And Make Gel


Mix dry ingredients in a large bowl, whisk rice flour, tapioca starch, potato starch, sugar, salt, and (if instant) yeast.
Hydrate the psyllium gel by whisking the psyllium into 240 g of warm water. Let it sit for 10–15 minutes until thick, glossy, and stretchy.
Activate Yeast And Combine With Wet Ingredients


Activate the yeast (if using active dry) by stirring the yeast into 60 g of warm water (from the total) and a pinch of sugar. Let it sit 5–10 minutes until foamy. Instant yeast can be mixed straight into the dry ingredients. And yes, temperature matters!
Add psyllium gel, yeast (if active dry), olive oil, vinegar, egg white (if using), and remaining water (120 g). Mix until a sticky, elastic dough forms (like thick batter, not kneadable wheat dough).
Let The Dough Rise


Cover with plastic wrap or a kitchen towel and let rise at room temperature for 45–60 minutes, until 50% larger and slightly domed. Look at the image above if you have not used yeast before.
Divide Dough And Roll Into Shape


Divide the dough into 2 logs. Take the one log and gently shape it into a rectangular shape. Roll the dough with your hands from one side to the other to form the shape of a baguette. I rolled it up and down to make it longer and a bit smoother. Repeat with the other log.
Place In the Pan And Do a 2nd Rise


Preheat oven to 435 °F (225 °C) with an empty metal pan that can hold 2 cups of water. This should be on the lowest rack on the bottom of the oven. The bread will be placed on the middle rack.
Place the dough into a greased or parchment-lined baguette pan. With wet fingers, smooth the tops until shiny; this prevents a rough crust. Cover loosely with oiled clingfilm or an inverted roasting pan. Proof 30–40 minutes, until slightly puffy.
Once proofed and the oven is ready. Slash each baguette 2–3 times diagonally with a wet, sharp knife or lame.
Bake, Cool, And Serve

Add 2 cups of water to the metal pan and then bake the bread on the middle rack for 10 minutes, and then remove the water. Bake for 30–35 minutes in total, until golden and hollow-sounding when tapped.
Transfer to a rack. Cool for at least 30 minutes before slicing.
Tips For Making The Best Gluten-free Baguette
- Make it crispy - I suggest you place 2 cups of warm water for the first 10 minutes of the baking time. This makes a nice crispy crust.
- Rest the dough - Be sure to let the dough rise twice as per the recipe.
- Use fresh yeast - Yeast that has been exposed to air is not effective. So make sure it is fresh, or else you will not get the required rise.
- Shape the dough gently - Make sure to handle the dough gently. It is not like wheat dough; it's a lot more fragile.
- Bloom the yeast correctly - If using dry yeast, make sure it is bloomed correctly. It will have bubbles. Make sure you don't use boiling water, as it will kill the yeast.
- Make the psyllium gel - The psyllium gel needs to be hydrated with water to form the gel. View the image above to see the consistency.
- Slashing the dough - Slash just before baking, after proofing, once the oven is fully preheated and steam is ready. 0.5–0.7 cm deep (¼ inch) is what you're aiming for; if it is too shallow, they won’t open. If it's too deep, the dough can collapse. Use a quick, smooth motion. If you hesitate, the blade will drag and tear. This is called the ear. It is not as well-defined as a gluten loaf, but I like to give it a bit of authenticity.

Serving suggestions:
So bread can be served with almost anything. Here are a few of our favorites
- The classic French pairing is with Brie or Camembert cheese, so you have to give it a go!
- Ham and gruyère with some honey is great too. Anything with honey, in my opinion, is the best.
- Olive oil and balsamic vinegar are a firm favorite in our household.
- Tapenade or gluten-free hummus is the perfect mix, think charcuterie board vibes. Or bruschetta is another great appetizer.
- This bread is perfect as a grilled cheese with this delicious gluten-free tomato soup.
Frequently Asked Questions
How Do I Store Gluten-free Baguettes?
You can store it in a container in a cotton dish towel for just under 3 days. I'd suggest you toast it on the 3rd day, as it does dry out easily.
Can I Freeze Gluten-Free Baguette, And How Do I Reheat It?
Yes, you can freeze your baguette loaf for just under 3 months. When ready to enjoy it, defrost it and place it in the oven for 5-10 minutes at 400 degrees F to crisp it up.
Can You Make This Gluten-Free Baguette Ahead Of Time?
Yes, you can, but I'd suggest you make it fresh on the day. If you are using it for toasting, then you can keep it for up to 3 days. Any longer, I'd suggest you make it and freeze it.

What Substitutions Can I Make In This Gluten free Baguette Recipe?
Vegan - Don't add the egg white.
Egg-free - Omit the egg white
What Is The Difference Between Baguette And French Bread?
French bread is softer and often longer than a baguette.
How Do You Shape And Bake Gluten-free Baguettes?
Pat and roll the dough into a rectangle. Then fold both of the long sides toward the center, and then double the rectangle on itself. This is how it is classically shaped. Scroll up to view the images.
What Can I Eat With Gluten-free French Bread baguette?
Traditionally, a baguette is broken off the loaf by hand and dipped in coffee or used to make sandwiches. You can slice it up and add on jam, other toppings, or else use it on a Charcuterie board. That's a classic way to present it. But don't forget the other delicious option; You can also add it to a hearty Gluten-Free French Onion Soup.

What Can I Substitute For GF Baguette?
You can use ciabatta or an artisan loaf.
What Holds Gluten-Free Bread Together?
Psyllium Husk gel holds this bread together.
What Is A Good French Bread Substitute?
Italian bread is a good substitute due to its similar ingredients.
Can You Make This Gluten-free French Bread Recipe Without Yeast?
Unfortunately, you can't. This recipe requires yeast.

Can I Use Different Flours?
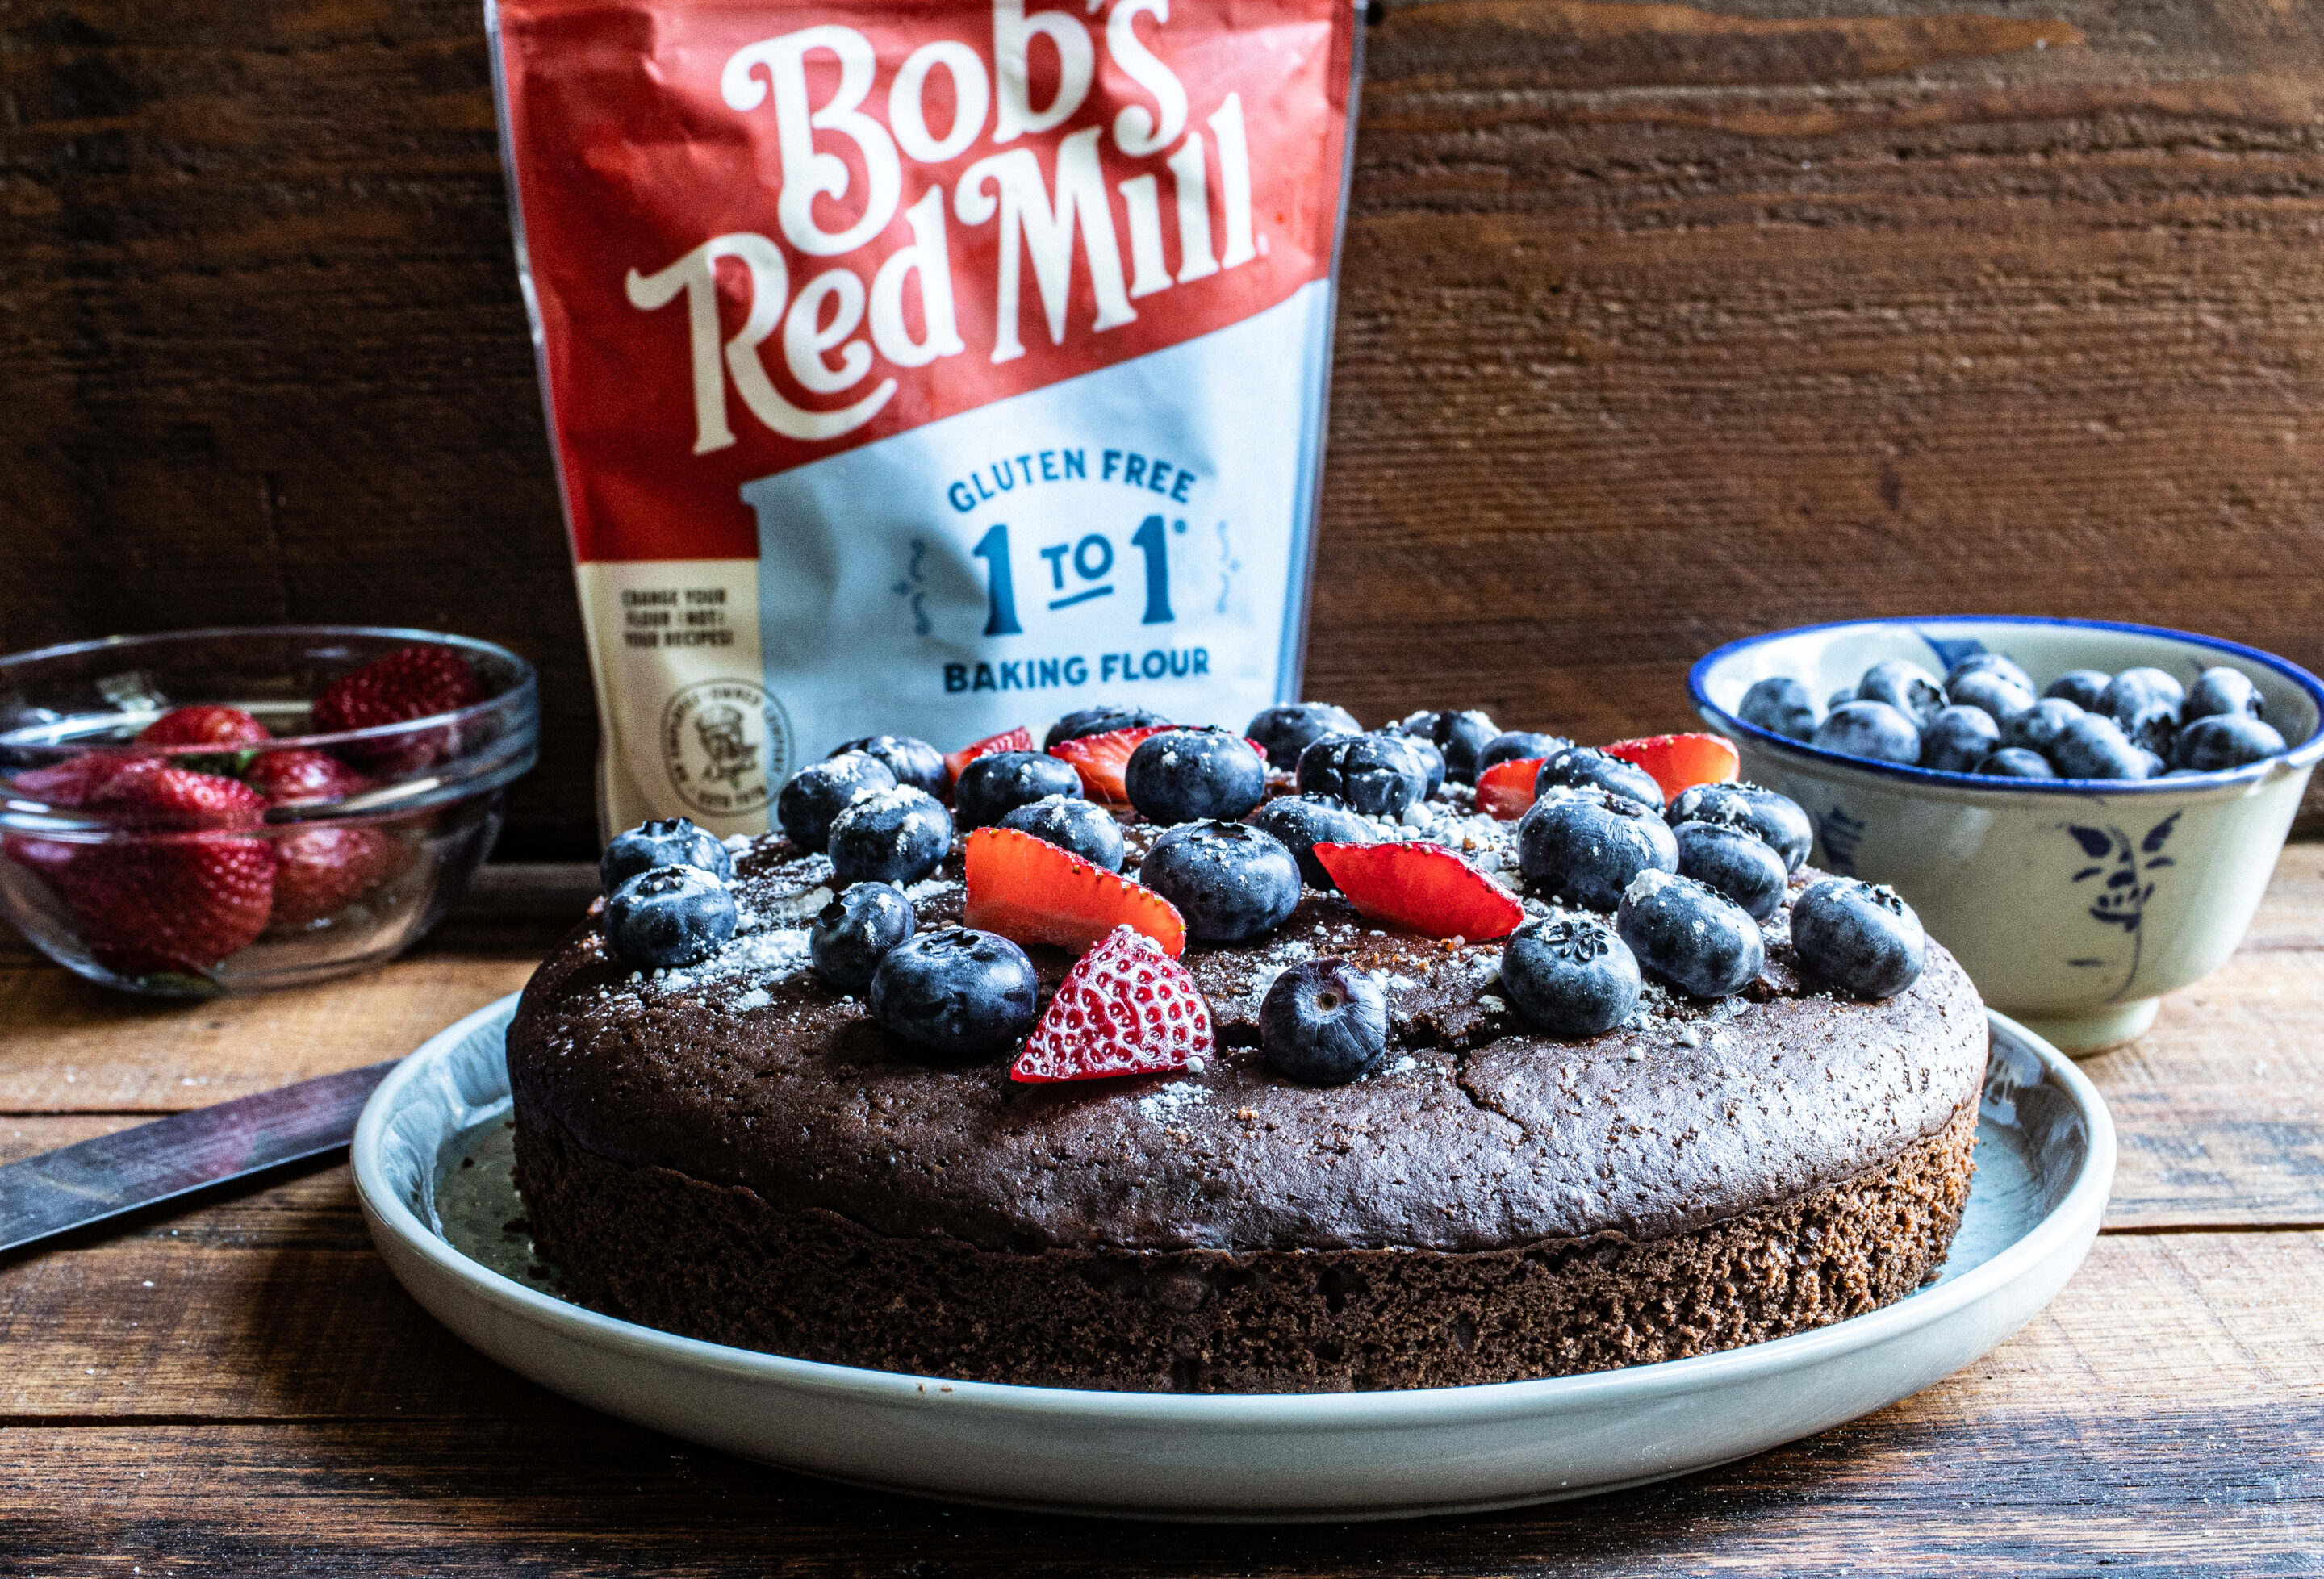
I like to use the blend suggested. But you could try a bread mix like Bob's Red Mill gluten-free flour. I have not tested all other flours, but do share what you try.
Can You Make Gluten Free Baguettes?
Yes, you can make gluten free baguette with this recipe.

Is French Bread Gluten Free?
No, not usually, it is made with wheat flour. This recipe is gluten free.
What Makes A Good Gluten Free Baguette?
Well, I’d say if it mimics a wheat-containing baguette with a crusty exterior that flakes when you break it and a soft interior that's got good texture. Just like this recipe has.
Gluten-Free Baguette

No more missing French bread with this gluten-free baguette recipe. With just a few ingredients, minimal hands-on time you'll be enjoying this soft inner loaf with the perfect crust.
Ingredients
- 2 cups white rice flour (260 g)
- ½ cup tapioca starch (60 g)
- ½ cup potato starch (60 g)
- 2 tbsp whole psyllium husk (21 g) - powdered 18 g
- 1 ⅓ tsp salt (8 g)
- 1 tbsp + 1 tsp sugar (17 g)
- 2 ¼ tsp instant yeast (or 1 packet, 7 g)
- 1 ¾ cups warm water divided (420 g)
- 2 tsp olive oil (13 g)
- 1 ½ tsp apple cider vinegar (8 g)
- Optional: 1 egg white (about 2 tbsp, 20 g)
Instructions
- Mix dry ingredients in a large bowl, whisk rice flour, tapioca starch, potato starch, sugar, salt, and (if instant) yeast.
- Hydrate the psyllium gel by whisking the psyllium into 240 g of warm water. Let it sit for 10–15 minutes until thick, glossy, and stretchy.
- Activate the yeast (if using active dry) by stirring the yeast into 60 g of warm water (from the total) and a pinch of sugar. Let it sit 5–10 minutes until foamy. Instant yeast can be mixed straight into the dry ingredients.
- Add psyllium gel, yeast (if active dry), olive oil, vinegar, egg white (if using), and remaining water (120 g). Mix until a sticky, elastic dough forms (like thick batter, not kneadable wheat dough). Cover with plastic wrap or a kitchen towel and let rise at room temperature for 45–60 minutes, until 50% larger and slightly domed.
- Divide the dough into 2 logs. Take the one log and gently shape it into a rectangular shape. Roll the dough from one side to the other to form the shape of a baguette. Repeat with the other log.
- Preheat oven to 435°F (225 °C) with an empty metal pan that can hold 2 cups of water. This should be on the lowest rack at the bottom of the oven. The bread will be placed on the middle rack. Place shaped dough into a greased or parchment-lined baguette pan. With wet fingers, smooth the tops until shiny; this prevents rough crust.
- Cover loosely with oiled clingfilm or an inverted roasting pan. Proof 30–40 minutes, until slightly puffy. Slash each baguette 2–3 times diagonally with a wet, sharp knife or lame.
- Add 2 cups of water to the metal pan and then bake for 10 minutes, and remove the water. Bake for 30–35 minutes in total, until golden and hollow-sounding when tapped. Transfer to a rack. Cool for at least 30 minutes before slicing.
Recommended Products
As an Amazon Associate and member of other affiliate programs, I earn from qualifying purchases. They never cost you extra.


Nutrition Information:
Yield:
2Serving Size:
1Amount Per Serving: Calories: 764Total Fat: 8gSaturated Fat: 1gTrans Fat: 0gUnsaturated Fat: 6gCholesterol: 0mgSodium: 1609mgCarbohydrates: 157gFiber: 10gSugar: 11gProtein: 17g
This nutrition info is based on the exact ingredients and brands that I used a the time. It may not be 100% accurate. Please check your ingredients nutrition labels.
If you make this gluten free baguette recipe, please consider stopping by and letting me know what you think.
DID YOU MAKE THIS RECIPE?
Tag @glutenfreepalate on Instagram and hashtag it #glutenfreepalatebaker so we can see all the deliciousness!


Judith Deist
Why, with gluten free flour, are you rising everything twice? I was told, without gluten, you do not need to rise anything twice.
Also, do you have fixes for high altitude? (6500 feet high)
Wendy Stoltz
Hi Judith,
The gluten-free baguette recipe involves a process where the dough is allowed to rise twice. This double rising is intended to improve the texture and flavor of the bread, which can be challenging in gluten-free baking. As for high-altitude adjustments generally, for high-altitude baking, you may need to adjust the amount of leavening agent, oven temperature, and baking time.
I hope this helps.
Sonia
Can you convert the measurements for US, please?
Wendy Stoltz
Hi Sonia,
Here is a great tool to help you https://www.convertrecipe.com/convert_metric_to_US.php
Thanks
Jess
Can I skip on the yeast? I’m allergic
Jim
No, this recipe requires the yeast. Maybe try this gf yeast-free bread instead?
Wanda Sue
When using INSTANT yeast, which is added to dry ingreadients and you make a gel of psyllium with 240 grams of warm water from the total of 420 g of water, that leaves 180 g of water to add to the dry ingredients, right? I'm assuming the total water used for entire recipe is 420 grams regardless if you use instant or active dry yeast, that requires 60 grams from the total. But your step 4. that adds bloomed yeast to psyllium gel, other liquids along with remainging water at 120, if you used active dry yeast, does not specify to use 180 g of water if using instant. I, being a stickler to clear instructions don't like to assume anything when it comes to liquids when I'm making breads with yeast and psyllium powder. Please clarify if water not used in yeast bloom still goes into the mix.