

These sweet gluten-free thumbprint cookies are not just a delicious alternative; they're a testament that gluten-free baking can be just as flavorful and satisfying. This cookie recipe is super simple, uses staple pantry ingredients you probably have on hand already, and are ready in a flash!

Ready to up your gluten-free baking game with our selection of irresistibly delicious cookie recipes? From the classic charm of Gluten-Free Peanut Butter Blossoms to the festive joy of the Best Gluten-Free Christmas Cookies, each treat promises tasty flavors without gluten. Dive into the buttery goodness of Gluten-Free Shortbread Cookies or indulge in the sweet simplicity of Gluten-Free Sugar Cookies.
Elevate your cookie experience with the grain-free wonder of Grain-Free Strawberry Thumbprint Cookies, showcasing that gluten-free treats can be tasty and diverse.
Enhance your gluten-free baking skills with a comprehensive course on Deliciously Gluten-Free Artisan Breads. Discover the secrets to creating artisanal gluten-free bread that's as delicious as it is satisfying.
Gluten-Free Thumbprint Cookies Recipe
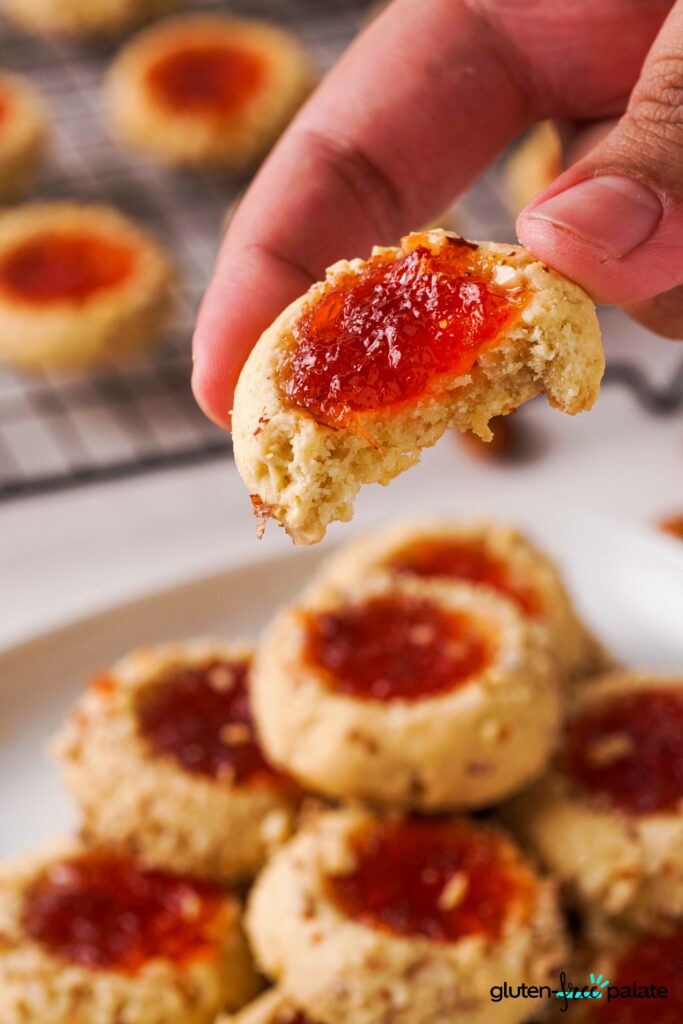
Let the aroma of freshly baked gluten-free cookies fill your kitchen, making every moment a celebration of goodness.
These Gluten-Free Thumbprint Cookies have become a staple in my kitchen for their taste and the sweet moments they create. Whether shared with loved ones during cozy gatherings or gifted to friends as a token of love, these cookies carry shared joy.
The baking process becomes a communal experience, and as we savor each bite, the bonds of friendship and family strengthen. In the simplicity of a gluten-free cookie, there's a profound joy – the joy of creating, sharing, and indulging in sweet moments that linger long after the last crumb is enjoyed.
Why You’re Going to Love These Gluten-Free Thumbprint Cookies
Simple Ingredients - The ingredients in this recipe are simple pantry staples.
Quick Preparation - With just 20 minutes of prep time, these cookies can be ready to pop in the oven.
Versatile Toppings - Customize your thumbprint cookies with a variety of jams for a burst of flavors.
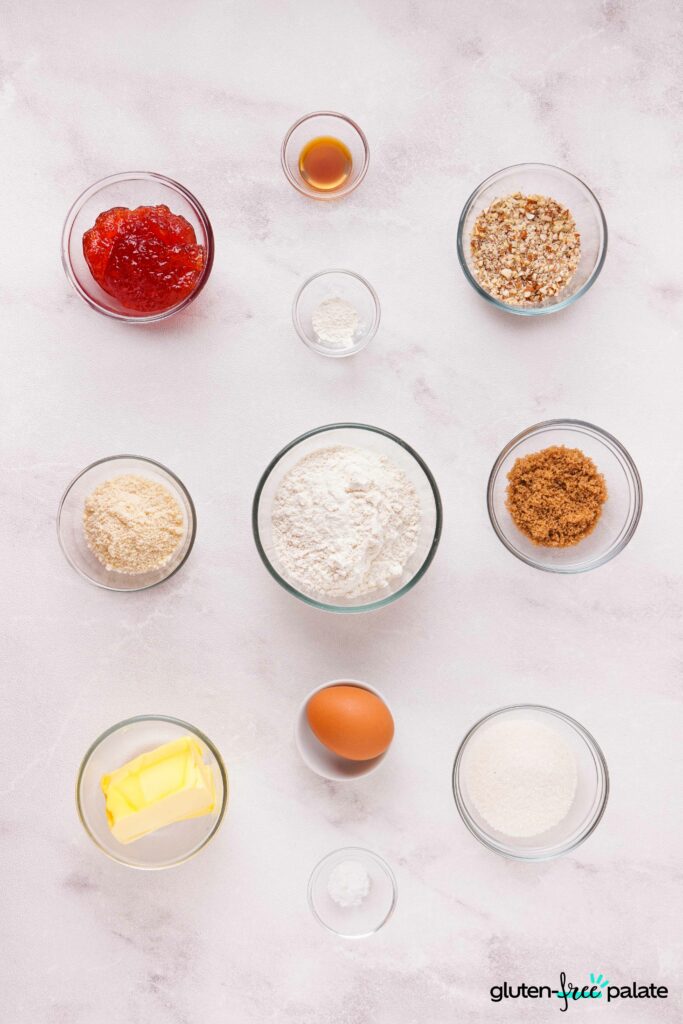
Ingredients in Gluten-Free Thumbprint Cookies
For The Cookies:
All-Purpose Gluten-Free Flour - Creates the cookie base without the gluten.
Xanthan Gum - Provides structure and elasticity to the gluten-free dough.
Almond Flour - Adds a nutty flavor and enhances the texture. Almond flour not only adds a nutty flavor but also brings in healthy fats, proteins, and vitamins.
Salt - A pinch of salt enhances the flavor profile, balancing the sweetness and intensifying the other ingredients' taste.
Butter - Butter adds a rich and buttery flavor to the cookies, contributing to their indulgent taste. It also provides the necessary fat content for a tender crumb and a melt-in-your-mouth texture.
Granulated and Light Brown Sugar - Granulated and light brown sugars bring sweetness to the cookies. The combination of both sugars adds depth of flavor and moisture to the dough, ensuring a perfect balance of sweetness in every bite.
Vanilla Extract - Vanilla extract enhances the overall flavor profile, providing a warm and aromatic note to the cookies. It complements the sweetness and adds a layer of complexity to the taste.
Toppings:
Raw Almonds - For a crunchy topping that complements the soft cookie.
Jam - Use your favorite jam.
Equipment Needed for This Gluten-Free Thumbprint Cookies
Mixing Bowls - Use a large bowl to combine and beat the ingredients.
Electric Hand Mixer - To achieve a fluffy consistency in the dough.
Parchment Paper - Ensures easy removal of cookies from the baking sheets.
If you have any questions about making Gluten-Free Thumbprint Cookies, please leave a comment, and we will get back to you as soon as possible.
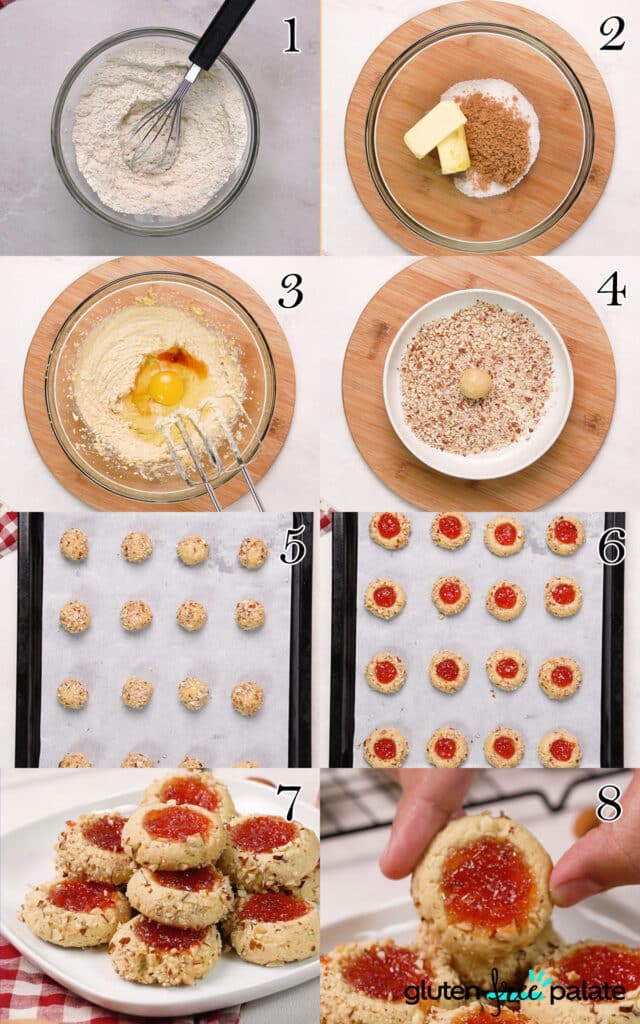
How to Make Gluten-Free Thumbprint Cookies
- Preheat the oven to 325 F.
- Mix gluten-free flour, xanthan gum, almond flour, and salt in a mixing bowl. Set aside.
- Add the butter and sugar in a large mixing bowl and beat with an electric mixer for 1 minute until fluffy.
- Add the vanilla and egg to the butter mixture. Beat on low speed just until combined.
- Then, add the flour mixture in 3 parts and beat constantly until it forms a dough.
- Line baking sheets with parchment paper. Take 1 tablespoon of the dough. Roll into a ball.
- Place the chopped almond into a shallow bowl and roll the ball of dough on it.
- Put the cookie dough on the baking sheet and use a ½ tsp measured spoon to gently press an indent in the center of the cookie dough.
- Fill the indent with jam.
- Bake for 18 - 20 minutes at 325°F until the cookies are golden brown, then let them cool for at least 15 minutes before serving.
Tips for Making the Best Gluten-Free Thumbprint Cookies
Softened Butter - Ensure the butter is at room temperature for a smoother dough.
Gentle Pressing - Use a measured spoon to press an indent in the dough's center gently.
Microwave Jam - Soften the jam before using it to achieve the perfect filling consistency.
Tips For Filling The Cookies With Jam
Use the Right Consistency - Ensure your jam is consistent before filling the thumbprint. Microwave it briefly until it's soft and easy to spoon. This prevents the cookie dough from cracking during the filling process.
Let Cookies Cool Slightly - Allow the baked cookies to cool for a few minutes before adding the jam. This prevents the jam from melting quickly and maintains the distinct thumbprint shape.
Create a Well-Defined Indent - When making the thumbprint, use a ½ teaspoon-measured spoon to create a well-defined indent in the center of the cookie. This provides a secure space for the jam, preventing it from spreading excessively.
Avoid Overfilling - While adding generous amounts of jam is tempting, avoid overfilling the thumbprints. A small amount is sufficient, ensuring a balanced ratio of cookie to jam. This prevents the jam from overflowing during baking.
Strain the Jam - For a smoother and neater appearance, strain the jam before filling the thumbprints. This removes large fruit pieces, leaving a clean and polished finish to your gluten-free thumbprint cookies.
Cool Completely Before Serving - Allow the filled cookies to cool completely before serving. This ensures that the jam sets appropriately, providing a delightful contrast to the cookie's texture and enhancing the overall eating experience.
Tips For Filling Cookies With Chocolate
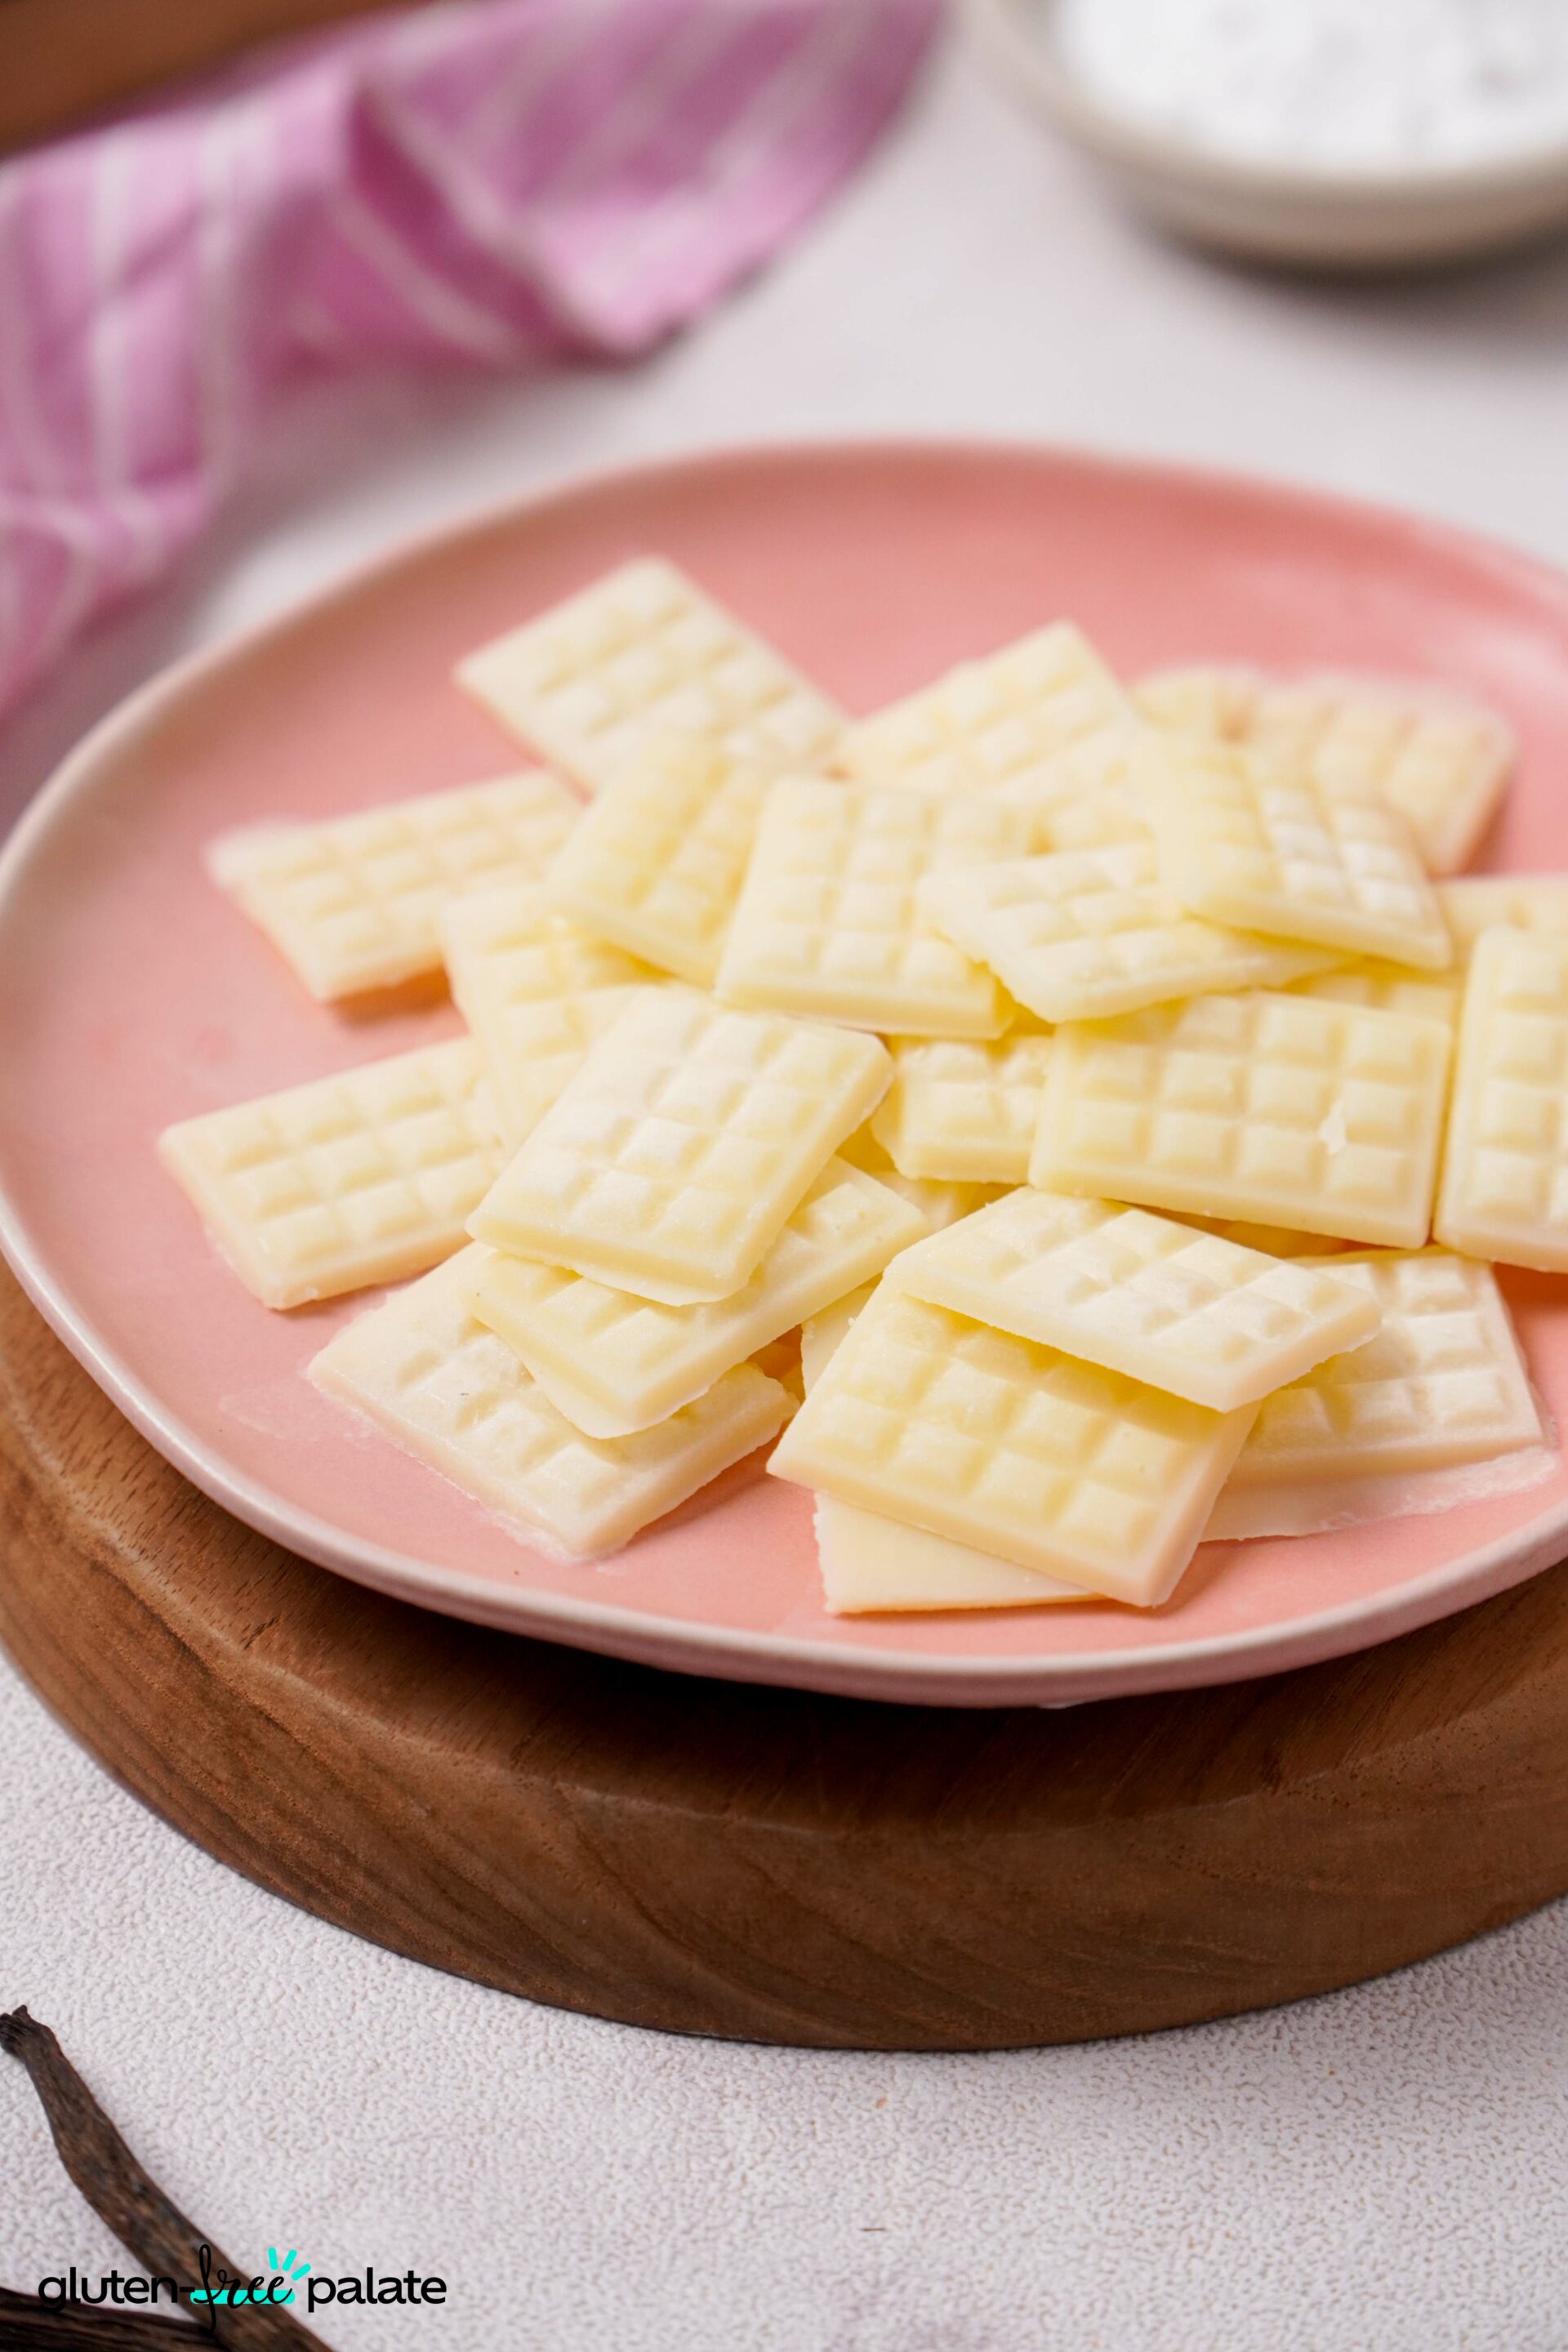
Select the Right Chocolate - Choose a high-quality chocolate that complements the flavor of the gluten-free thumbprint cookies. Whether it's dark, milk, or white chocolate, opt for a type that enhances the overall taste.
Use Chocolate Chips or Chunks - To make the filling process easier, consider using chocolate chips or chunks. They melt uniformly and create a rich, gooey center in each thumbprint.
Melt Chocolate Gently - When melting the chocolate, use a gentle method such as a double boiler or microwave in short intervals, stirring in between. This prevents the chocolate from seizing or becoming too hot, ensuring a smooth consistency.
Add a Splash of Cream - Add a small amount of heavy cream to the melted chocolate for a luxurious and velvety chocolate filling. This creates a softer texture that contrasts beautifully with the cookie's crumbly exterior.
Cool Slightly Before Filling - Allow the melted chocolate to cool slightly before filling the thumbprints. This helps prevent the chocolate from spreading too much on the cookie and maintains a well-defined shape.
Use a Piping Bag or Zip-Top Bag - For precise and mess-free filling, transfer the melted chocolate into a piping bag or a zip-top bag with a small corner snipped off. This allows you to control the amount of chocolate in each thumbprint easily.
Allow to Set Completely - Allow the chocolate-filled thumbprint cookies to set completely before serving. This ensures a firm, glossy finish and a delightful contrast between the chocolate center and the gluten-free cookie.
Frequently Asked Questions
How Do I Store Gluten-Free Thumbprint Cookies?
Store in an airtight container at room temperature for up to a week.
Can I Freeze Gluten-Free Thumbprint Cookies?
Freeze the baked cookies in a single layer, then transfer them to a freezer bag for up to three months.
Can You Make This Gluten-Free Thumbprint Cookies Ahead of Time?
You may prepare the dough in advance, refrigerate, and bake when ready.
What Substitutions / Replacements Can I Make in This Gluten-Free Thumbprint Cookies?
- Butter - Swap with a dairy-free alternative for a vegan version.
- Jam - Experiment with a different type of jam to suit your taste. Apricot jam, raspberry jam, orange marmalade, and blueberry jam are our favorites.
Click here to view our step-by-step instructional video on YouTube.
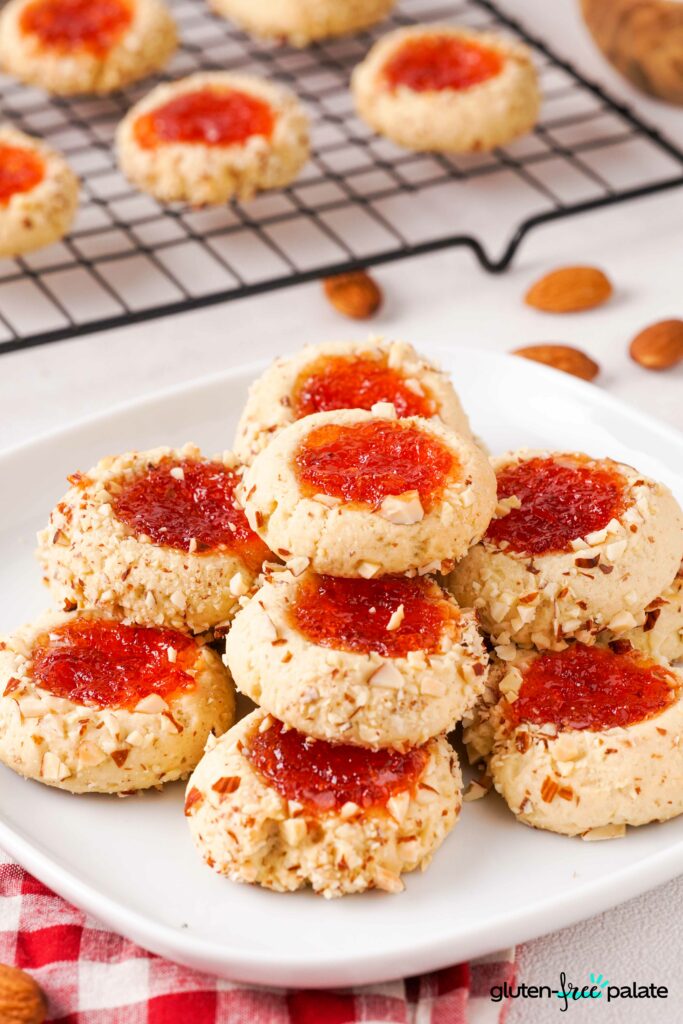
Gluten-Free Thumbprint Cookies
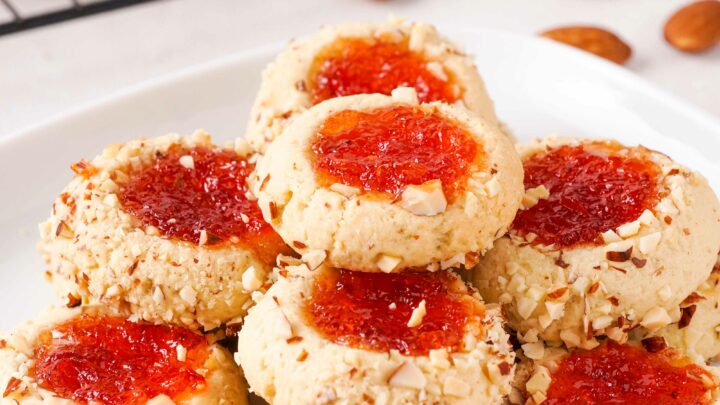
These Gluten-Free Thumbprint Cookies are a tasty blend of nutty almond flour, tender gluten-free dough, and a burst of fruity jam.
Ingredients
For The Cookies:
- 1 ½ cup all purpose gluten-free flour
- ½ tsp xanthan gum
- ¼ cup almond flour
- ¼ tsp salt
- 1 stick butter
- ¼ cup granulated sugar
- ¼ cup light brown sugar
- ½ tsp vanilla extract
- 1 egg
For The Toppings:
- ¼ cup finely chopped raw almond
- ½ cup jam of your choice
Instructions
- Preheat the oven to 325 F.
- Mix gluten-free flour, xanthan gum, almond flour, and salt in a mixing bowl. Set aside.
- Add the butter and sugar in a large mixing bowl and beat with an electric mixer for 1 minute until fluffy.
- Add the vanilla and egg to the butter mixture. Beat on low speed just until combined.
- Then, add the flour mixture in 3 parts and beat constantly until it forms a dough.
- Line baking sheets with parchment paper. Take 1 tablespoon of the dough. Roll into a ball.
- Place the chopped almond into a shallow bowl and roll the ball of dough on it.
- Put the cookie dough on the baking sheet and use a ½ tsp measured spoon to gently press an indent in the center of the cookie dough.
- Fill the indent with jam.
- Bake for 18 - 20 minutes at 325°F until the cookies are golden brown, then let them cool for at least 15 minutes before serving.
Notes
- Softened Butter - Ensure the butter is at room temperature for a smoother dough.
- Gentle Pressing - Use a measured spoon to press an indent in the dough's center gently.
- Microwave Jam - Soften the jam before using it to achieve the perfect filling consistency.
Recommended Products
As an Amazon Associate and member of other affiliate programs, I earn from qualifying purchases. They never cost you extra.


Nutrition Information:
Yield:
28Serving Size:
1Amount Per Serving: Calories: 72Total Fat: 4gSaturated Fat: 2gTrans Fat: 0gUnsaturated Fat: 2gCholesterol: 15mgSodium: 52mgCarbohydrates: 8gFiber: 0gSugar: 6gProtein: 1g
This nutrition info is based on the exact ingredients and brands used at the time. It may not be 100% accurate. Please check your ingredients nutrition labels.
Did you make this Gluten-Free Thumbprint Cookies recipe? Please leave me a comment below, letting me know what you think.


Ellen Fox
What flour blend works best for these, an all purpose gf flour or one of the 1:1 (Bob’s Red Mill or King Arthur measure for measure, etc)?
Wendy Stoltz
Hi Ellen,
We use this one - https://www.amazon.com/Bobs-Red-Mill-Resealable-Purpose/dp/B08SMS9F11?&linkCode=sl1&tag=glutenfreepalate-20&linkId=2c6dd8b21bc09609daf4ea842e84bdb5&language=en_US&ref_=as_li_ss_tl
Nancy
My dough wouldn't come together to make balls and was all crumbly. I measured very carefully. Any suggestions?
Wendy
Hi Nancy,
I'm sorry to hear that you had trouble with the dough for the gluten-free thumbprint cookies. When gluten-free cookie dough turns out crumbly and doesn't come together, it could be due to a few factors. Here are some suggestions to help you achieve a better dough consistency:
Flour Blend - Double-check that you used the specified gluten-free flour blend mentioned in the recipe. Using a different blend or altering the proportions can affect the dough's texture. If you're using a store-bought blend, make sure it's a high-quality one designed for baking.
Liquid - Sometimes gluten-free flours absorb more moisture than wheat flour. If your dough is too crumbly, you can try adding a bit more liquid, such as milk or a dairy-free alternative, one tablespoon at a time, until the dough comes together. Be cautious not to add too much liquid, as it can make the dough too sticky.
Butter - Ensure that your butter is softened but not melted. Using softened butter at the right temperature helps the dough bind together properly. If the butter is too cold or too warm, it can affect the dough's texture.
Egg - Make sure you added the egg as directed in the recipe. The egg helps bind the ingredients together and provides moisture to the dough.
Mixing - When mixing the dough, don't overmix it. Overmixing can result in a crumbly texture. Mix just until the ingredients are combined.
Chilling - Chilling the dough can sometimes help it come together better. After mixing, you can refrigerate the dough for about 30 minutes to make it easier to handle.
Pressing and Shaping - When shaping the cookies, be gentle. Press your thumb into the dough to create the well for the jam, but avoid pressing too hard, which can cause the dough to crack or crumble.
Jam - Use a high-quality jam or preserve. Some lower-quality jams may release excess moisture during baking, affecting the dough's texture.
I hope this helps you.